はじめに
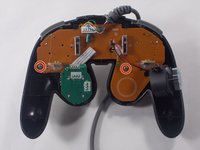
Due to excessive use, the joysticks on your GameCube Controller can begin to stick. This information guide will provide you step by step instructions on how to replace both joysticks on a Gamestop GS3 GameCube controller . There are two joysticks on this controller and we will be showing you how to replace the C-stick (the yellow joystick), as well as the Joystick (the gray joystick). This an easy fix and can be completed in 20 minutes.
必要な工具と部品
-
-
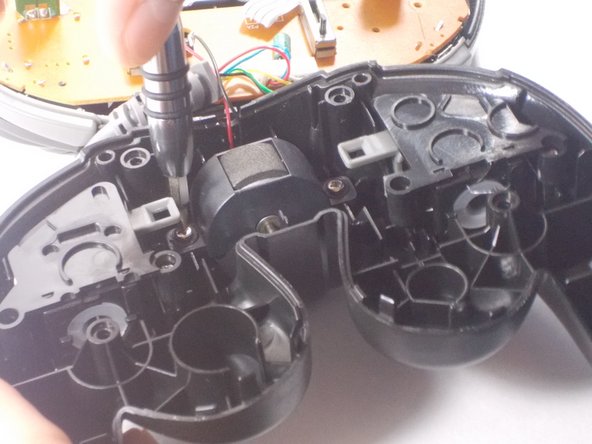
Loosen and remove the 6 screws located on the back of the controller using your Phillips Screwdriver.
-
-
-
-
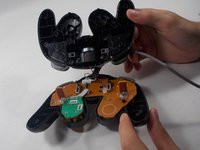
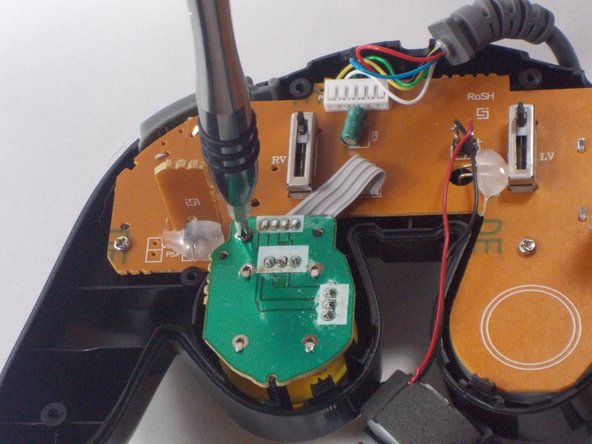
On the top cover of the controller, locate the green portion of the motherboard.
-
Loosen and remove the 1 screw in the upper left side of the green motherboard.
-
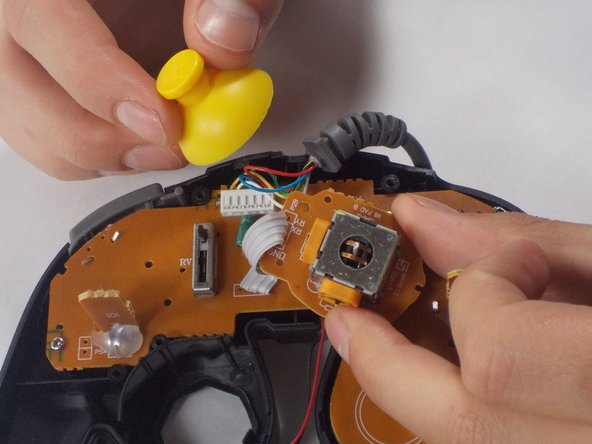
Turn the green motherboard over and attached to the motherboard will be the yellow c-stick.
-
Firmly, but carefully, pull the c-stick off, and clean around the area before reattaching or replacing the c-stick.
-
After cleaning or replacing the c-stick, reattach the green motherboard piece to the orange motherboard piece.
-
-
-
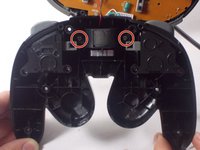
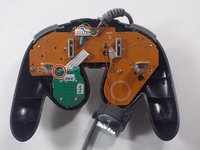
Finally, loosen and remove the 2 screws located on the orange motherboard.
-
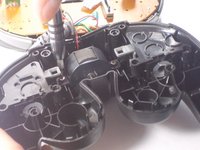
Pull up and remove the motherboard from the top cover. Then turn the motherboard over.
-
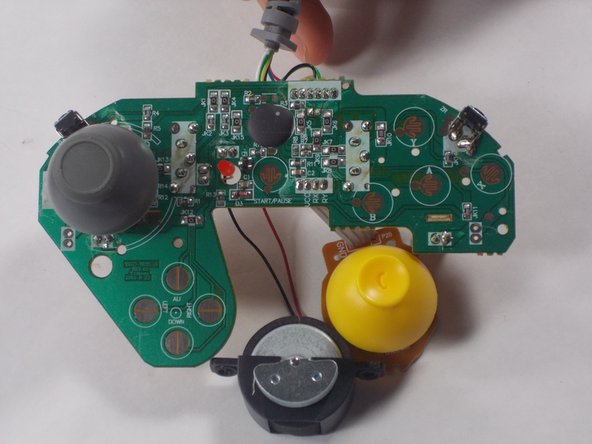
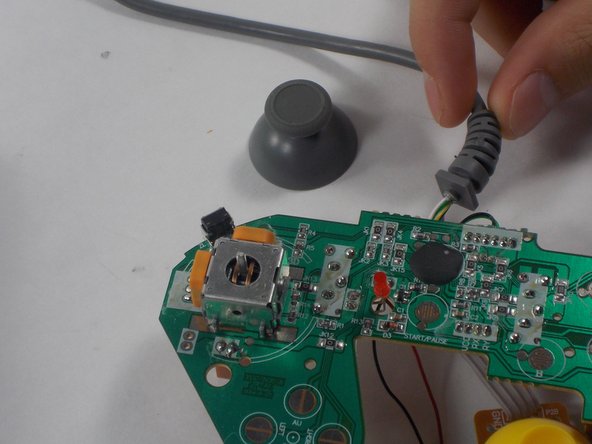
Locate the gray joystick that is attached to the left side of the motherboard.
-
Similarly to the yellow c-stick, firmly, but carefully, pull the gray joystick off, and clean around the area before reattaching or replacing the joystick.
-


To reassemble your device, follow these instructions in reverse order.
チーム

UMass Dartmouth, Team 3-5, Isaacson Fall 2016 UMass Dartmouth, Team 3-5, Isaacson Fall 2016人のメンバー
UMASSD-ISAACSON-F16S3G5
3 メンバー
10のガイドは作成済み