はじめに
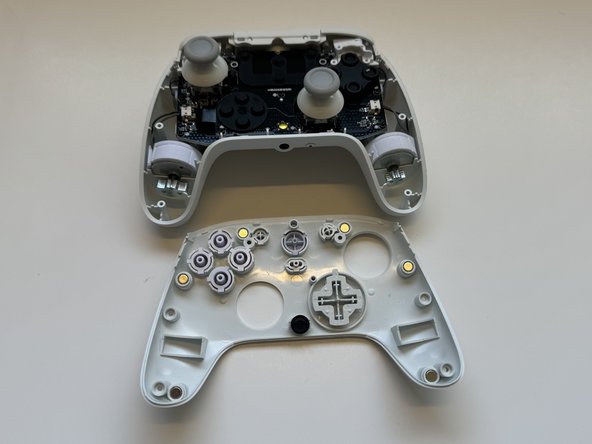
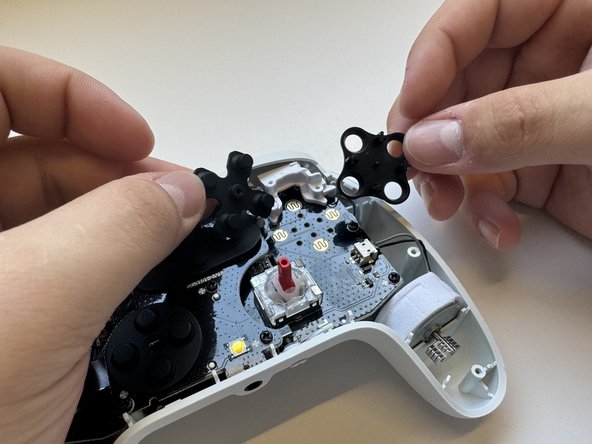
For GameSir G7 SE controllers experiencing unresponsive or sticky buttons, this guide provides steps for cleaning or replacing the conductive rubber button gaskets. The proper function of these contacts is crucial for accurate game input. Before attempting this repair, ensure the controller is disconnected from power to prevent electrical hazards.
Cleaning the contacts with isopropyl alcohol or replacing them can restore button responsiveness and is detailed in the “Button Activating Without Being Pressed” section of our troubleshooting page.
必要な工具と部品


To reassemble your device, follow these instructions in reverse order.
To reassemble your device, follow these instructions in reverse order.
チーム

Western Carolina University, Team 1-6, Virtue Spring 2024 Western Carolina University, Team 1-6, Virtue Spring 2024人のメンバー
WCU-VIRTUE-S24S1G6
4 メンバー
5のガイドは作成済み