メインコンテンツにスキップ

Game Boy Pocket Buttons Replacement

必要な工具と部品

  1. Game Boy Pocket Buttons Replacement, Buttons: 手順 1、 3の画像 1 Game Boy Pocket Buttons Replacement, Buttons: 手順 1、 3の画像 2 Game Boy Pocket Buttons Replacement, Buttons: 手順 1、 3の画像 3
    • Place the Game Boy Pocket face-down on a clean, flat surface.

    • Use a Y1 tri-wing screwdriver and turn counterclockwise to remove the four external screws.

    • Use a Y1 tri-wing screwdriver and turn counterclockwise to remove the two screws inside the battery compartment.

  2. Game Boy Pocket Buttons Replacement: 手順 2、 3の画像 1 Game Boy Pocket Buttons Replacement: 手順 2、 3の画像 2 Game Boy Pocket Buttons Replacement: 手順 2、 3の画像 3
    • Place your hands on the front and back covers of the Game Boy Pocket, and carefully separate the device.

    • Set the back cover aside. You will need it to reassemble the device.

  3. Game Boy Pocket Buttons Replacement: 手順 3、 1の画像 1
    • Use a Phillips #1 screwdriver to remove the three screws from the motherboard.

  4. Game Boy Pocket Buttons Replacement: 手順 4、 3の画像 1 Game Boy Pocket Buttons Replacement: 手順 4、 3の画像 2 Game Boy Pocket Buttons Replacement: 手順 4、 3の画像 3
    • Use a plastic opening tool to dislodge and remove the clip securing the ribbon cable.

    • Make sure you apply pressure on both sides of the clip to loosen it.

  5. Game Boy Pocket Buttons Replacement: 手順 5、 2の画像 1 Game Boy Pocket Buttons Replacement: 手順 5、 2の画像 2
    • Use a plastic opening tool to dislodge the ribbon cable.

    • Be gentle to prevent tearing the ribbon.

  6. Game Boy Pocket Buttons Replacement: 手順 6、 3の画像 1 Game Boy Pocket Buttons Replacement: 手順 6、 3の画像 2 Game Boy Pocket Buttons Replacement: 手順 6、 3の画像 3
    • Grab the black piece protruding from the motherboard, and lift up to remove the motherboard.

    • Set the motherboard aside. You will need it to reassemble the device.

  7. Game Boy Pocket Buttons Replacement: 手順 7、 3の画像 1 Game Boy Pocket Buttons Replacement: 手順 7、 3の画像 2 Game Boy Pocket Buttons Replacement: 手順 7、 3の画像 3
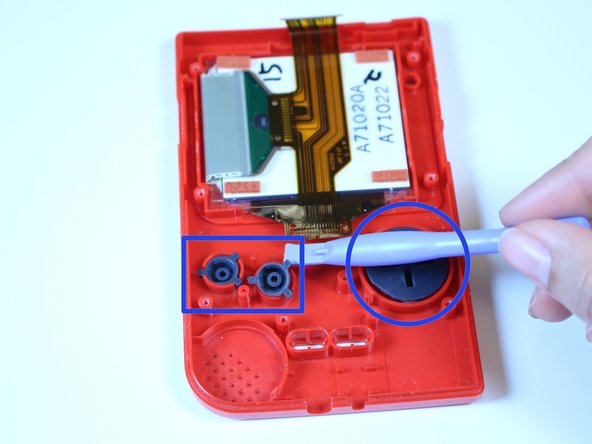
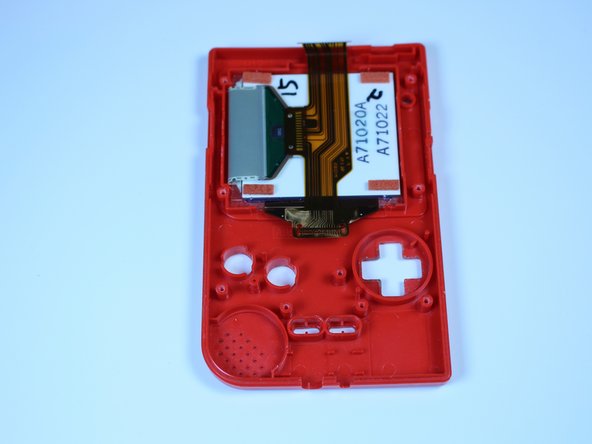
    • Use your fingers to remove the three silicone button covers.

    • Use a plastic opening tool to remove the buttons.

終わりに

To reassemble your device, follow these instructions in reverse order.

3 の人々がこのガイドを完成させました。

作成者

4人の作成者と共同で作成されました。

Adriana Rahrig

メンバー登録日: 10/07/14

1,523 ポイント

5のガイドは作成済み

チーム

USF Tampa, Team 1-1, Leahy Fall 2014 USF Tampa, Team 1-1, Leahy Fall 2014人のメンバー

USFT-LEAHY-F14S1G1

4 メンバー

13のガイドは作成済み

コメント 1 件

where can you just buy the a and b buttons (if possible)

Eian Anderson - 返信

コメントを追加

統計データ:

過去 24時間: 1

過去 7 日: 14

過去 30 日: 45

今までの合計 4,512