メインコンテンツにスキップ

Game Boy Cartridge Battery Replacement

必要な工具と部品

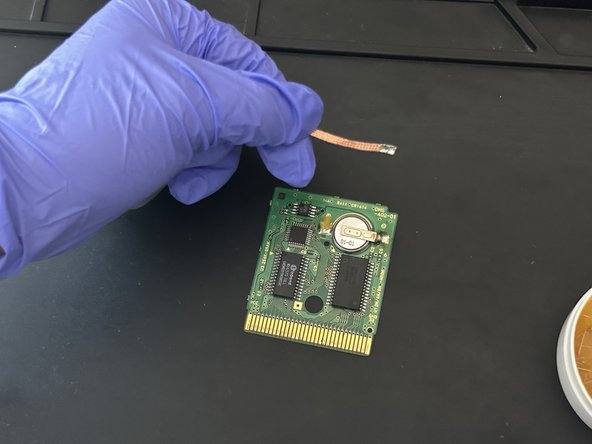
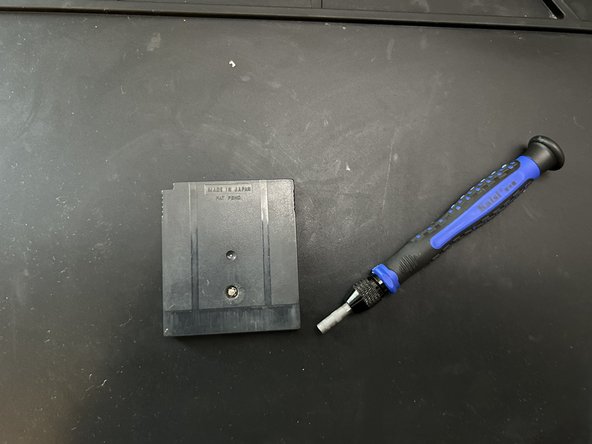
  1. Game Boy Cartridge Battery Replacement, Battery: 手順 1、 2の画像 1 Game Boy Cartridge Battery Replacement, Battery: 手順 1、 2の画像 2
    • Use the screwdriver to loosen the screw on the cartridge.

  2. Game Boy Cartridge Battery Replacement: 手順 2、 1の画像 1
    • Switch on your multimeter and select the Voltage (V) mode. Then, test the voltage of the battery in the cartridge.

  3. Game Boy Cartridge Battery Replacement: 手順 3、 1の画像 1
    • Apply some of the flux paste to help desolder the soldered areas on the battery.

  4. Game Boy Cartridge Battery Replacement: 手順 4、 1の画像 1
    • Be careful when handling a fully heated soldering iron, as it can burn you.

    • Use the soldering iron once it heats up fully. Then, heat up the soldered areas with the iron.

  5. Game Boy Cartridge Battery Replacement: 手順 5、 2の画像 1 Game Boy Cartridge Battery Replacement: 手順 5、 2の画像 2
    • Pick up the solder with the desoldering braid.

  6. Game Boy Cartridge Battery Replacement: 手順 6、 1の画像 1
    • Wipe off any excess flux paste.

    • The flux paste can damage the circuit board if not removed completely or spread to other areas on the circuit board.

  7. Game Boy Cartridge Battery Replacement: 手順 7、 2の画像 1 Game Boy Cartridge Battery Replacement: 手順 7、 2の画像 2
    • Make sure to align the battery's positive side where the positive indicator is and the negative side where the negative indicator is.

    • Use the soldering iron and soldering wire to solder both sides of the battery into place.

  8. Game Boy Cartridge Battery Replacement: 手順 8、 1の画像 1
    • Switch on your multimeter and select the Voltage (V) mode. Then, test the voltage of the battery in the cartridge.

    • The battery has to have at least 1.5V. If the multimeter reads a negative value, then most likely, the terminals are placed opposite, so switch them around and check the resulting value once more.

  9. Game Boy Cartridge Battery Replacement: 手順 9、 2の画像 1 Game Boy Cartridge Battery Replacement: 手順 9、 2の画像 2
    • Align the cartridge and the circuit board.

    • Then tighten the screw to secure the cartridge into place.

終わりに

To reassemble your game cartridge, follow step 9.

ある他の人がこのガイドを完成しました。

作成者

1人の作成者と共同作成されました。

Jose Ayala

メンバー登録日: 12/06/23

220 ポイント

1ガイドが承認済み

チーム

CSU Los Angeles, Team 3-1, Briggs Fall 2023 CSU Los Angeles, Team 3-1, Briggs Fall 2023人のメンバー

CSULA-BRIGGS-F23S3G1

1 メンバー

1のガイドは作成済み

0 件のコメント

コメントを追加

統計データ:

過去 24時間: 6

過去 7 日: 38

過去 30 日: 215

今までの合計 863