はじめに
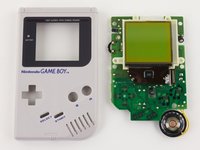
任天堂のGame Boyは1989年に発売されました。最初に売れた携帯用ゲームコンソールではありませんでしたが、それは携帯用ゲームというカテゴリーを普及させ、このゲーム業界を牽引しました。
必要な工具と部品
-
-
任天堂Game Boyは、1989年4月21日に日本で発売されました。続いて3ヶ月後の7月31日に、北米で販売開始、欧州は1年以上遅れて発売されました。これが携帯型ゲーム革命の始まりと言えます。
-
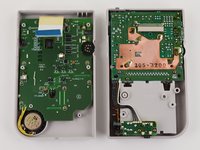
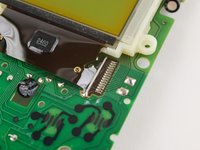
技術仕様です。
-
4.19 MHz 8ビットプロセッサ
-
RAM 8 KB
-
2.6インチ 160x144 LCDディスプレイ
-
-
この手順で使用する道具:Mako Driver Kit - 64 Precision Bits$31.96
-
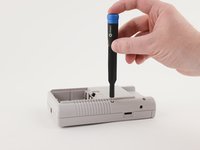
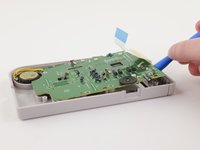
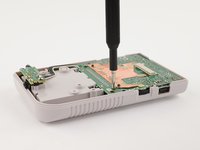
ケースは6本のトライポイントY1ネジで固定されています。1989年にも遡ると、任天堂は、DIY修繕ファンにとっては容易い標準のネジを使用していたのです。幸いにも、iFixitのMako Driver Kitがあれば、必要なツールは全て揃っています。
-
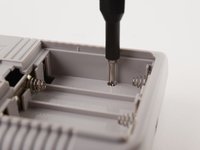
任天堂は、親切にもドライバーが完璧にバッテリーコンパートメントにフィットするように凹みを設けてくれました。
-
-


以下の翻訳者の皆さんにお礼を申し上げます:
9%

Midori Doiさんは世界中で修理する私たちを助けてくれています! あなたも貢献してみませんか?
翻訳を始める ›

8件のガイドコメント
We truly have come a long way =) Thanks for the share.
2020. Thanks
Great tear down, thank you for highlighting the chips.
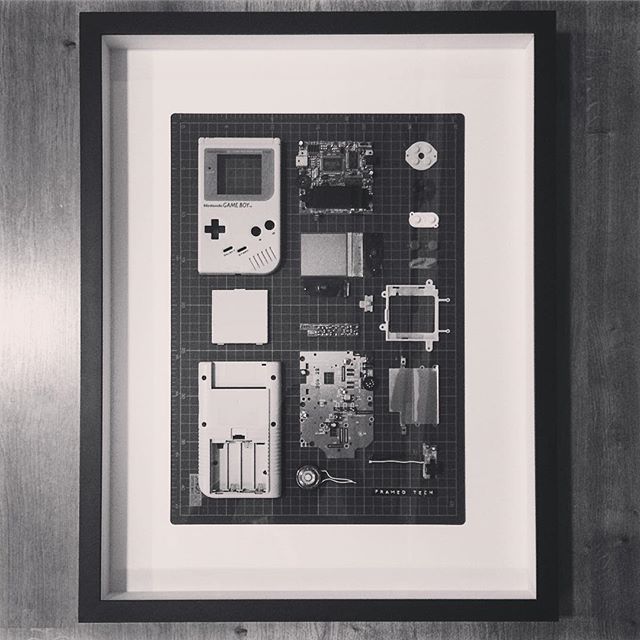
Great tear down! I want to use an old gameboy to frame it like this:
https://images.squarespace-cdn.com/conte...
Regarding Step 7, it says here: “The LCD display is attached to the circuit board with clips and couple of screws. Unfortunately, the display's cable is soldered to the board.”
My question: what’s the best and cleanest way to remove the LCD display? It doesn’t have to function again afterwards, it just needs to look as nice and cleanly taken apart as possible :)
If anyone has a good hint, please let me know! Thanks!
Fanning a soldering iron back and forth on the soldered connection should do the trick!