はじめに
Here you can learn how to replace a leaking steam valve on a Gaggia Classic.
必要な工具と部品
-
-
Phillips screwdriver
-
Flathead screwdriver
-
5mm T Allen wrench
-
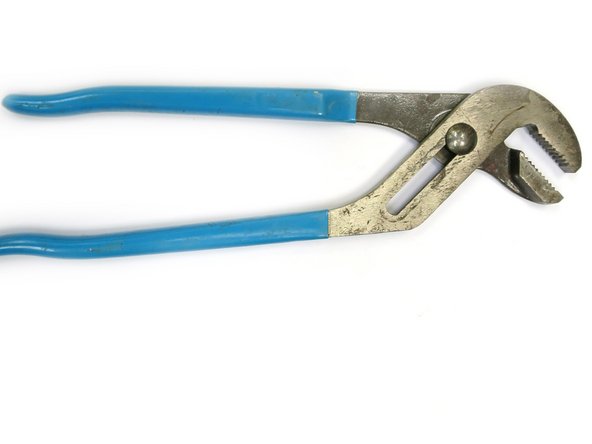
Plier wrench
-
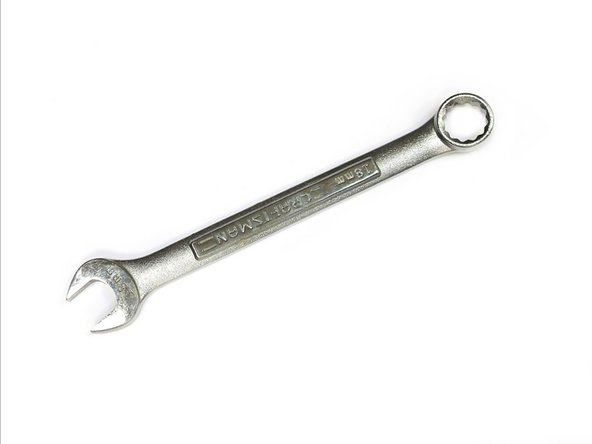
18mm open wrench
-
-
-
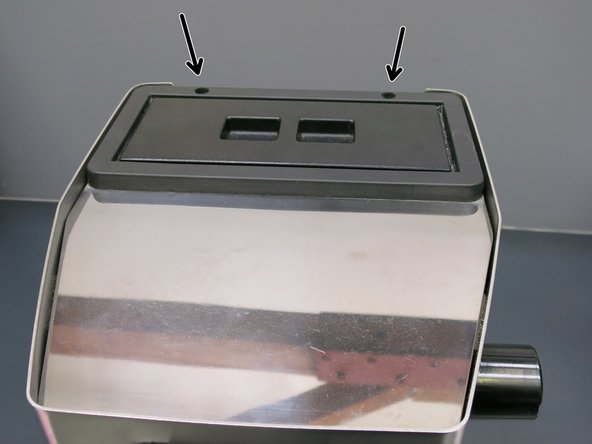
Use the philips screwdriver to open the two screws on the top of the machine.
-
Lift the top cover and put it on the side.
-
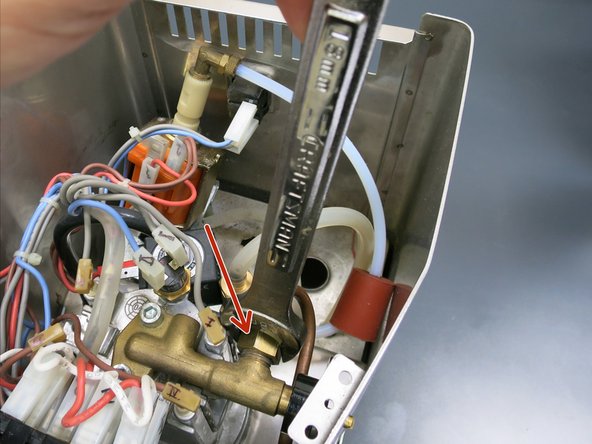
Look inside and you will see the brass valve that attached to the steam knob(black arrow), the 2 allen screws (green arrows) and the copper (or stainless steel) steam wand pipe(red arrow).
-
-
-
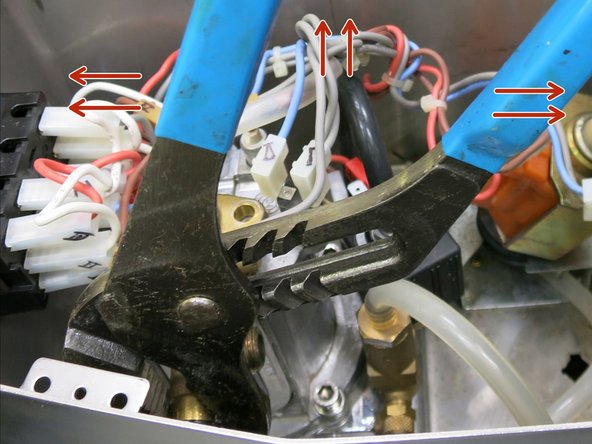
Pull the steam knob out. If its too hard, try to gently pry it out with a flathead screwdriver from the inner side of the machine.
-
-
-
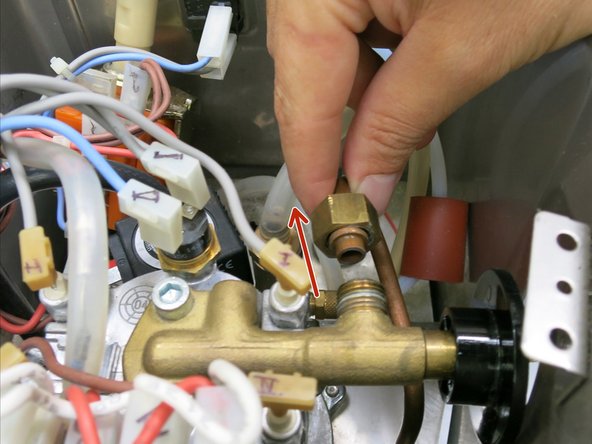
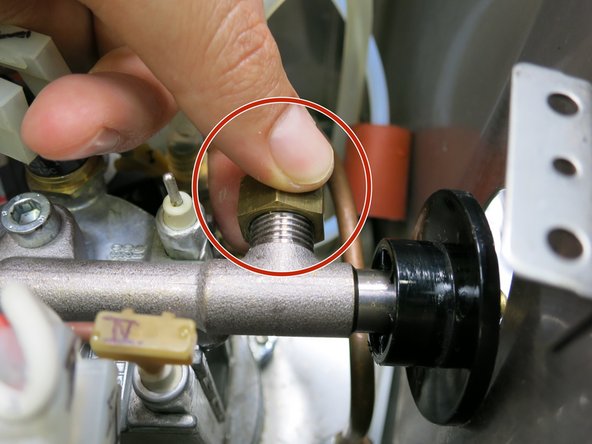
Use The 18mm wrench to open the hex nut.
-
Pull the copper pipe to the side so it wont be in the way.
-
-
-
-
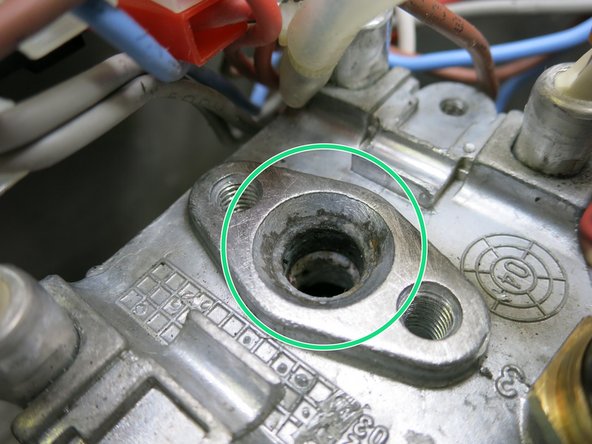
Now its time to clean the old gasket marks from the boiler
-
Use a wire brush to do the job
Please extra care if the boiler is made of aluminium when cleaning the old gasket marks, steel or brass brush can damage the aluminium easy.
hlq2action - 返信
-
-
-
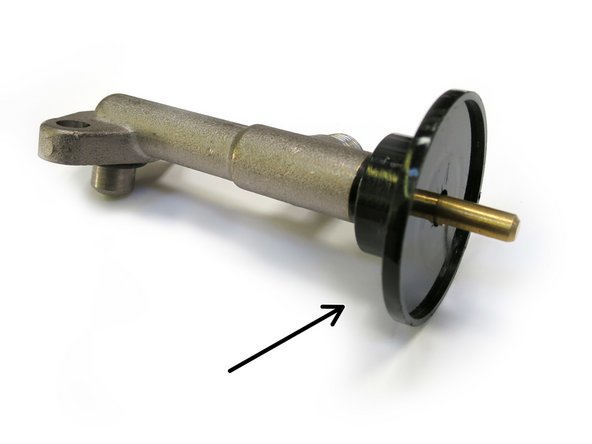
In the Kit you will find the new stainless steel valve with a black gasket and a small bag with food grade lube.
-
Lets get the valve ready to be installed! First, use the lube from the bag on the gasket and make sure its clean.
-
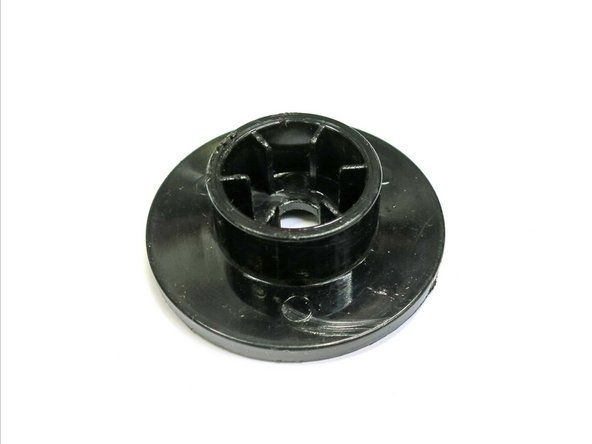
Second, place the plastic guard on the end of the valve with the flat side facing out.
-
-
-
Place the new valve back on the boiler with the gasket facing down.
-
Insert both allen screws and lock them tight.
-
Install the copper steam line back on the valve. Use the 18mm open wrench to complete the job.
-
-
-
Install the steam knob back on the valve.
-
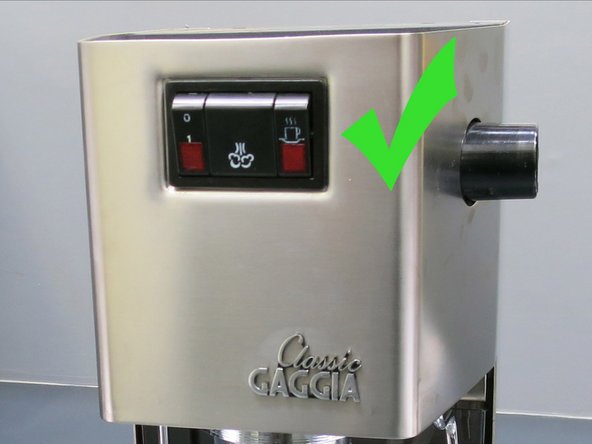
Put the top cover bak onto the machine and fasten both of the philips screws.
-
Congratulations! You are done!
-


9 の人々がこのガイドを完成させました。

5 件のコメント
I’m having trouble getting the valve to come out. It’s really stuck ! We’ve used a lot of pressure and it’s not even wiggly .
The valve screws are no problem and do not break, but the valve itself is usually stuck in its "hole in the boiler".
Remove knob as described and use the 17mm open wrench to put on top the valve end after plastic guard towards the boiler.
Then use another heavy wrench (e.g. 19mm) or hammer to hammer the the valve from left to right and back from right to left.
This takes time and makes a loud noise, do not hammer on the valve direct, use the 17mm wrench to transport the force only from side to side.
Once the valve is moving put a screwdriver (or something similar) unter the valve between the boiler to ramp up the valve slowly (1mm per left-right-left turn is enough). Take your time, in about 10min you see the valve getting loose more and more and at the end you can lift it up.
my challenge is that the stam knob is not reattaching easily. i have the metal on the round part when i push. It stays on but a big gap to the chassis, and falls off easily. Any ideas?
ajay gupta - 返信