はじめに
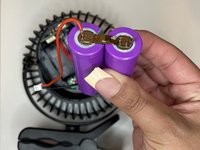
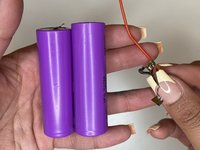
If your GEHEN Portable Clip-On Fan no longer turns on or the fan doesn't charge anymore, perhaps it is time to replace the battery. Over time, lithium batteries can begin to lose their efficiency or even stop working altogether. A battery change is needed despite the remaining components being fully functional inside the GEHEN Portable Clip-On Fan. Using a couple of tools, we will go over the steps necessary to replace the battery to extend the shelf life of the GEHEN Portable Clip-On Fan. Along with changing the battery, we will also go over how to dispose of the old batteries properly.
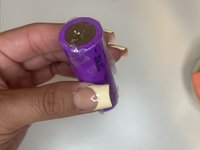
Warning: If one or both of the batteries inside the GEHEN Portable Clip-On Fan are visibly swollen when replacing, take the necessary precautions for dealing with a swollen battery as they can be dangerous and potentially cause a fire. For more information on how to deal with a swollen battery, take a look at this blog post on What to Do With a Swollen iPhone Battery.
必要な工具と部品


To reassemble your device, follow these instructions in reverse order.
チーム

CSU Los Angeles, Team 8-5, Grodsky Spring 2024 CSU Los Angeles, Team 8-5, Grodsky Spring 2024人のメンバー
CSULA-GRODSKY-S24S8G5
2 メンバー
1のガイドは作成済み