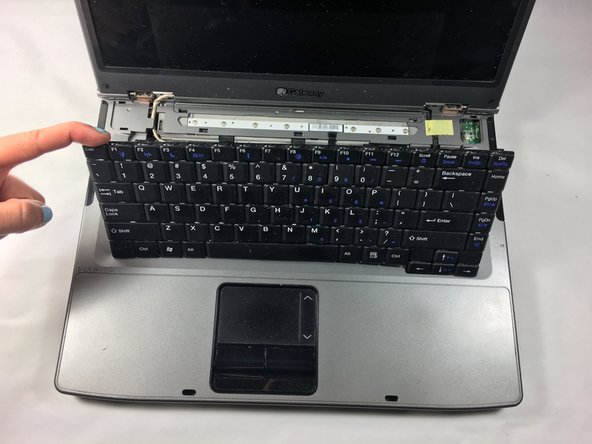
メインコンテンツにスキップ

GATEWAY ML6720 Keyboard Replacement

必要な工具と部品

    • Flip the laptop on to the backside.

  1. GATEWAY ML6720 Keyboard Replacement: 手順 2、 1の画像 1
    • Locate the battery at the very top on the backside of the laptop.

  2. GATEWAY ML6720 Keyboard Replacement: 手順 3、 2の画像 1 GATEWAY ML6720 Keyboard Replacement: 手順 3、 2の画像 2
    • Slide the latch in the top right corner to the right, to set it to unlocked.

  3. GATEWAY ML6720 Keyboard Replacement: 手順 4、 2の画像 1 GATEWAY ML6720 Keyboard Replacement: 手順 4、 2の画像 2
    • Hold the other latch in the top left corner to the left.

    • Hold it in that place with your thumb until the completion of the next step. (This step unlocks the second latch.)

  4. GATEWAY ML6720 Keyboard Replacement: 手順 5、 2の画像 1 GATEWAY ML6720 Keyboard Replacement: 手順 5、 2の画像 2
    • With both latches unlocked you can now slide out the battery, by pushing it off the top.

  5. GATEWAY ML6720 Keyboard Replacement, Keyboard: 手順 6、 1の画像 1
    • Turn the laptop on its backside with the stickers and barcode facing you.

  6. GATEWAY ML6720 Keyboard Replacement: 手順 7、 3の画像 1 GATEWAY ML6720 Keyboard Replacement: 手順 7、 3の画像 2 GATEWAY ML6720 Keyboard Replacement: 手順 7、 3の画像 3
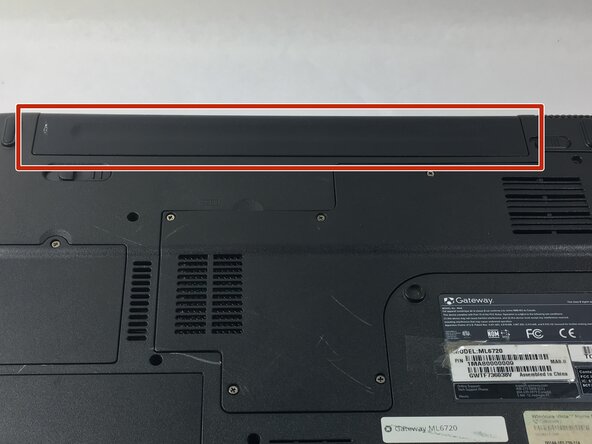
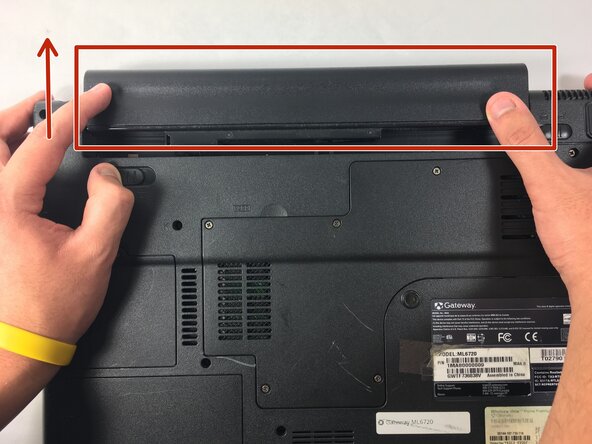
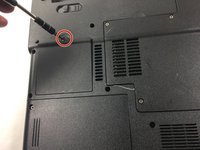
    • Be careful of losing the screws because of how small they are

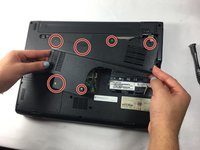
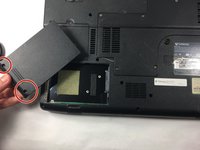
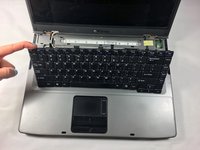
    • Remove the six 2.0mm Phillips screws and panels from the back of the RAM, motherboard, and laptop fan.

  7. GATEWAY ML6720 Keyboard Replacement: 手順 8、 1の画像 1
    • Have your laptop remained on the backside

    • Remove the twelve identical 2.0mm Phillips Screws located around the back of the laptop using the Phillips #0 Screwdriver.

    • Remove the entire back panel of the laptop

  8. GATEWAY ML6720 Keyboard Replacement: 手順 9、 2の画像 1 GATEWAY ML6720 Keyboard Replacement: 手順 9、 2の画像 2
    • Using a pair of tweezers or the tip of your screw driver, dig into the laptop cover and apply force to pop it out.

    • Do this on the left and right side of the cover

  9. GATEWAY ML6720 Keyboard Replacement: 手順 10、 2の画像 1 GATEWAY ML6720 Keyboard Replacement: 手順 10、 2の画像 2
    • Pull up the keyboard with your finger

終わりに

To reassemble your device, follow these instructions in reverse order.

作成者

4人の作成者と共同で作成されました。

Nathan Da Silva

メンバー登録日: 10/19/16

401 ポイント

4のガイドは作成済み

チーム

UMass Dartmouth, Team 2-3, Isaacson Fall 2016 UMass Dartmouth, Team 2-3, Isaacson Fall 2016人のメンバー

UMASSD-ISAACSON-F16S2G3

2 メンバー

10のガイドは作成済み

0 件のコメント

コメントを追加

統計データ:

過去 24時間: 0

過去 7 日: 2

過去 30 日: 10

今までの合計 532