メインコンテンツにスキップ

GAMDIAS Hermes E1C Keyboard Switch Replacement

必要な工具と部品

  1. GAMDIAS Hermes E1C Keyboard Switch Replacement, Keyboard Switch: 手順 1、 1の画像 1
    • Disconnect the keyboard via its USB cable.

  2. GAMDIAS Hermes E1C Keyboard Switch Replacement: 手順 2、 3の画像 1 GAMDIAS Hermes E1C Keyboard Switch Replacement: 手順 2、 3の画像 2 GAMDIAS Hermes E1C Keyboard Switch Replacement: 手順 2、 3の画像 3
    • Using a keycap remover, pull out as many keycaps as needed using minimal force.

    • Removal of 3 caps from the top, 1 cap from the right & left, and 2 caps from the bottom are needed to gain clear access to a desired switch.

    • It is highly recommended to take a picture of the keyboard before removing the majority of keycaps.

  3. GAMDIAS Hermes E1C Keyboard Switch Replacement: 手順 3、 3の画像 1 GAMDIAS Hermes E1C Keyboard Switch Replacement: 手順 3、 3の画像 2 GAMDIAS Hermes E1C Keyboard Switch Replacement: 手順 3、 3の画像 3
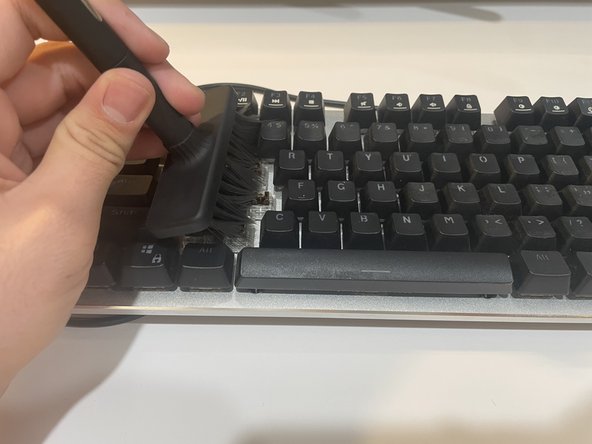
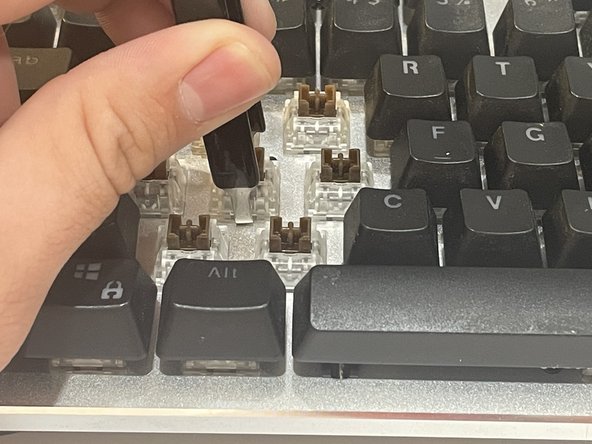
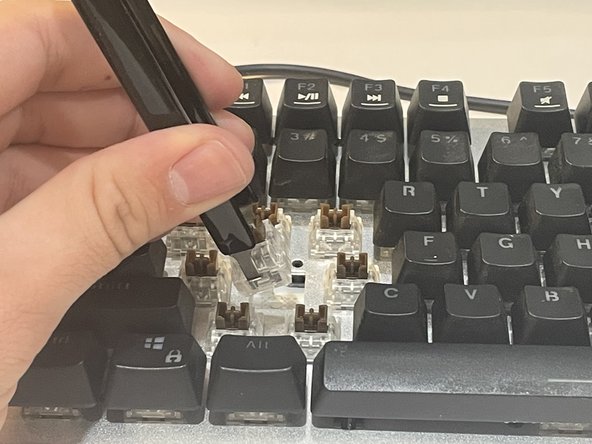
    • Use a brush to remove any debris to prevent any connection issues for the switches.

    • You will need to spend a bit of time moving the brush up and down through the switches as some debris may not be cleared.

    • Usage of the brush shown in the 3rd picture is only needed if there are clear signs of debris stuck under the switch.

  4. GAMDIAS Hermes E1C Keyboard Switch Replacement: 手順 4、 3の画像 1 GAMDIAS Hermes E1C Keyboard Switch Replacement: 手順 4、 3の画像 2 GAMDIAS Hermes E1C Keyboard Switch Replacement: 手順 4、 3の画像 3
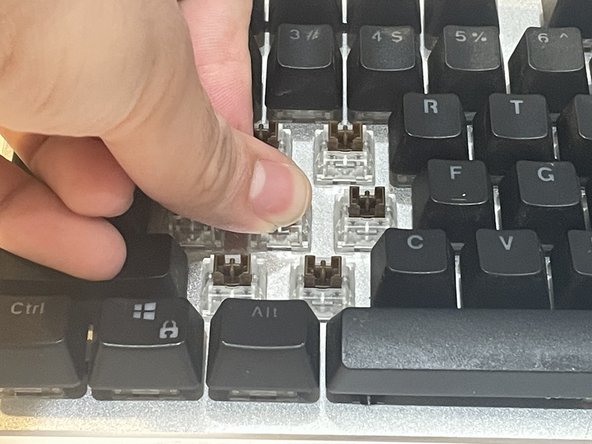
    • Using a switch puller, you want to target the top and bottom of the switch.

    • When you feel like the tool is safely under the switch you can simply pull it upwards with a bit of force.

  5. GAMDIAS Hermes E1C Keyboard Switch Replacement: 手順 5、 3の画像 1 GAMDIAS Hermes E1C Keyboard Switch Replacement: 手順 5、 3の画像 2 GAMDIAS Hermes E1C Keyboard Switch Replacement: 手順 5、 3の画像 3
    • Before inserting the new/working switch, you need to make sure that you can either:

    • See an X symbol facing towards you.

    • See that the top of the brown switch is horizontal like a rectangle.

    • Insert the correctly aligned switch by using a bit of force to push in the switch as there are no pins to be mindful of.

    • If the switch is not correctly aligned you run the risk of damaging the switch or even getting it stuck in the keyboard.

  6. GAMDIAS Hermes E1C Keyboard Switch Replacement: 手順 6、 3の画像 1 GAMDIAS Hermes E1C Keyboard Switch Replacement: 手順 6、 3の画像 2 GAMDIAS Hermes E1C Keyboard Switch Replacement: 手順 6、 3の画像 3
    • Simply use a bit of force to place the keycaps back onto the switches

    • If you are removing multiple key caps then this is where the previously mentioned picture becomes useful, as it will help you place the the key caps on their corresponding switches.

    • Some keycaps have "switch helpers," such as the space bar. All that is needed is to align the bottom of the keycap with the placement on the keyboard and it should pop into place easily.

ゴール

作成者

1人の作成者と共同作成されました。

Jorge Arias

メンバー登録日: 10/25/23

133 ポイント

1ガイドが承認済み

チーム

CSU Los Angeles, Team 4-4, Kershman Fall 2023 CSU Los Angeles, Team 4-4, Kershman Fall 2023人のメンバー

CSULA-KERSHMAN-F23S4G4

1 メンバー

1のガイドは作成済み

コメント 1 件

where did you get the switches? I can't find any anywhere.

abbi grace - 返信

コメントを追加

統計データ:

過去 24時間: 2

過去 7 日: 13

過去 30 日: 49

今までの合計 259