メインコンテンツにスキップ
リペアコミュニティに参加 - アカウントの作成

Fujitsu LifeBook N3510 RAM Replacement

必要な工具と部品

    1. Fujitsu LifeBook N3510 RAM Replacement, Battery: 手順 1、 1の画像 1
      • Locate the two clips on the bottom of the computer that support the battery.

      FixBotに聞いてみる

      コメントを追加

    2. Fujitsu LifeBook N3510 RAM Replacement: 手順 2、 1の画像 1
      • Using your fingers, push the clips inward and then upward.

      • Lift the battery out of the computer.

      FixBotに聞いてみる

      コメントを追加

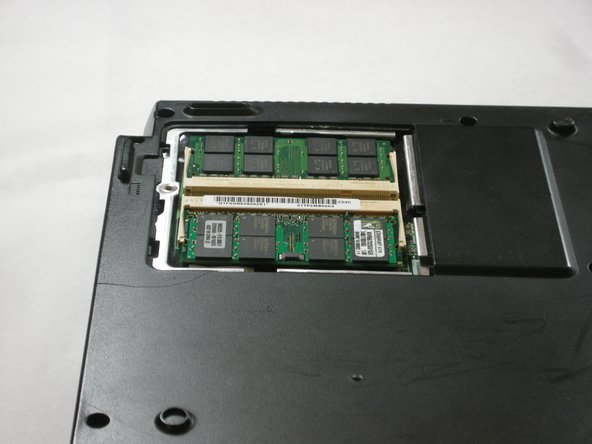
    1. Fujitsu LifeBook N3510 RAM Replacement, RAM: 手順 3、 1の画像 1
      • Locate the RAM cover.

      FixBotに聞いてみる

      コメントを追加

    2. Fujitsu LifeBook N3510 RAM Replacement: 手順 4、 1の画像 1
      • Remove the screw labeled “3.”

      • The screw is not shown in the picture.

      FixBotに聞いてみる

      コメントを追加

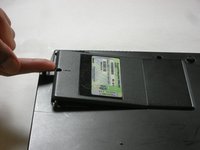
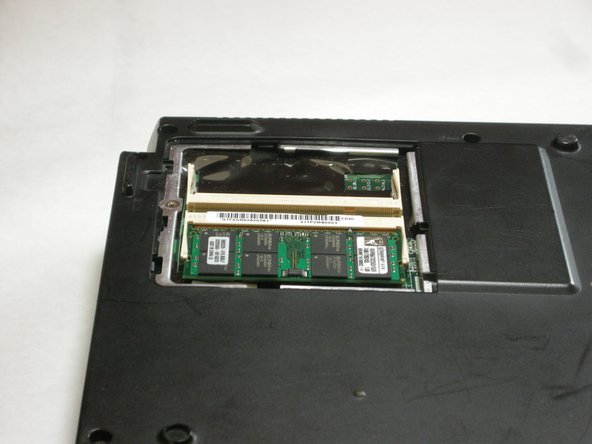
    3. Fujitsu LifeBook N3510 RAM Replacement: 手順 5、 2の画像 1 Fujitsu LifeBook N3510 RAM Replacement: 手順 5、 2の画像 2
      • Remove the RAM cover by lifting it with your finger.

      FixBotに聞いてみる

      コメントを追加

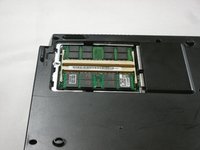
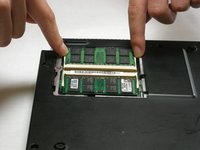
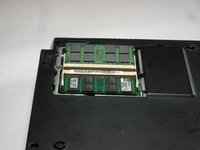
    4. Fujitsu LifeBook N3510 RAM Replacement: 手順 6、 2の画像 1 Fujitsu LifeBook N3510 RAM Replacement: 手順 6、 2の画像 2
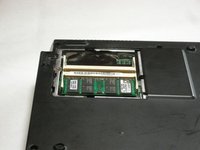
      • Remove the RAM module by pushing the securing clips outward.

      • The RAM module will then slightly pop out.

      • When you are installing a new RAM module, carefully insert it into the socket and push downwards.

      FixBotに聞いてみる

      コメントを追加

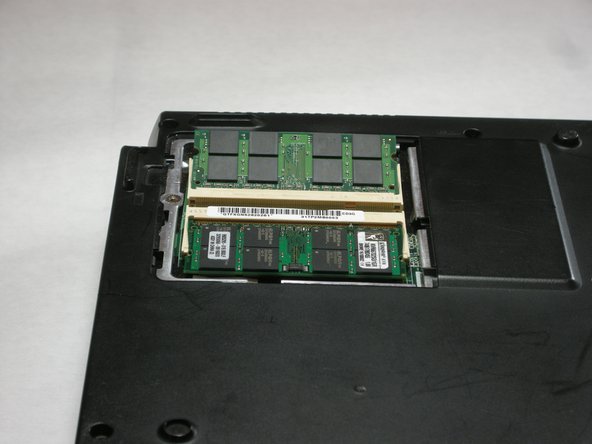
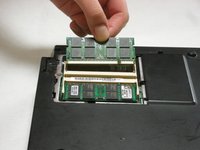
    5. Fujitsu LifeBook N3510 RAM Replacement: 手順 7、 2の画像 1 Fujitsu LifeBook N3510 RAM Replacement: 手順 7、 2の画像 2
      • Carefully pull the RAM module from the computer.

      FixBotに聞いてみる

      コメントを追加

終わりに

To reassemble your device, follow these instructions in reverse order.

キャンセル: このガイドを終了できませんでした。

3 の人々がこのガイドを完成させました。

作成者

7人の作成者と共同で作成されました。

Neil Daniels

メンバー登録日: 01/17/11

1,411 ポイント

11のガイドは作成済み

チーム

Cal Poly, Team 5-18, Amido Winter 2011 Cal Poly, Team 5-18, Amido Winter 2011人のメンバー

CPSU-AMIDO-W11S5G18

3 メンバー

132のガイドは作成済み

0件のガイドコメント

コメントを追加

統計データ:

過去 24時間: 1

過去 7 日: 2

過去 30 日: 22

今までの合計 3,464