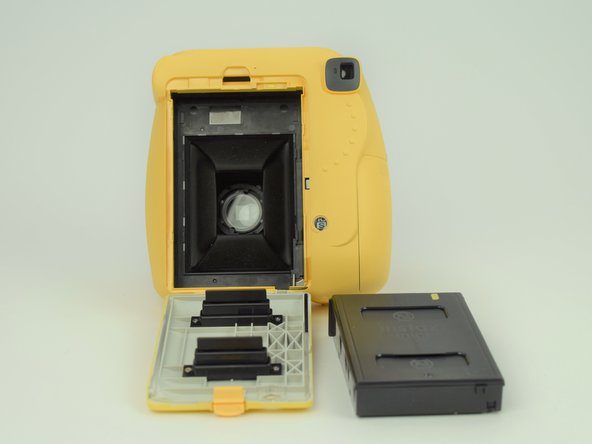
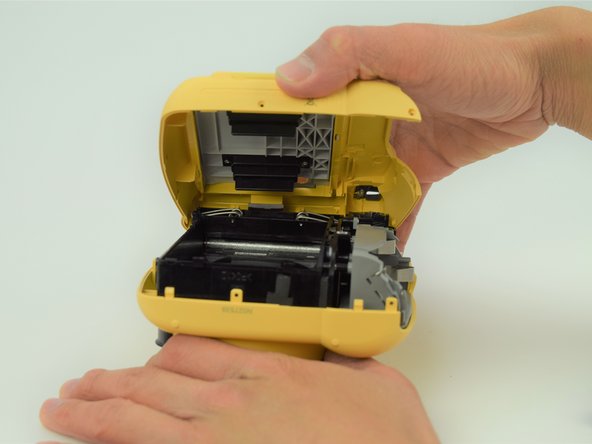
メインコンテンツにスキップ

Fujifilm Instax Minion Motor Replacement

必要な工具と部品

  1. Fujifilm Instax Minion Motor Replacement, Camera Shell: 手順 1、 3の画像 1 Fujifilm Instax Minion Motor Replacement, Camera Shell: 手順 1、 3の画像 2 Fujifilm Instax Minion Motor Replacement, Camera Shell: 手順 1、 3の画像 3
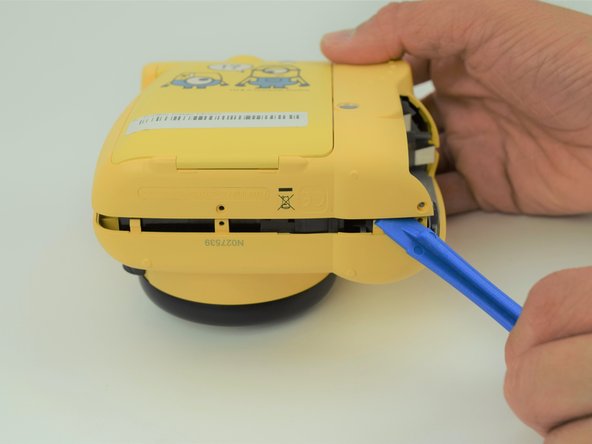
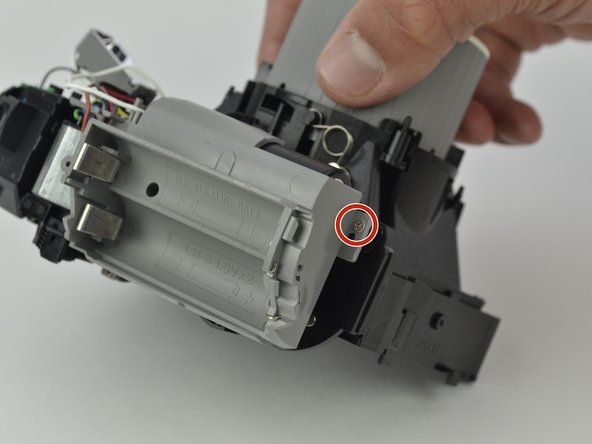
    • Remove the six 4.5 mm #00 Phillips screws from the bottom, left, and right sides.

  2. Fujifilm Instax Minion Motor Replacement: 手順 2、 3の画像 1 Fujifilm Instax Minion Motor Replacement: 手順 2、 3の画像 2 Fujifilm Instax Minion Motor Replacement: 手順 2、 3の画像 3
    • Use a spudger to remove the film slot guard on the top of the camera.

    • Remove the one 4.5 mm #00 Phillips screw under the slot guard.

  3. Fujifilm Instax Minion Motor Replacement: 手順 3、 3の画像 1 Fujifilm Instax Minion Motor Replacement: 手順 3、 3の画像 2 Fujifilm Instax Minion Motor Replacement: 手順 3、 3の画像 3
    • Press the release tab on the back of the camera to open the film compartment.

    • Remove the film cartridge within this compartment.

  4. Fujifilm Instax Minion Motor Replacement: 手順 4、 3の画像 1 Fujifilm Instax Minion Motor Replacement: 手順 4、 3の画像 2 Fujifilm Instax Minion Motor Replacement: 手順 4、 3の画像 3
    • Press the battery cover in and down to remove it.

    • Remove any batteries within.

  5. Fujifilm Instax Minion Motor Replacement: 手順 5、 3の画像 1 Fujifilm Instax Minion Motor Replacement: 手順 5、 3の画像 2 Fujifilm Instax Minion Motor Replacement: 手順 5、 3の画像 3
    • Use a plastic opening tool to help pry the front and back shells apart.

    • With the camera facing down, remove only the back shell.

  6. Fujifilm Instax Minion Motor Replacement: 手順 6、 3の画像 1 Fujifilm Instax Minion Motor Replacement: 手順 6、 3の画像 2 Fujifilm Instax Minion Motor Replacement: 手順 6、 3の画像 3
    • Carefully peel the front side of the shell away.

    • As you lift the front shell, be careful to not pull too hard since there is a spring attached to the shell and the camera body.

    • Using a set of tweezers, detach the spring from the body. The spring will retract into the black and gray ring on the front shell.

  7. Fujifilm Instax Minion Motor Replacement, Motor: 手順 7、 2の画像 1 Fujifilm Instax Minion Motor Replacement, Motor: 手順 7、 2の画像 2
    • Remove the four 4.5 mm #00 Phillips screws on the battery compartment.

  8. Fujifilm Instax Minion Motor Replacement: 手順 8、 1の画像 1
    • Lift up the battery compartment to free up the motor.

  9. Fujifilm Instax Minion Motor Replacement: 手順 9、 1の画像 1
    • Unscrew the two 2.9mm Phillips #00 screws holding the motor to the frame.

  10. Fujifilm Instax Minion Motor Replacement: 手順 10、 2の画像 1 Fujifilm Instax Minion Motor Replacement: 手順 10、 2の画像 2
    • Remove the motor from the frame.

  11. Fujifilm Instax Minion Motor Replacement: 手順 11、 2の画像 1 Fujifilm Instax Minion Motor Replacement: 手順 11、 2の画像 2
    • Desolder the wires from the leads of the capacitor.

    • Take note of the connections between the wires and leads for reassembly.

終わりに

To reassemble your device, follow these instructions in reverse order.

ある他の人がこのガイドを完成しました。

作成者

3人の作成者と共同で作成されました。

Jeffery

メンバー登録日: 03/28/15

220 ポイント

2のガイドは作成済み

チーム

Cal Poly, Team S18-G6, Livingston Spring 2018 Cal Poly, Team S18-G6, Livingston Spring 2018人のメンバー

CPSU-LIVINGSTON-S18S18G6

4 メンバー

10のガイドは作成済み

コメント 1 件

Can anyone help finding a motor for the instax 8 or 9? I can't find one to fit any help appreciated

Jordan Kelly - 返信

コメントを追加

統計データ:

過去 24時間: 0

過去 7 日: 2

過去 30 日: 19

今までの合計 1,344