メインコンテンツにスキップ

Fujifilm Instax Minion Camera Shell Replacement

必要な工具と部品

  1. Fujifilm Instax Minion Camera Shell Replacement, Camera Shell: 手順 1、 3の画像 1 Fujifilm Instax Minion Camera Shell Replacement, Camera Shell: 手順 1、 3の画像 2 Fujifilm Instax Minion Camera Shell Replacement, Camera Shell: 手順 1、 3の画像 3
    • Remove the six 4.5 mm #00 Phillips screws from the bottom, left, and right sides.

  2. Fujifilm Instax Minion Camera Shell Replacement: 手順 2、 3の画像 1 Fujifilm Instax Minion Camera Shell Replacement: 手順 2、 3の画像 2 Fujifilm Instax Minion Camera Shell Replacement: 手順 2、 3の画像 3
    • Use a spudger to remove the film slot guard on the top of the camera.

    • Remove the one 4.5 mm #00 Phillips screw under the slot guard.

  3. Fujifilm Instax Minion Camera Shell Replacement: 手順 3、 3の画像 1 Fujifilm Instax Minion Camera Shell Replacement: 手順 3、 3の画像 2 Fujifilm Instax Minion Camera Shell Replacement: 手順 3、 3の画像 3
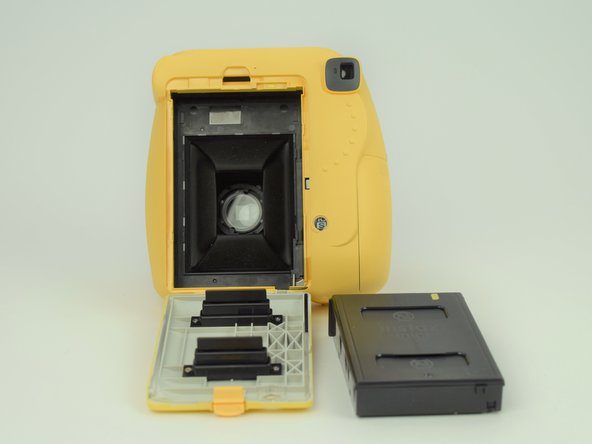
    • Press the release tab on the back of the camera to open the film compartment.

    • Remove the film cartridge within this compartment.

  4. Fujifilm Instax Minion Camera Shell Replacement: 手順 4、 3の画像 1 Fujifilm Instax Minion Camera Shell Replacement: 手順 4、 3の画像 2 Fujifilm Instax Minion Camera Shell Replacement: 手順 4、 3の画像 3
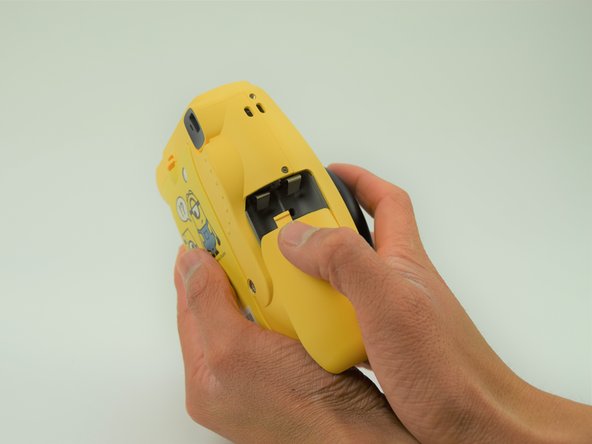
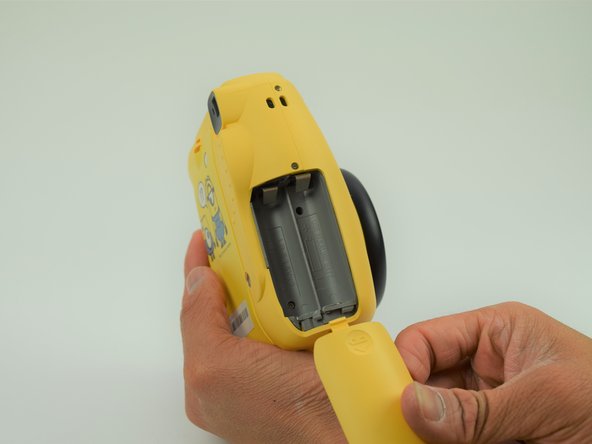
    • Press the battery cover in and down to remove it.

    • Remove any batteries within.

  5. Fujifilm Instax Minion Camera Shell Replacement: 手順 5、 3の画像 1 Fujifilm Instax Minion Camera Shell Replacement: 手順 5、 3の画像 2 Fujifilm Instax Minion Camera Shell Replacement: 手順 5、 3の画像 3
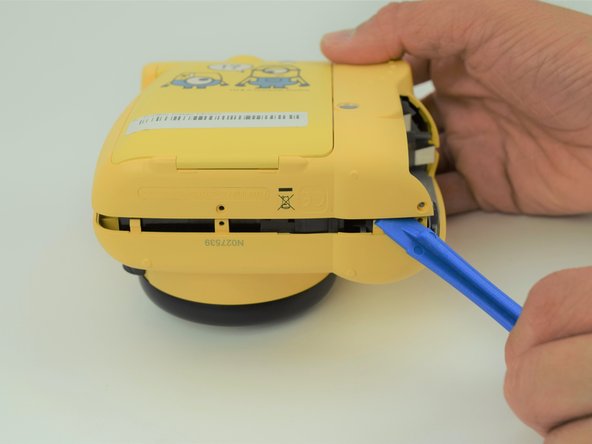
    • Use a plastic opening tool to help pry the front and back shells apart.

    • With the camera facing down, remove only the back shell.

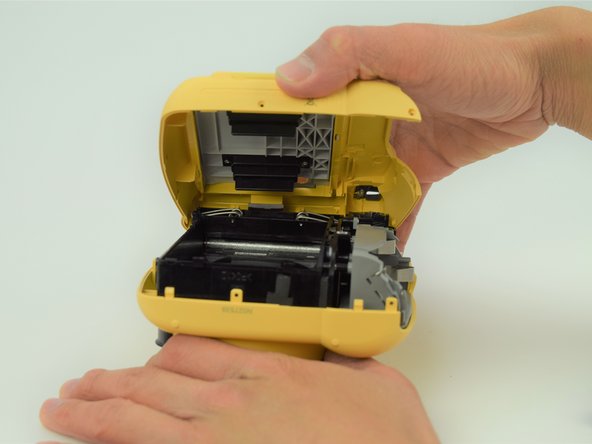
  6. Fujifilm Instax Minion Camera Shell Replacement: 手順 6、 3の画像 1 Fujifilm Instax Minion Camera Shell Replacement: 手順 6、 3の画像 2 Fujifilm Instax Minion Camera Shell Replacement: 手順 6、 3の画像 3
    • Carefully peel the front side of the shell away.

    • As you lift the front shell, be careful to not pull too hard since there is a spring attached to the shell and the camera body.

    • Using a set of tweezers, detach the spring from the body. The spring will retract into the black and gray ring on the front shell.

終わりに

To reassemble your device, follow these instructions in reverse order.

作成者

3人の作成者と共同で作成されました。

Jonnah Lee

メンバー登録日: 04/18/18

473 ポイント

3のガイドは作成済み

チーム

Cal Poly, Team S18-G6, Livingston Spring 2018 Cal Poly, Team S18-G6, Livingston Spring 2018人のメンバー

CPSU-LIVINGSTON-S18S18G6

4 メンバー

11のガイドは作成済み

0 件のコメント

コメントを追加

統計データ:

過去 24時間: 4

過去 7 日: 10

過去 30 日: 47

今までの合計 1,998