はじめに
The small form factor makes the NUC too prone to overheating due dust accumulation in the CPU cooler air outlet fins
必要な工具と部品
-
-
Start by using a Phillips head #2 screw driver to remove the lower screws on the lower case door.
-
These screws are held in with retainers, so they won't fall out when you flip the lid.
-
-
-
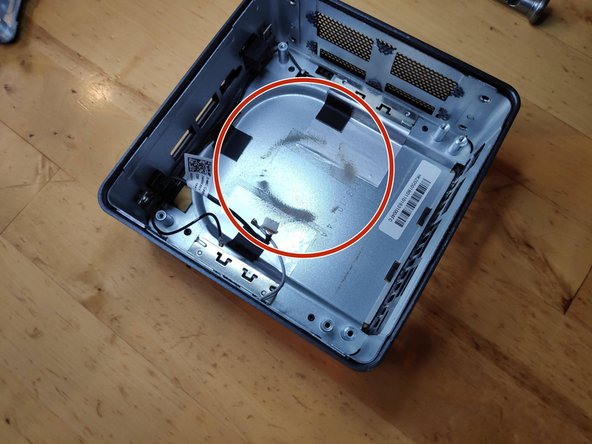
Lift the door, and keep an eye on the cables that connect to the NUC's motherboard. These cables are the power and data cables for the 2.5" hard drive bay.
-
Carefully unplug the cables from the motherboard, and set the bracket aside.
-
In the last photo, the slot for a blade SSD is marked with a red arrow. This is where you would install the blade SSD, and use a screw to hold it in place.
-
-
-
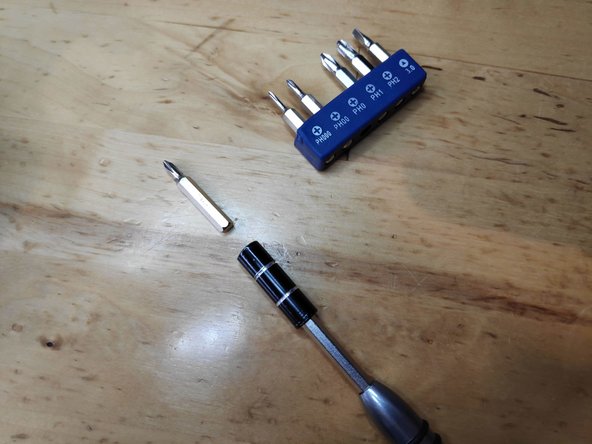
Change the screw driver bit to the PH1 one.
-
Unscrew the V-NAND SSD and carefully slide it out of its connector.
-
-
-
Unscrew the screws marked in red circles
Hello, may I know what is the screw size? I already stripped mine so I'm trying to get a replacement screw when I have the stripped out. Mine was stripped and cannot get it out. Can you please help me? I've already used the rubber and glue method but no luck.
-
-
-
-
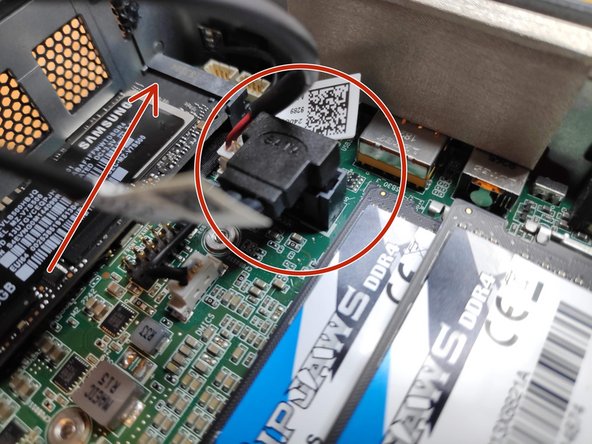
Remove the WiFi and Bluetooth antenna cables (be extremely careful when doing this otherwise you risk to rip the base contact terminal off the PCB)
-
Remove the stereo mic cable from the motherboard connector.
-
Pay attetion to the WiFi cable hidden under a black piece of tape
Remove WiFi an Bluetooth antenna Cable very carefully. Terminals can be ripped of easily.
very true, I’ll add it to the guide
Added to the step in the guide, thanks for pointing that out!
Note that the WiFi and Bluetooth antenna cables lift/pull off vertically (not slide off horizontally, as I presumed from the photo). They are circular connectors with a pin in the middle. Getting them off was okay (I actually used tweezers), but it was fiddly work trying to push them back on.
-
-
-
Not all are necessary only the two depicted.
Hallo, kann man den Lüfter auswechsel. Bei mir ist er nach ca. 15-20 min sehr laut.Ich glaube das das Lager defekt ist . Wenn ja, wo bekomme ich einen neuen her?.Für eine ausführliche Nachricht wäre ich sehr Dankbar.
Mit freundlichen Grüßen
Joachim Arndt, j.a.50@web.de
-
-
-
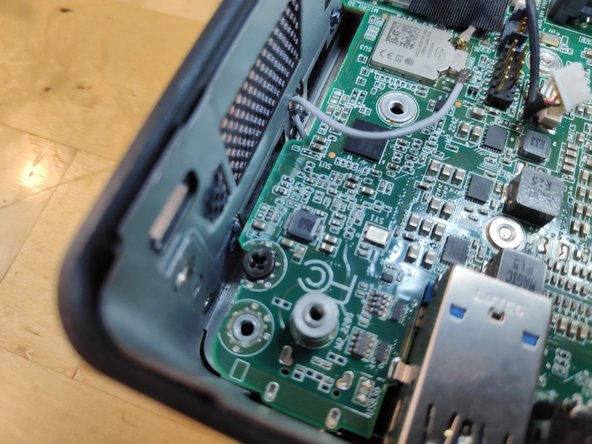
Use a pry tool to lift the motherboard from the casing
-
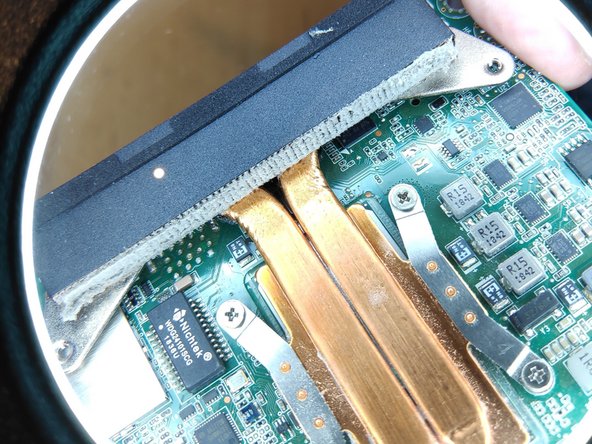
Marked with red circles the dust signs evident on first sight
Amazing! Could replace the fan. Have also removed the 4 screws of the heatsink , and renewed the thermal paste underneath it. That was necessary. It was dried out. THANKS!! It works like new: no overheating anymore. A lot faster.
The key for getting the motherboard is to move apart very firmly the two opposite sides of the metal casing, so as to let the connectors move down.
Thank you Jan for that tip!
I spent 20 minutes trying to jiggle it out before I read that!
Yes, pull it apart somewhat and it comes out (relatively) easily.
-
-
-
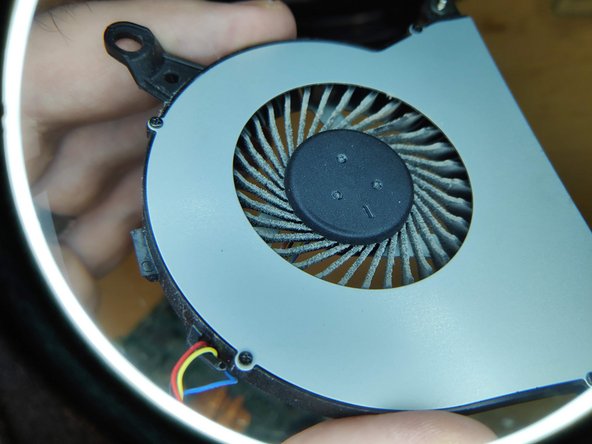
Remove the 3 screws fixing the CPU fan
-
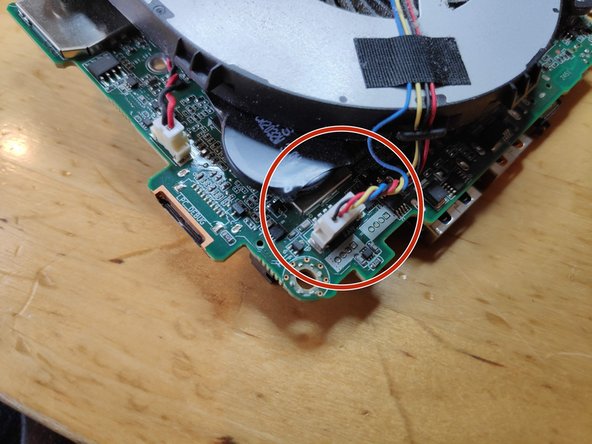
Remove the fan power connect from the motherboard
-
-
-
You will need to use compressed air, a small vacuum cleaner or something similar to blast off all the stucked dust.
-
-
-
This step is probably not necessary, but for the sake of completeness here it is.
-
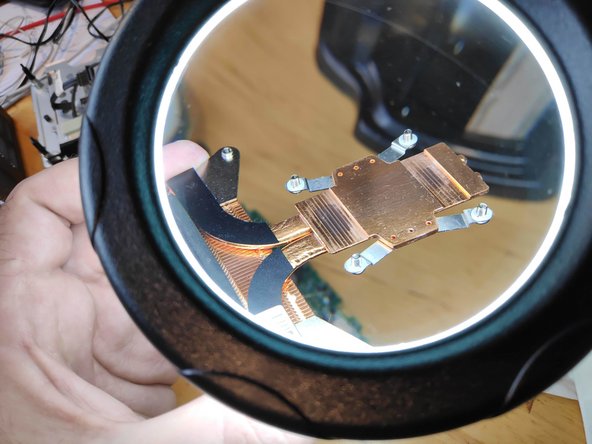
Remove the screws holding the CPU cooler following the numbers on them.
-
-
-
Use isopropyl alcohol for this, be careful not to touch the the thermal pads on the chips around the CPU.
-
-
-
Be careful not to apply too much of it.
-


To reassemble your device, follow these instructions in reverse order.
To reassemble your device, follow these instructions in reverse order.
40 の人々がこのガイドを完成させました。
29 件のコメント
Great tutorial, thanks, now my fan is very clean and quiet. Thanks for spending time to create this guide!
I did see this guide after finding out the same steps myself and having seen this guide before doing so would be very helpful.
Jack Graus - 返信
you are welcome
Thank you very much! This seems to be problem with NUCs because the first one I had was replaced under warranty after the fan quit but glad I was able to clean this to hopefully keep it running longer.
Glad it helped!
Just what I needed and couldn’t find elsewhere! Thank you.
Great guide. Super useful, A+
Hi @L+B I don’t know which one you mean but I’m afraid I don’t possess that information.
I own the same model as yours (8i7BEH).
I have bought thermal paste for CPU but not yet the thermal pads (for eDRAM and PCH) and was wondering what to buy before disassembling my unit :-)
L B -
Incredibly helpful, thank you! My NUC started blowing like a jet engine and thermal throttling and I realized it was hitting 100C temps. Followed this guide and found my heatsink / fan slots were completely blocked with fine dust - no hair or dust bunnies, but just plugged completely. Blew it out and am back down to 75C at max (transcoding) usage.
Answering two questions above:
- antenna connectors pull straight out from the motherboard. A pair of tweezers is a good tool for this.
- thermal pads are 1mm. came up as 0.7 on my calipers so assuming slightly compressed.
My personal mistake - if you find any of the screws connecting the outer case to the unit won’t screw down, check where you put the screws connecting the motherboard to the base. I had accidentally put a motherboard screw into a case screw hole and then couldn’t screw in that case screw until I moved the motherboard screw.
Taking photos as you go is a good idea!
Awesome guide. Helped me a lot!
Can you measure the distance betwen the holes that hold the cooling radiator ? I’m planning on upgrading it with a regular CPU cooler. Thanks !
Lucian Pop - 返信
Great, thx! Works for Intel NUC8BEB / Wortmann Terra PC-Micro Sielent 6000 almost identical. After disassembling the unit, I applied a little WD40 to the noisy fan. Did the trick!
Thank you so much. I was able to strip the fan out and blew it out with my compressor. It still made a noise when I moved it with my finger (like it was almost off-center) sprayed a bit of WD-40 into it and more air. It is quiet (for now).
But, thank you very much again
regards
Aubrey (aka cyber7, Cape Town, South Africa)
Very helpful! I followed this for the NUC8i7BEK: the thin version of NUC8i7BEH without space for 2.5" drive. It was the same except for step 3, and I didn't need to remove any padding in step 11; could take motherboard out and back in whilst keeping them attached.
Step 17: I believe it's not good for the fan to make it spin fast like that. Better to hold it stationary while blowing with canned air.
I made the same mistake as another commenter with not putting in the motherboard screws back in the same spots, and then not being able to tighten the screws in the lid.
I skipped steps 18-20 as it was not needed for now.
Thanks again! NUC sounds much healthier now (quiet).
Excellent tutorial!
Have you ever thought of publishing this along your other services as a PDF poster, on paper? As a
modest ontology?
If interested, please mail,
Wolfgang
Thanks for the guide. I was able to clear the dust blockage. Without the guide I would not have attempted it. I am still amazed at how poorly fan and cooling design is in 2022. It should be a simple thing to clear dust out of a system with filters properly placed.
Great instructional!
It was indeed the cause of overheating.
Thank you man
Has anyone tried something simple like a vacuum with moderate suction agonist th vent grill? J E Barnes, 11/29/22
Thank you.
Very useful
Perfect! Less noise, less throttling now. Performance improved by about 10% under load.
Thank you for the help!
Suche ein Mainboard von diesem Model
Thanks for the tutorial. Replacing the original thermal paste which was not applied properly at the factory (the paste did not completely cover the surface) was a game changer!
I used Thermal Grizzly Conductonaut (73 W/m K) as a replacement and on idle the computer now runs at 38-44° C instead of 65-75° C. Under load the CPU was throttling all the time due to its 100° C temperature and was simply unusable in some circumstances. Now it runs at 70° C on heavy load. It's a 30° degrees gain!
thanks for sharing! The heatsink was competely blocked by dust. Temperature decreased by 40°C.