はじめに
If you are a mobile phone repair person, you know, have useful repair tools assisted during the refurbishing process can make the repair job successfully.
So, we want to introduce one of the useful tools to you, that is Universal Laminating Mold. Today we would like to show you how to use it to laminate a new OCA on Samsung Note 8 Edge Touch Glass in a short time, and the success rate can get 100%. The mold is suitable for edge screen and flat screen, especially for newbies to use.
Now, please follow my steps.
必要な工具と部品
ビデオの概要
-
-
We put a new OCA on a new Samsung Galaxy Note 8 touch screen. It doesn’t paste on the touch screen because the protector of the OCA is no need to be torn off. And you can move the OCA around until you get the right place.
-
-
-
Then we put the upper mold on the base one after we align the position and continue to press it with our hands.
-
At this moment, the OCA is absorbed on the upper mold.
-
-
-
-
For this step, we can use an easy tape to tear off the protector of the touch screen.
-
-
-
After finishing the above steps, we put the whole set of mold into RMB-2 Laminating Machine for bonding.
-
For the whole process, the vacuum time we set is 30s and the lamination time is 10s, the total time for the lamination only needs 40s.
-
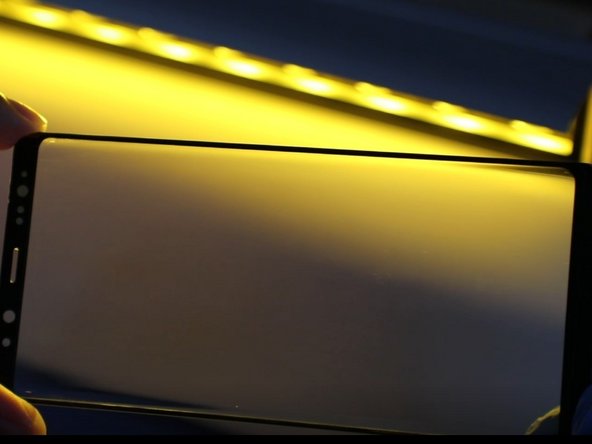
Now let’s see the final result after the lamination. There is no any bubble on the touch screen and the OCA’s position is completely unbiased and exactly overlap with touch screen. So the lamination effect is excellent.
-


Why we say this mold is so effective? As during the bonding or before the bonding, the protector of the OCA doesn’t need to be ripped off. It is very precise and accurate because you can move and align the position optionally until you get a best place.
Why we say this mold is so effective? As during the bonding or before the bonding, the protector of the OCA doesn’t need to be ripped off. It is very precise and accurate because you can move and align the position optionally until you get a best place.
4 の人々がこのガイドを完成させました。
2 件のコメント
Thanks for that useful informations……. Also visit
thanks for your appreciate