はじめに
The Fitbit Charge HR is a smart watch with an LED screen that tracks the health of its user. While engaging in physical activities, one might experience some wear and tear on their device that can cause an unresponsive screen. This guide will teach you how to replace the screen on a Fitbit Charge HR. These instructions require separating the screen from the motherboard, so remember to use ESD-safe opening tools.
必要な工具と部品
-
-
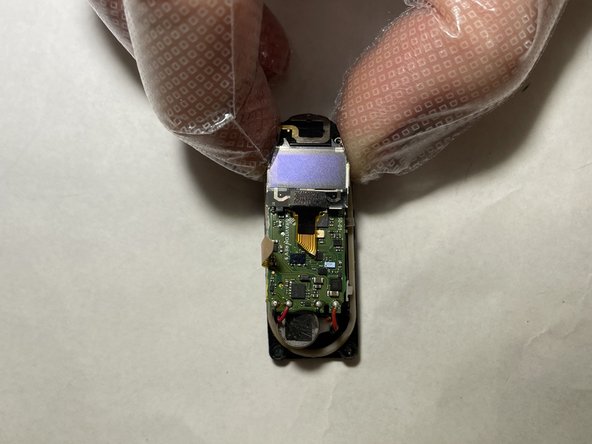
Remove the four 2.9 mm screws from the back of the display using a Torx screwdriver.
-
Remove the back cover from the device.
-
-


To reassemble your device, follow these instructions in reverse order.
ある他の人がこのガイドを完成しました。

チーム

The Citadel Military College of South Carolina, Team 1-2, Eggleston Fall 2021 The Citadel Military College of South Carolina, Team 1-2, Eggleston Fall 2021人のメンバー
CMCSC-EGGLESTON-F21S1G2
3 メンバー
2のガイドは作成済み