メインコンテンツにスキップ

このバージョンは誤った内容を含んでいる可能性があります。最新の承認済みスナップショットに切り替えてください。

必要な工具と部品

  1. この手順は未翻訳です。 翻訳を手伝う。

    : 手順 1、 3の画像 1 : 手順 1、 3の画像 2 : 手順 1、 3の画像 3
    • Make sure to unplug the power cord!

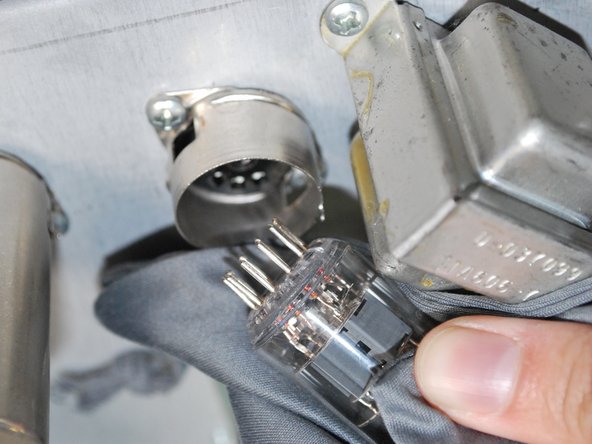
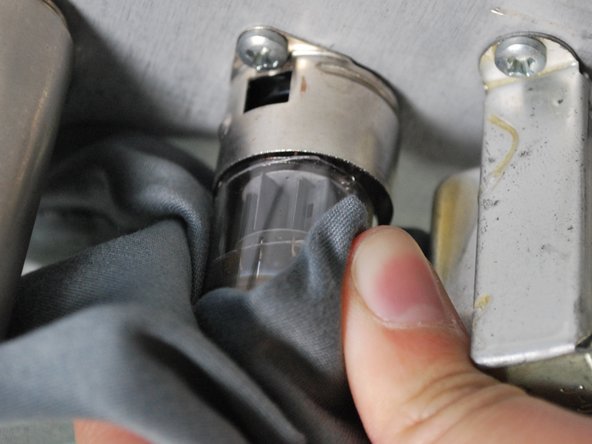
    • Take off the back panel by unscrewing the four Phillips head screws on the back of the amplifier. You will find the six preamp tubes are the smaller ones on the right. (The picture only shows five of the six.)

    • Keep the screws in a safe place and mark what part they are for.

  2. この手順は未翻訳です。 翻訳を手伝う。

    : 手順 2、 2の画像 1 : 手順 2、 2の画像 2
    • Remove the metal casing by gently pressing up against the case and twisting to the right.

  3. この手順は未翻訳です。 翻訳を手伝う。

    : 手順 3、 2の画像 1 : 手順 3、 2の画像 2
    • Using the cloth, remove one tube by firmly grasping and gently pulling downwards.

    • Pulling directly downwards prevents damage to the hookup prongs at the bottom of the tube.

  4. この手順は未翻訳です。 翻訳を手伝う。

    : 手順 4、 1の画像 1
    • Check the tube for any cracks in the glass. Also check to make sure the filaments are not burnt out.

    • If the tube is still functioning or to insert the replacement or, proceed to step five.

  5. この手順は未翻訳です。 翻訳を手伝う。

    : 手順 5、 2の画像 1 : 手順 5、 2の画像 2
    • Take the new replacement tube and insert it into the appropriate slot, making sure that the prongs at the end line up with the correct holes.

    • You should hear a click when the tube is secured in place.

    • Repeat these steps with the other three tubes if necessary.

ゴール

2 の人々がこのガイドを完成させました。

作成者

3人の作成者と共同で作成されました。

Andrew Exton

メンバー登録日: 01/26/14

141 ポイント

1ガイドが承認済み

チーム

Cal Poly, Team 9-27, Maness Winter 2014 Cal Poly, Team 9-27, Maness Winter 2014人のメンバー

CPSU-MANESS-W14S9G27

5 メンバー

7のガイドは作成済み

0 件のコメント

コメントを追加

統計データ:

過去 24時間: 0

過去 7 日: 10

過去 30 日: 26

今までの合計 6,251