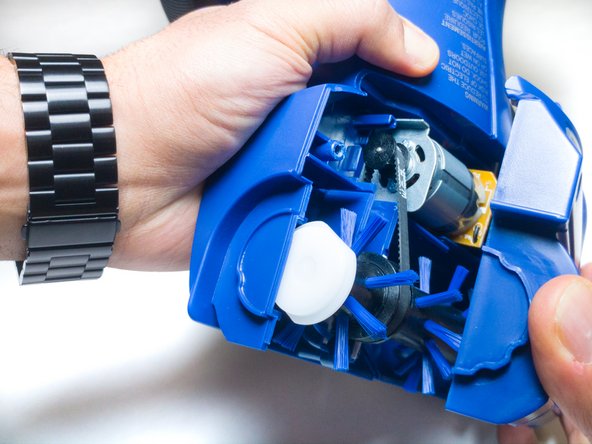
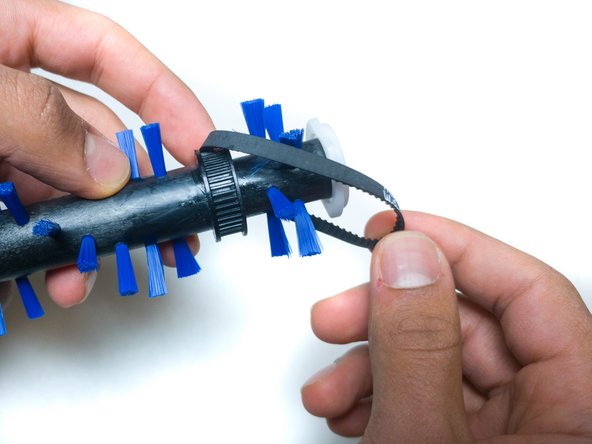
メインコンテンツにスキップ

Eureka EasyClean 71C Belt Replacement

必要な工具と部品

  1. Eureka EasyClean 71C Belt Replacement, Bottom Cover: 手順 1、 1の画像 1
    • Unscrew the two 18.1 mm PH2 Phillips head screws on the bottom of the vacuum.

  2. Eureka EasyClean 71C Belt Replacement: 手順 2、 1の画像 1
    • Pry off the Riser Visor using the plastic opening tool.

  3. Eureka EasyClean 71C Belt Replacement: 手順 3、 1の画像 1
    • Remove the screw cap using the metal spudger.

    • First-time removal of the screw cap can be difficult. The screw cap isn’t vital, so don’t worry about damaging the screw cap and just keep trying until it comes out.

  4. Eureka EasyClean 71C Belt Replacement: 手順 4、 2の画像 1 Eureka EasyClean 71C Belt Replacement: 手順 4、 2の画像 2
    • Unscrew the 14mm PH2 Phillips head screw.

    • Pull the bottom cover off of the rest of the casing.

  5. Eureka EasyClean 71C Belt Replacement, Belt: 手順 5、 2の画像 1 Eureka EasyClean 71C Belt Replacement, Belt: 手順 5、 2の画像 2
    • Pull the roller, motor, and belt out of the casing.

    • Separate the belt from both the roller and the motor.

終わりに

To reassemble your device, follow these instructions in reverse order.

作成者

2人の作成者と共同で作成されました。

Tanner Durnil

メンバー登録日: 11/06/17

631 ポイント

6のガイドは作成済み

チーム

IUPUI, Team S6-G4, Baechle Fall 2017 IUPUI, Team S6-G4, Baechle Fall 2017人のメンバー

IUPUI-BAECHLE-F17S6G4

3 メンバー

12のガイドは作成済み

コメント 1 件

Hello would you know what belt number this would use? I have looked everywhere. I would appreciate it

vdean4b - 返信

コメントを追加

統計データ:

過去 24時間: 2

過去 7 日: 3

過去 30 日: 8

今までの合計 1,514