メインコンテンツにスキップ

Electrical Wall Outlet Replacement

アーカイブされたガイド
このガイドは将来的な使用のためにのみ保存されてます。ご自身の修理作業には更新バージョンをご利用ください。

必要な工具と部品

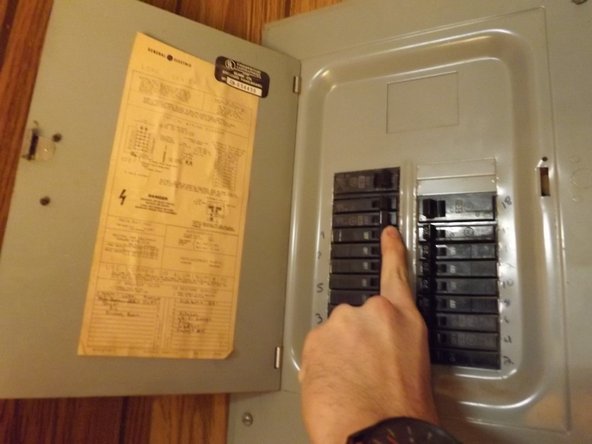
  1. Electrical Wall Outlet Replacement, Wall Outlet: 手順 1、 2の画像 1 Electrical Wall Outlet Replacement, Wall Outlet: 手順 1、 2の画像 2
    • Turn off electrical power from the breaker by switching off the breaker that is connected to the designated area.

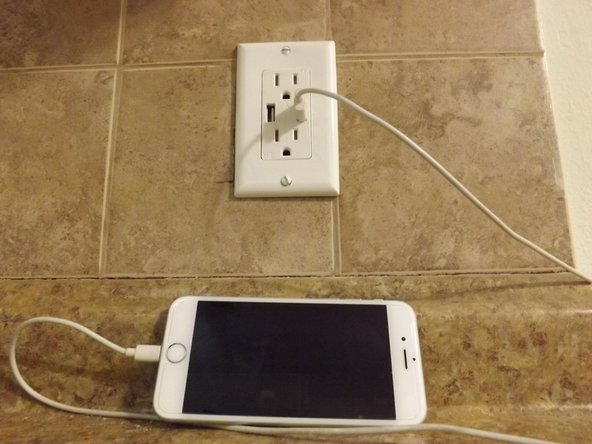
    • Check power by plugging in rechargeable device and check if charging. If not charging, power to the wall is off.

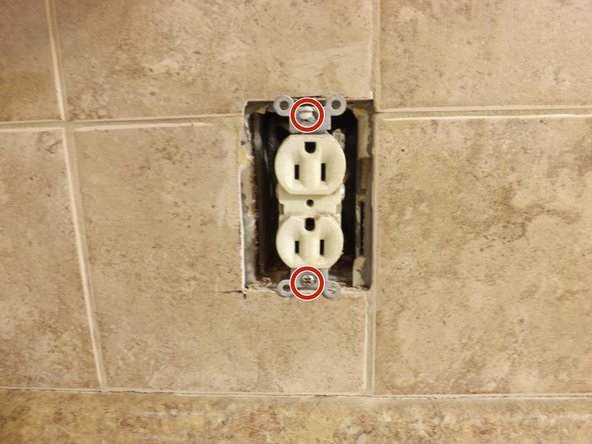
  2. Electrical Wall Outlet Replacement: 手順 2、 1の画像 1
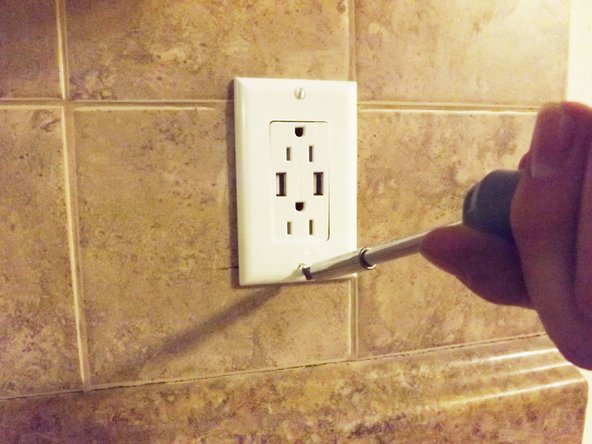
    • Remove the screw from the outlet plate using a flathead screwdriver.

  3. Electrical Wall Outlet Replacement: 手順 3、 1の画像 1
    • Remove plate from outlet using a Phillips screwdriver.

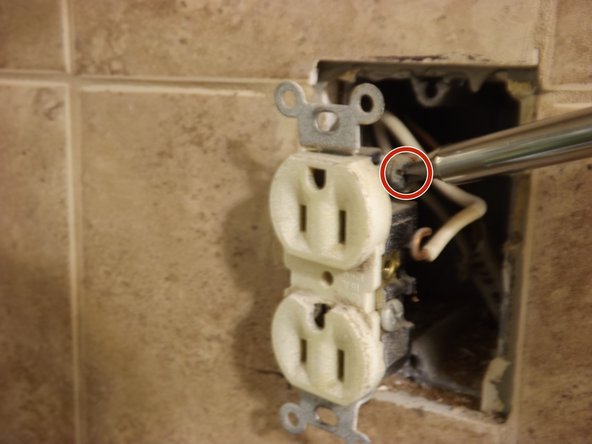
  4. Electrical Wall Outlet Replacement: 手順 4、 1の画像 1
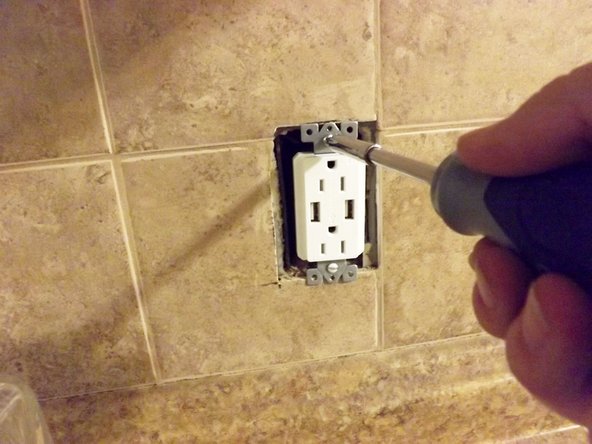
    • Remove screws from outlet that are connected to the wall using a Phillips screwdriver.

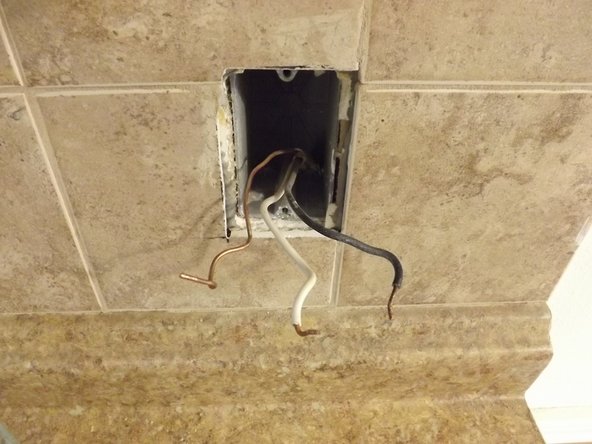
  5. Electrical Wall Outlet Replacement: 手順 5、 1の画像 1
    • Remove wires from outlet by gently pulling them out of the outlet and wall.

  6. Electrical Wall Outlet Replacement: 手順 6、 2の画像 1 Electrical Wall Outlet Replacement: 手順 6、 2の画像 2
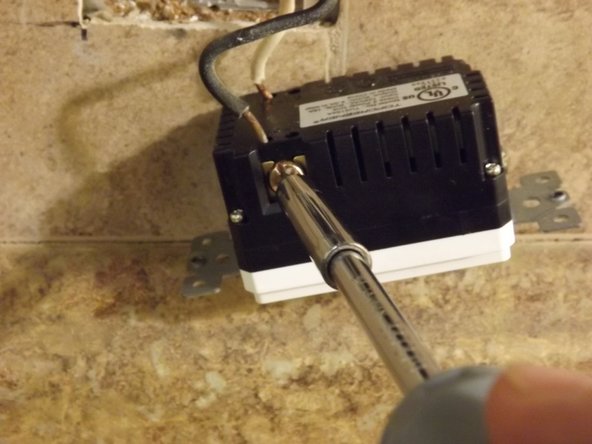
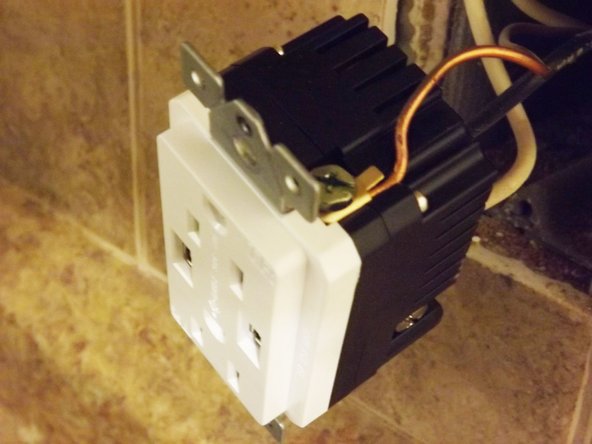
    • Connect wires to new outlet being sure to connected them to their designated port. They are labeled on the back of the outlet with: neutral, ground and hot.

    • Insert wire into the designated port and tighten with Phillips Screwdriver.

    • Neutral Wire- White

    • Ground Wire- Copper

    • Hot Wire- Black

  7. Electrical Wall Outlet Replacement: 手順 7、 3の画像 1 Electrical Wall Outlet Replacement: 手順 7、 3の画像 2 Electrical Wall Outlet Replacement: 手順 7、 3の画像 3
    • Reassemble the outlet as it was removed.

終わりに

To reassemble your device, follow these instructions in reverse order.

5 の人々がこのガイドを完成させました。

作成者

3人の作成者と共同で作成されました。

Allison Novelli

メンバー登録日: 02/23/16

107 ポイント

1ガイドが承認済み

チーム

Texas Tech, Team 22-4, Rauch Spring 2016 Texas Tech, Team 22-4, Rauch Spring 2016人のメンバー

TTU-RAUCH-S16S22G4

2 メンバー

1のガイドは作成済み

0 件のコメント

コメントを追加

統計データ:

過去 24時間: 0

過去 7 日: 0

過去 30 日: 1

今までの合計 1,209