はじめに
You will need a phillips head screw driver and needle nose pliers to complete this task. Before opening the device, ensure that there is no power to avoid damaging the electronics or harming yourself.
必要な工具と部品


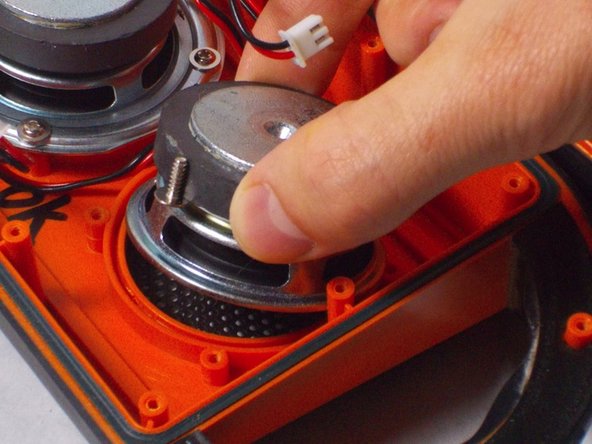

もう少しです!
To reassemble your device, follow these instructions in reverse order.
終わりに
To reassemble your device, follow these instructions in reverse order.
チーム

UMass Dartmouth, Team S9-G3, Martin Spring 2017 UMass Dartmouth, Team S9-G3, Martin Spring 2017人のメンバー
UMASSD-MARTIN-S17S9G3
2 メンバー
6のガイドは作成済み