メインコンテンツにスキップ

Eclipse MTE28VGM Plastic Casing Replacement

必要な工具と部品

  1. Eclipse MTE28VGM Plastic Casing Replacement, Plastic Casing Replacement: 手順 1、 3の画像 1 Eclipse MTE28VGM Plastic Casing Replacement, Plastic Casing Replacement: 手順 1、 3の画像 2 Eclipse MTE28VGM Plastic Casing Replacement, Plastic Casing Replacement: 手順 1、 3の画像 3
    • Using the screwdriver with the J00 bit, remove the two 4.8 mm Phillips screws.

    • Use caution when removing the screws as they can strip easily.

  2. Eclipse MTE28VGM Plastic Casing Replacement: 手順 2、 3の画像 1 Eclipse MTE28VGM Plastic Casing Replacement: 手順 2、 3の画像 2 Eclipse MTE28VGM Plastic Casing Replacement: 手順 2、 3の画像 3
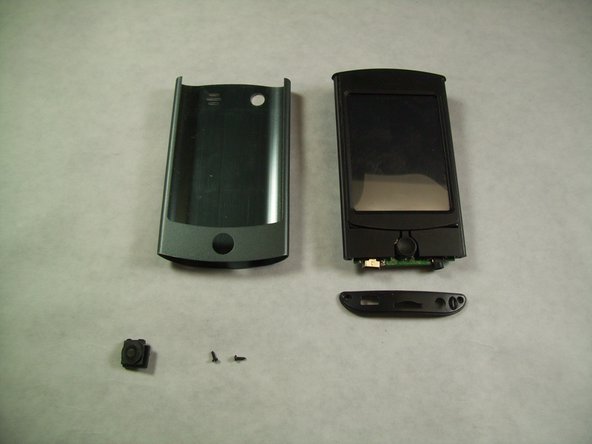
    • Using the small metal pry bar, remove the bottom plastic cover.

    • Using your thumb, press down on the home button and hold the metal casing. With your other hand hold the top plastic part of the device. At the same time slide the metal casing and the plastic casing apart.

    • On occasion the battery can become swollen and make this process difficult. You might need to use the spudger to push on the bottom components to assist in the separation.

  3. Eclipse MTE28VGM Plastic Casing Replacement: 手順 3、 3の画像 1 Eclipse MTE28VGM Plastic Casing Replacement: 手順 3、 3の画像 2 Eclipse MTE28VGM Plastic Casing Replacement: 手順 3、 3の画像 3
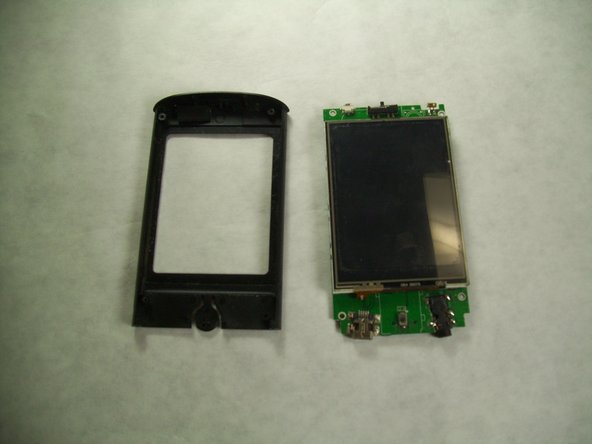
    • Using the screwdriver, remove the four 4.8 mm Phillips head J00 screws at each corner of the motherboard.

    • Remove the motherboard from the front plastic cover and screen.

    • Install new plastic case following steps in reverse order

終わりに

To reassemble your device, follow these instructions in reverse order.

作成者

3人の作成者と共同で作成されました。

DELETED

メンバー登録日: 10/13/16

252 ポイント

2のガイドは作成済み

チーム

IUPUI, Team 2-1, Harley Fall 2016 IUPUI, Team 2-1, Harley Fall 2016人のメンバー

IUPUI-HARLEY-F16S2G1

4 メンバー

12のガイドは作成済み

0 件のコメント

コメントを追加

統計データ:

過去 24時間: 0

過去 7 日: 8

過去 30 日: 8

今までの合計 158