はじめに
In this tutorial, I'll show you how to replace your Echo Dot's PCB which has the LEDs, Microphone, and Buttons. It shouldn't take long, just a few screws!
必要な工具と部品
-
この手順で使用する道具:TR6 Torx Security Screwdriver$5.99
-
Unscrew the 4 T6 Torx screws using the Right Screwdriver
-
After unscrewing, you can slowly lift the shell, and you'll be greeted by the insides of the Dot!
-
-
-
-
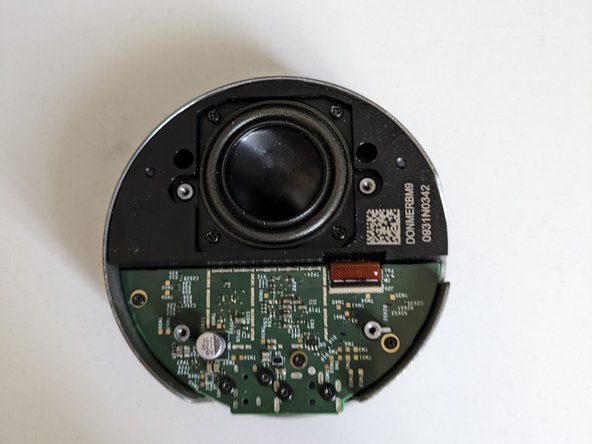
Unscrew the 3 T6 Torx screws,
-
and lift the flex cable connector.
-
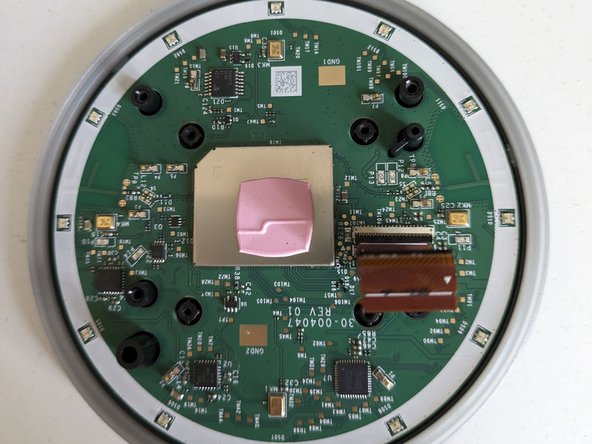
After that, very carefully remove the PCB/Power supply (no idea).
-


終わりに
Congrats! To put together your Echo Dot, simply follow the instructions backward! Have a nice day!
2 の人々がこのガイドを完成させました。
