はじめに
Cheap and easy way to get that camera back to use.
必要な工具と部品
-
-
Remove your battery and SD-Card
-
Remove that tiny screw next to the blue battery release lever.
-
-
-
-
That step completly depends on how the plastic off your camer has broken. So you might wanna redo things.
-
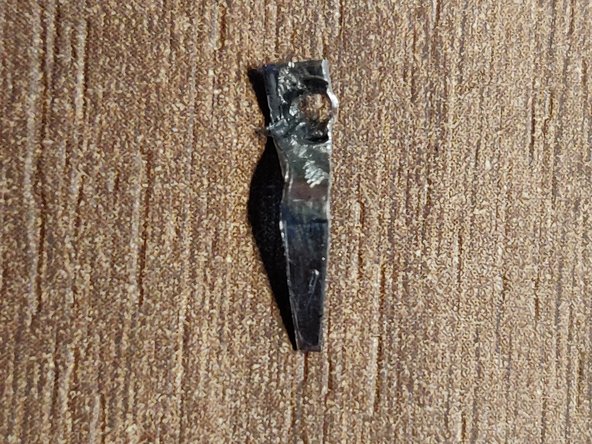
Take your shears and cut a small stipe of aluminium. Make it longer than you'll need it, so you can hold it, while working on it. THe width is given by the width of that broken plastic thing (ca. 3mm)
-
Bend the aluminium and make a hole with your powerdrill on the blue marked spot in the second picture.
-
-
-
Now you have to cut your strip, so it can fit in that small space. Thats the tricky part. Some tricks that might help you:
-
Don't make it to long. Theres a thicker part of plasic on the right side of the hinge. So make sure your aluminium sheet is shorter than that.
-
Make sure, that you can get your battery in and out without problems. So don't make it too wide.
-
In the end take that screw and screw your new replacement in there. If you're using thicker aluminium, you might need to change that screw with a longer one. It worked for me with 0.5 mm thickness.
-


It might not be a solution for eternity, but so far it worked for me and I still can use that camera for some time.
It might not be a solution for eternity, but so far it worked for me and I still can use that camera for some time.