はじめに
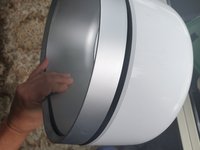
I absolutely love this humidifier, although I can understand why it is discontinued and unpopular - it is hard or impossible to clean. It self-cleans via an ultra-violet light, but the tank collects green moss and the fan collects dust over time. This guide walks through the process of cleaning the humidifier.
ビデオの概要
-
-
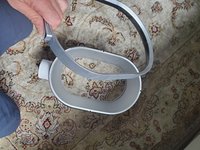
Use these brushes from AliExpress to clean the tank insides. Each one provides a slightly different position. Together they cost about $7 and can be used for other hard-to-reach places. The tank has a few unreachable places which are in the last 2 images. I cleaned >95% of the moss.
-
-
-
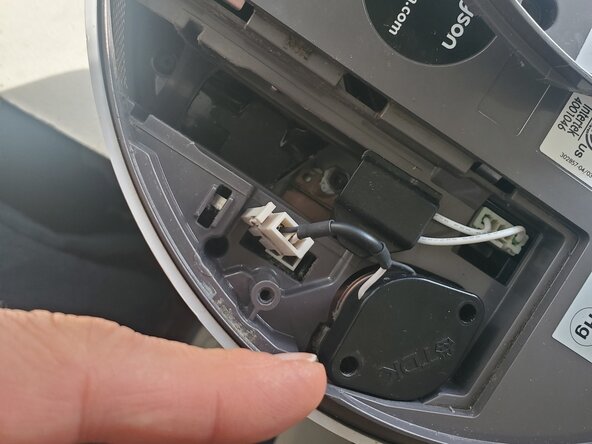
Need torx (star-shaped) screwdriver (8 & 10). BE CAREFUL with screws, because they are anchored in the plastic!! Too far and you crack it, so use your hands and move slowly. A few tools to get: Magnetizer to hold torx screws, Lastly, image 1 shows me sliding the top forward into the tabs - move slowly because it feels fragile.
-
-
-
-
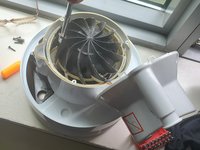
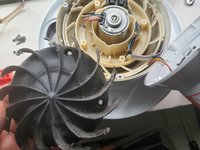
I rinsed it with water There are 3 levels of screws to take out: The white outside cover, this black capsule in frame #2 and the rotor in my hand (image #3).
-
-
-
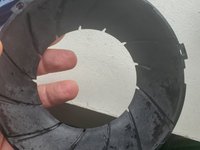
In image 1 I'm pressing the white outside with my thumb while digging fingernails in this crack and pulling up carefully. Work your way around slowly and the rim comes off. I have no idea how to get the rest apart and I don't think you need it.
-
-
-
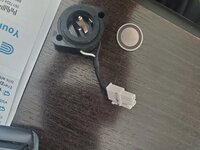
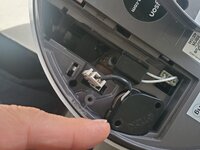
The atomizer or nebulizer is the core feature which creates the mist. In the main photo, it is clearly electrified and ultrasonically vibrates and breaks up (nebulizes) the water into the mist. The 'charged' disc underside has 3 'rings': the shiny anode and cathode (positive and negative) separated by a non-conducting dark ceramic ring.
-
-
-
Ideally, someone will contribute a link to a vender for these atomizer discs which truly cost about $0.25 each. Sadly, on Amazon there are $47 repair kits. I would be willing to buy 100 for $25, contact me. This top of this TDK disc has damage from normal use. Note the shiny conductive top layer over the ceramic showing through from underneath.
-


2件のガイドコメント
Nowadays it seems difficult to find the brushes. Do you have a tag or link towards those? Maybe even on another platform?