はじめに
This guide helps open the device and get to the screen to replace it.
必要な工具と部品


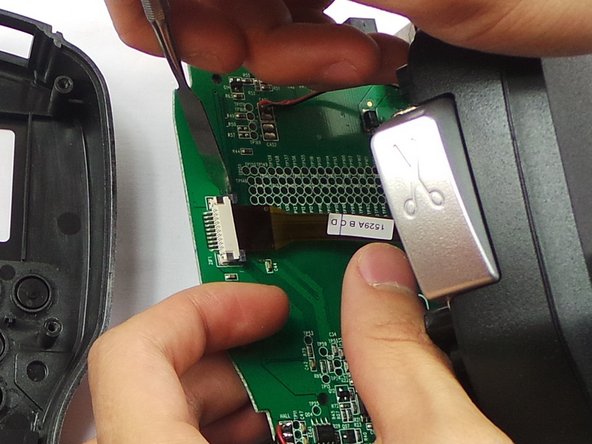

もう少しです!
To reassemble your device, follow these instructions in reverse order.
終わりに
To reassemble your device, follow these instructions in reverse order.
ある他の人がこのガイドを完成しました。
チーム

USF Tampa, Team 6-5, Eyestone Spring 2016 USF Tampa, Team 6-5, Eyestone Spring 2016人のメンバー
USFT-EYESTONE-S16S6G5
3 メンバー
3のガイドは作成済み
コメント 1 件
Hi, thak you for the tutorial, it seems pretty simple. Do you know where to find the LCD screen, or whats the specs, maybe I can find it at AliExpress.