はじめに
This guide illustrates how to clean and replace the keycaps and switches of your Ducky One 3 SF keyboard.
Cleaning your keyboard should become a common practice, as keyboards inevitably accumulate grime due to the continuous contact of our hands with diverse surfaces, transferring oils, dirt, and bacteria onto the keys. This issue is compounded when snacking or dining near the computer, as crumbs and food particles effortlessly infiltrate the spaces between the keys, contributing to the keyboard's overall uncleanliness.
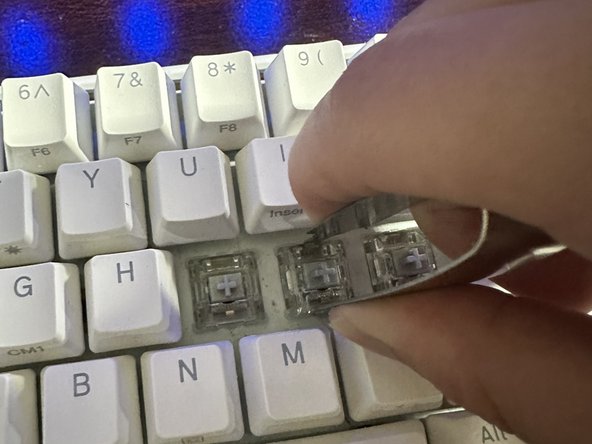
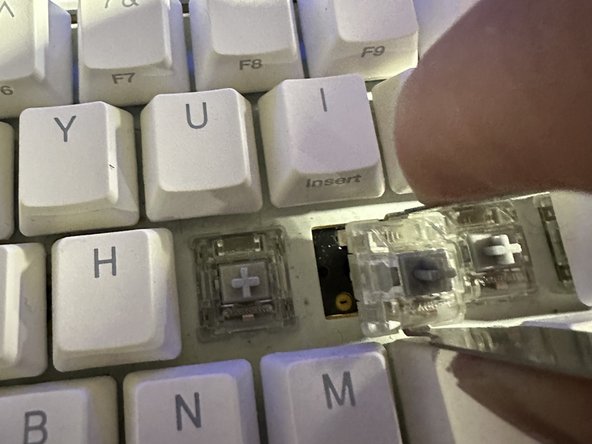
Over time, if you don't maintain your keyboard, it may stop working due to keys sticking, or you may experience a dead key. If a particular keys is unresponsive and a gentle cleaning doesn't work, you may need to replace the switch. This guide is also helpful if you wish to modify your keycaps and change them out for a new color series.
Before you begin the repair, unplug the cable.
必要な工具と部品
-
-
Disconnect the cable from your keyboard.
-
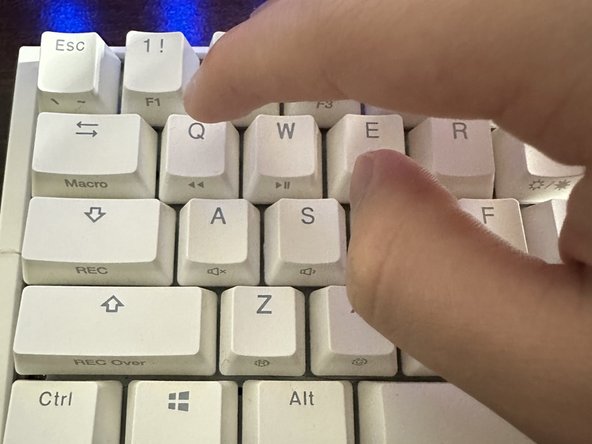
Place the keyboard on a flat and stable surface.
-
-


Hopefully these steps were clear and useful to you!
Hopefully these steps were clear and useful to you!
ある他の人がこのガイドを完成しました。

チーム

York University, Team 2-18, O'Regan Winter 2024 York University, Team 2-18, O'Regan Winter 2024人のメンバー
YORK-O'REGAN-W24S2G18
1 メンバー
1のガイドは作成済み