この翻訳は、ソースガイドの最新の更新を反映していない可能性があります。 翻訳の更新に協力してください。 または ソースガイドを参照してください。
はじめに
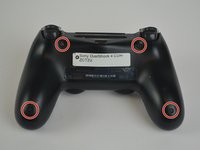
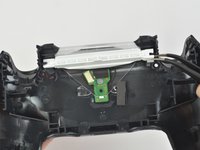
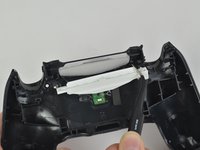
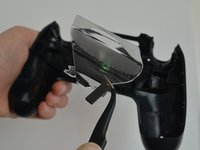
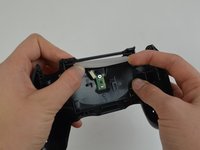
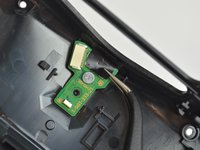
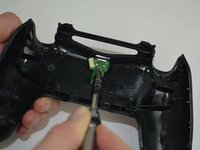
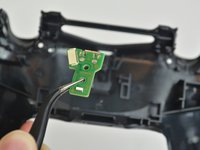
DualShock 4 CHU-ZCT2Uのコントローラーを解体して、充電ポートにアクセスするための修理ガイドです。
必要な工具と部品


デバイスを再組み立てする際は、これらの手順を逆の順番に従って作業を進めてください。
デバイスを再組み立てする際は、これらの手順を逆の順番に従って作業を進めてください。
16 の人々がこのガイドを完成させました。
以下の翻訳者の皆さんにお礼を申し上げます:
87%

Midori Doiさんは世界中で修理する私たちを助けてくれています! あなたも貢献してみませんか?
翻訳を始める ›
チーム

USF Tampa, Team S1-G5, Leahy Fall 2017 USF Tampa, Team S1-G5, Leahy Fall 2017人のメンバー
USFT-LEAHY-F17S1G5
3 メンバー
28のガイドは作成済み
9 件のコメント
Came in handy, since it’s hard enough to fix a JDM-030. Thanks!
Just did this on my JDM-030 (3rd generation DS4) as well. I would point out that the charge port for the JDM-030 (JDS-030?) looks slightly different and has more of a T-shape than the JDS-040, but aside from that, the instructions are functionally the same.
I will lastly add that having good tweezers is a must: the tweezers my jeweler’s drivers came with were crap and I had to go to the store to buy another pair. Make sure your equipment is solid before assembly.
Tried to replace my usb port with a board that reads “1-981-33-31” from amazon. It was listed as JDS-40 and it does not work. In fact when plugged into a usb port on my laptop the ribbon cable gets noticeably hot but the controller will not power on.
Got the same problem. Any idea?