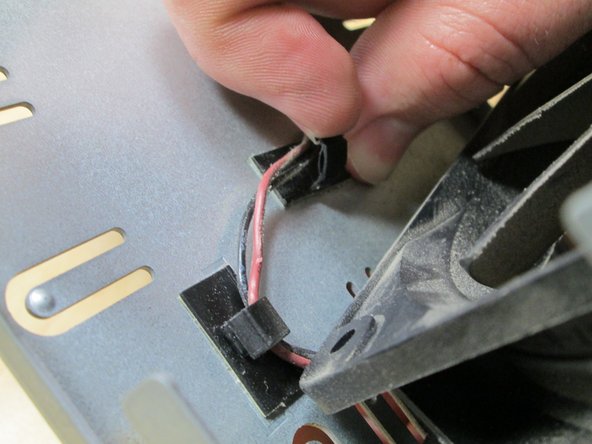
メインコンテンツにスキップ

Drobo FS DRDS2-A Fan Replacement

必要な工具と部品

  1. Drobo FS DRDS2-A Fan Replacement, Case: 手順 1、 1の画像 1
    • To start getting the case off remove the front panel so it's out of the way.

  2. Drobo FS DRDS2-A Fan Replacement: 手順 2、 2の画像 1 Drobo FS DRDS2-A Fan Replacement: 手順 2、 2の画像 2
    • Next remove the screws from the feet of the case with a phillips head screwdriver.

  3. Drobo FS DRDS2-A Fan Replacement: 手順 3、 1の画像 1
    • To remove the case, place the Drobo on its back and slide the case off.

  4. Drobo FS DRDS2-A Fan Replacement, Fan Replacement: 手順 4、 3の画像 1 Drobo FS DRDS2-A Fan Replacement, Fan Replacement: 手順 4、 3の画像 2 Drobo FS DRDS2-A Fan Replacement, Fan Replacement: 手順 4、 3の画像 3
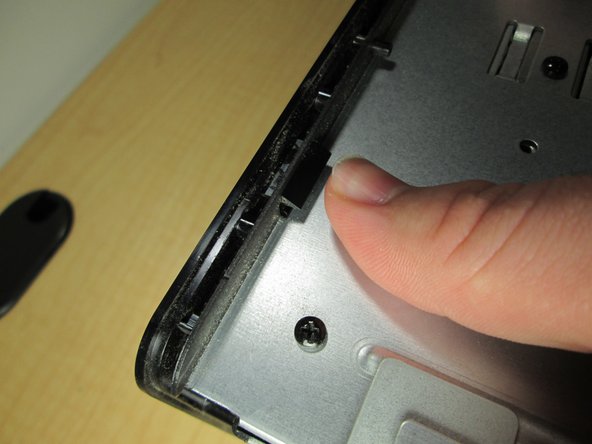
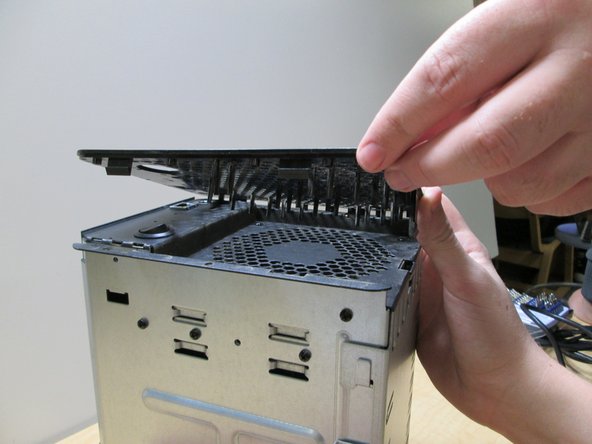
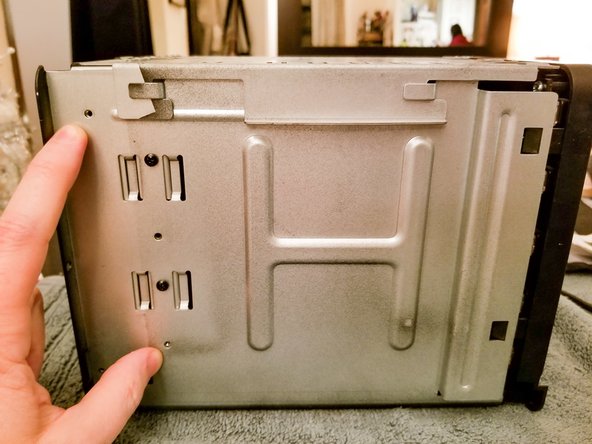
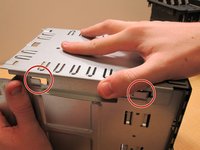
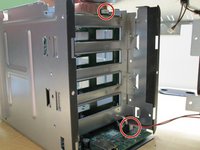
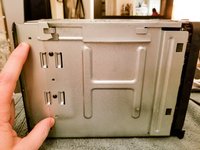
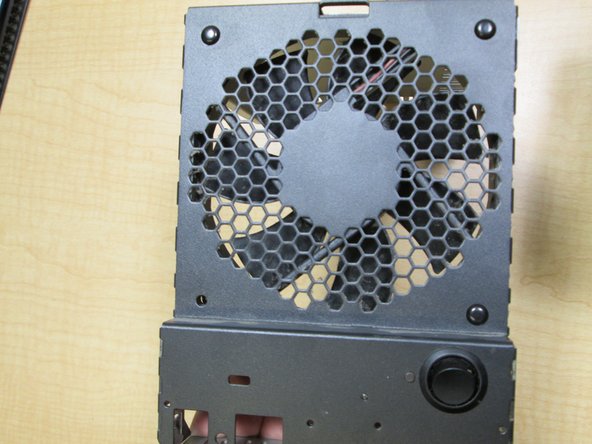
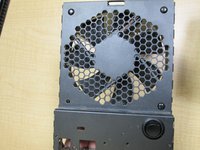
    • With case removed push tabs on back cover to remove the back cover. You can do this with your fingers or a tool such as a spudger.

  5. Drobo FS DRDS2-A Fan Replacement: 手順 5、 2の画像 1 Drobo FS DRDS2-A Fan Replacement: 手順 5、 2の画像 2
    • Then do the same to the other side, pushing the pins down. Then slide the hard drive docks out.

  6. Drobo FS DRDS2-A Fan Replacement: 手順 6、 3の画像 1 Drobo FS DRDS2-A Fan Replacement: 手順 6、 3の画像 2 Drobo FS DRDS2-A Fan Replacement: 手順 6、 3の画像 3
    • Now slide the metal pieces away from each other to move past the hooks and then off carefully. As the two pieces separate be sure to carefully unplug the two wires to not cause any damage to the device.

    • For Drobo 5D (and possibly others), you need only remove 2 screws (of the 4) on each side before sliding the back plate off.

  7. Drobo FS DRDS2-A Fan Replacement: 手順 7、 3の画像 1 Drobo FS DRDS2-A Fan Replacement: 手順 7、 3の画像 2 Drobo FS DRDS2-A Fan Replacement: 手順 7、 3の画像 3
    • Next remove the fan by placing your screwdriver through the holes so that you can push out the small rivets. Then unclasp the wires so that you can finally remove the fan.

  8. Drobo FS DRDS2-A Fan Replacement: 手順 8、 1の画像 1
    • Now replace the fan. Be careful to put it in the same way that it was taken out. Then re-clasp on the wire.

  9. Drobo FS DRDS2-A Fan Replacement: 手順 9、 1の画像 1
    • While reassembling follow the directions in the reverse order, however be sure that when replacing the case the grey stripe on the case is at the back of the device towards the power switch and the fan.

終わりに

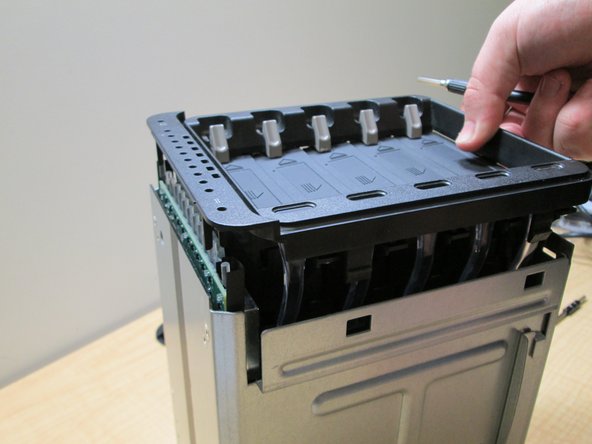
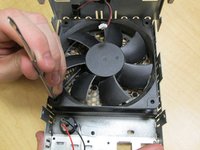
To reassemble your device, follow these instructions in reverse order.

8 の人々がこのガイドを完成させました。

作成者

4人の作成者と共同で作成されました。

Nicholas Serres

メンバー登録日: 01/24/17

472 ポイント

2のガイドは作成済み

チーム

Cal Poly, Team 10-4, Banghart Winter 2017 Cal Poly, Team 10-4, Banghart Winter 2017人のメンバー

CPSU-BANGHART-W17S10G4

3 メンバー

5のガイドは作成済み

4 件のコメント

What size fan is there in the Drobo FS?

rogerschooneveld - 返信

What are the dimensions of the fan needed? I would like to order the fan before disassembling.

Bill Lumbergh - 返信

120mm 3 pin - I used the Noctua NF-A12x15 FLX. I had to use the screws that came with it instead of the original fixings as they didn’t fit the new fan. Also had to cut off the cable and solder the original one on as the connector is different. Red to red, black to black (and slide head shrink tubing over the join and then shrunk it by holding over steam from the kettle.

Jon - 返信

On my 5D I had to replace the rivets with 1 1/4 inch machine screws with loctite nuts. The rivets were so damaged in the removal that they would not hold the fan in place. Also, check after assembling the rear into place that the new cable is clear of the fan. I got the exact replacement fan from DigiKey - Part: 259-1472-ND SUNON FAN MEC0251V3-000U-A99 12VDC. It was like $25 including shipping.

The replacement fan came with bare leads so I had to splice the old connector on with solder and shrink tube. be careful to keep the leads the same length because longer leads will cause a problem in the tight clearance in front of the fan.

James Fancher - 返信

コメントを追加

統計データ:

過去 24時間: 2

過去 7 日: 15

過去 30 日: 45

今までの合計 7,305