メインコンテンツにスキップ

Dremel MultiPro 395 Armature Replacement

必要な工具と部品

  1. Dremel MultiPro 395 Armature Replacement, Remove the Blue caps: 手順 1、 2の画像 1 Dremel MultiPro 395 Armature Replacement, Remove the Blue caps: 手順 1、 2の画像 2
    この手順で使用する道具:
    Flathead 3/32" or 2.5 mm Screwdriver
    $5.49
    購入する
    • Remove the blue caps located on either side of the MultiPro, using a 3 mm flathead screwdriver.

  2. Dremel MultiPro 395 Armature Replacement, Remove the carbon brushes: 手順 2、 2の画像 1 Dremel MultiPro 395 Armature Replacement, Remove the carbon brushes: 手順 2、 2の画像 2
    • Carefully remove the carbon brushes attached at the end of the springs by gently pulling on the springs using your hands.

  3. Dremel MultiPro 395 Armature Replacement, Removing the Hanger: 手順 3、 2の画像 1 Dremel MultiPro 395 Armature Replacement, Removing the Hanger: 手順 3、 2の画像 2
    • Pull one side of the hanger up and then pull away from the Multipro until the other side can be pulled out.

  4. Dremel MultiPro 395 Armature Replacement, Remove the screws in the casing: 手順 4、 3の画像 1 Dremel MultiPro 395 Armature Replacement, Remove the screws in the casing: 手順 4、 3の画像 2 Dremel MultiPro 395 Armature Replacement, Remove the screws in the casing: 手順 4、 3の画像 3
    • Remove the 4 screws located on the bottom of the Multipro with a T15 screwdriver.

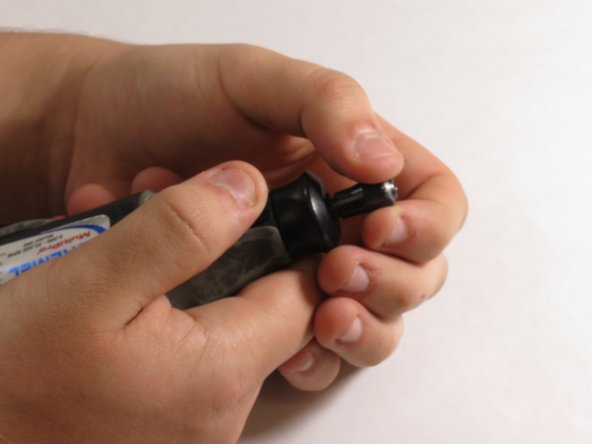
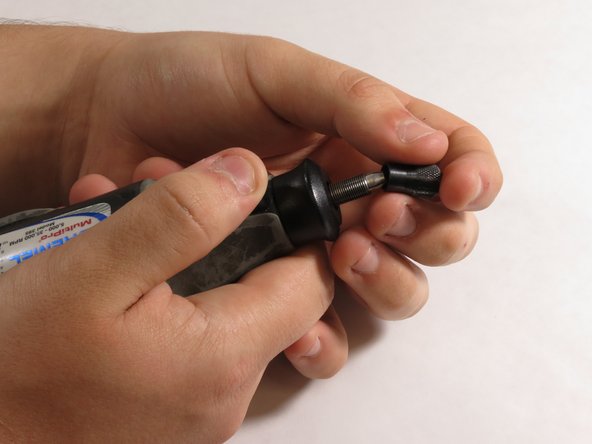
  5. Dremel MultiPro 395 Armature Replacement, Removing the chuck cap: 手順 5、 3の画像 1 Dremel MultiPro 395 Armature Replacement, Removing the chuck cap: 手順 5、 3の画像 2 Dremel MultiPro 395 Armature Replacement, Removing the chuck cap: 手順 5、 3の画像 3
    • Hold down the collet lock, remove the chuck cap from the top of the Multipro by screwing counterclockwise.

  6. Dremel MultiPro 395 Armature Replacement, Removing the black housing cap: 手順 6、 3の画像 1 Dremel MultiPro 395 Armature Replacement, Removing the black housing cap: 手順 6、 3の画像 2 Dremel MultiPro 395 Armature Replacement, Removing the black housing cap: 手順 6、 3の画像 3
    • Remove the black housing cap from the Multipro located directly below the chuck cap.

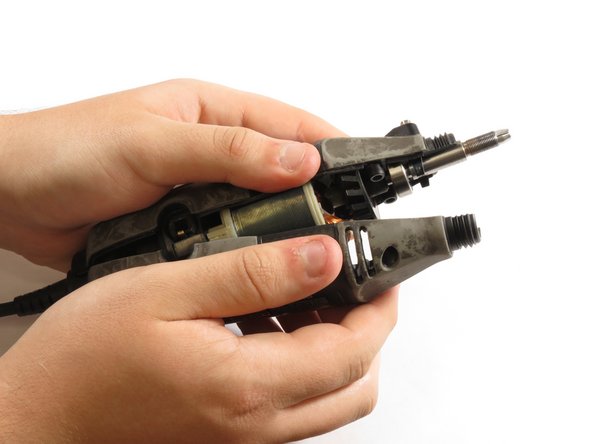
  7. Dremel MultiPro 395 Armature Replacement, Removing the outer casing: 手順 7、 3の画像 1 Dremel MultiPro 395 Armature Replacement, Removing the outer casing: 手順 7、 3の画像 2 Dremel MultiPro 395 Armature Replacement, Removing the outer casing: 手順 7、 3の画像 3
    • Pull the bottom side of the casing up to remove it.

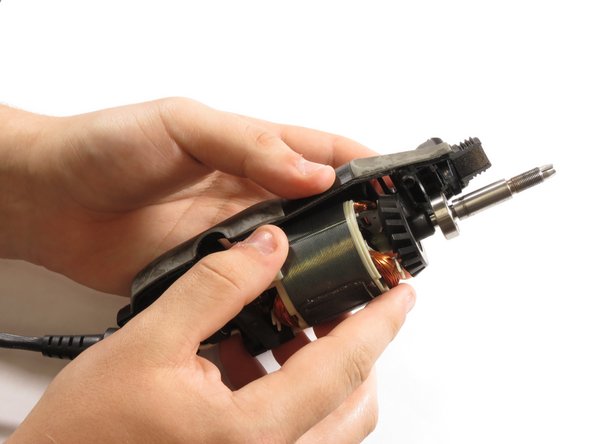
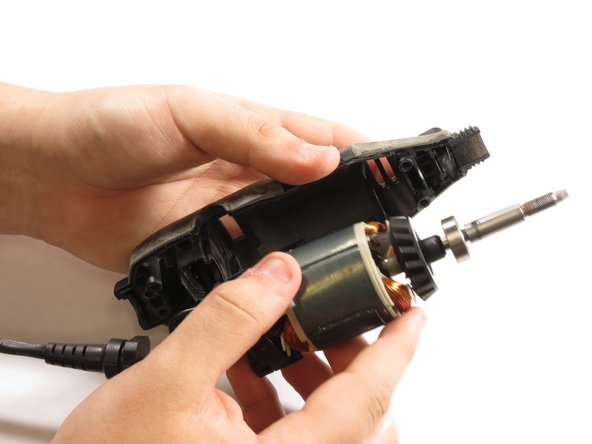
  8. Dremel MultiPro 395 Armature Replacement, Removing the motorshaft: 手順 8、 3の画像 1 Dremel MultiPro 395 Armature Replacement, Removing the motorshaft: 手順 8、 3の画像 2 Dremel MultiPro 395 Armature Replacement, Removing the motorshaft: 手順 8、 3の画像 3
    • Gently lift the motor shaft out of the Multipro.

  9. Dremel MultiPro 395 Armature Replacement, Removing the rubber ring: 手順 9、 3の画像 1 Dremel MultiPro 395 Armature Replacement, Removing the rubber ring: 手順 9、 3の画像 2 Dremel MultiPro 395 Armature Replacement, Removing the rubber ring: 手順 9、 3の画像 3
    • Remove the rubber ring from the bottom of the armature.

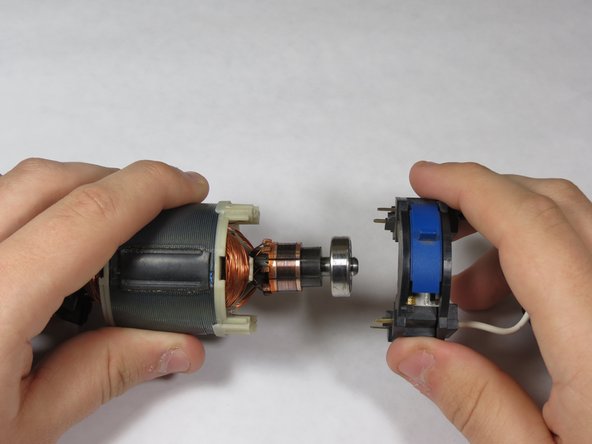
  10. Dremel MultiPro 395 Armature Replacement, Removing the on/off switch: 手順 10、 3の画像 1 Dremel MultiPro 395 Armature Replacement, Removing the on/off switch: 手順 10、 3の画像 2 Dremel MultiPro 395 Armature Replacement, Removing the on/off switch: 手順 10、 3の画像 3
    • Pull the on/off switch off of the 120V field, paying careful attention to the prongs on the on/off switch.

    • For reassembly, make sure the prongs are touching the metal connectors on the bottom of the 120V field

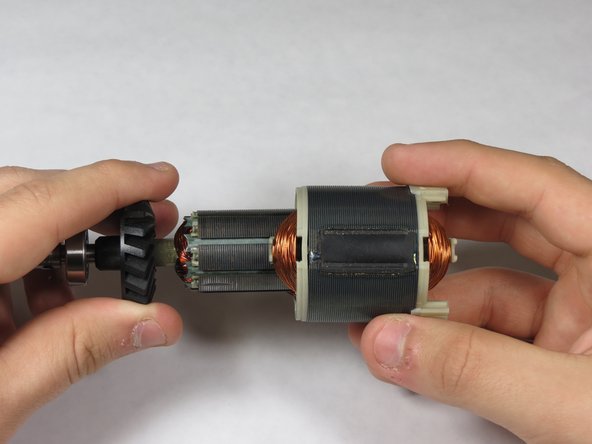
  11. Dremel MultiPro 395 Armature Replacement, Removing the armature: 手順 11、 3の画像 1 Dremel MultiPro 395 Armature Replacement, Removing the armature: 手順 11、 3の画像 2 Dremel MultiPro 395 Armature Replacement, Removing the armature: 手順 11、 3の画像 3
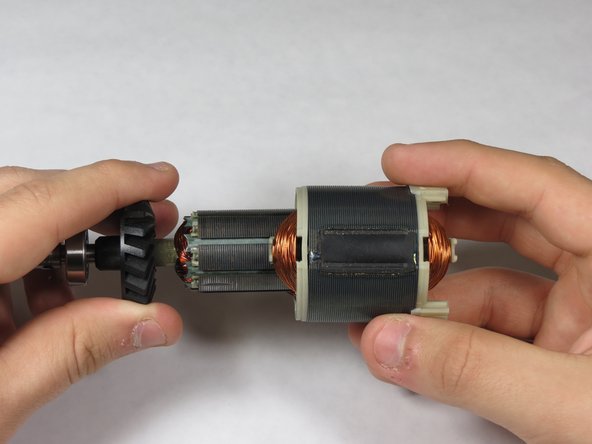
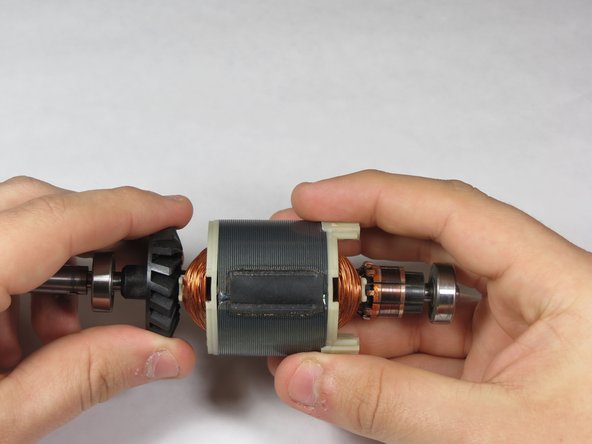
    • Carefully slide the armature out of the 120V field.

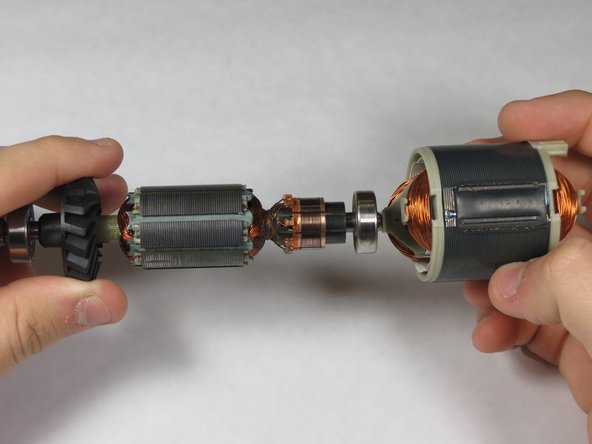
  12. Dremel MultiPro 395 Armature Replacement, Inserting new armature: 手順 12、 3の画像 1 Dremel MultiPro 395 Armature Replacement, Inserting new armature: 手順 12、 3の画像 2 Dremel MultiPro 395 Armature Replacement, Inserting new armature: 手順 12、 3の画像 3
    • Carefully slide the new armature back into the 120V field.

終わりに

To reassemble your device, follow these instructions in reverse order.

6 の人々がこのガイドを完成させました。

作成者

3人の作成者と共同で作成されました。

Cheyenne

メンバー登録日: 09/17/14

292 ポイント

1ガイドが承認済み

チーム

University of Kentucky Louisville, Team 1-5, Mathis Fall 2014 University of Kentucky Louisville, Team 1-5, Mathis Fall 2014人のメンバー

LOUISVILLE-MATHIS-F14S1G5

5 メンバー

4のガイドは作成済み

4 件のコメント

This part does not seem to be my problem the only thing I have left on the shaft is the copper coil the fan and whatever the part above the fan it spins freely around and it seems to be set on a device that allows it to tilt. I am struggling with this, please point me in the right direction of the removal of the copper core coil.... There has got to be an easier way to remove this.

Johnny Reb - 返信

The article does not mention why an armature needs to be replaced. So why is it necessary to replace an armature? If there is no obviously visible problem, what could be wrong with it?

mycle85719 - 返信

very good article, congratulations for the content

<a href="https://comodemorarpragozar.com/"> comodemorarpragozar </a>

tiagoraro - 返信

My problem is with the Dremel is making a grinding noise. May be bearings? Good article. Love I fixit.

philight - 返信

コメントを追加

統計データ:

過去 24時間: 6

過去 7 日: 16

過去 30 日: 45

今までの合計 7,988