はじめに
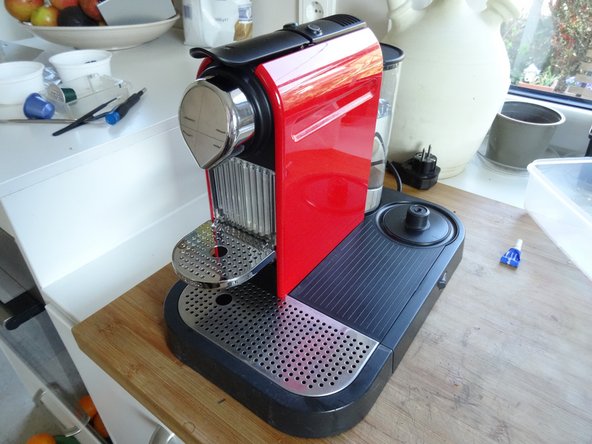
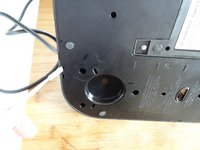
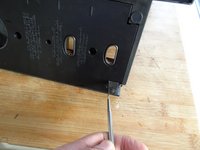
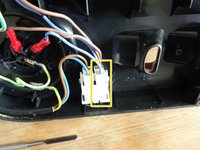
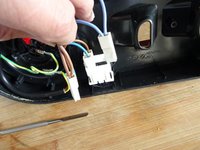
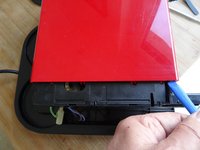
For many repairs the CitiZ must be opened, this is shown here.
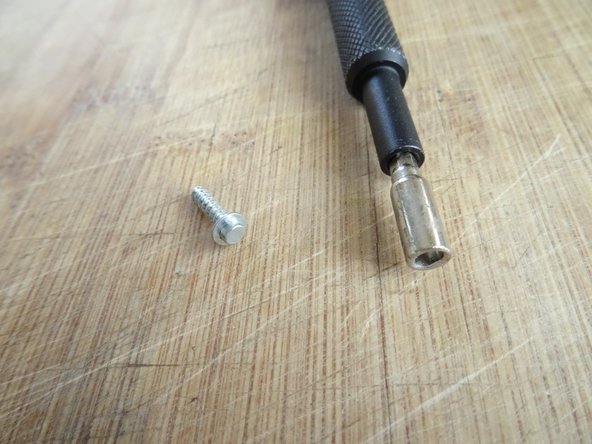
必要な工具と部品
-
-
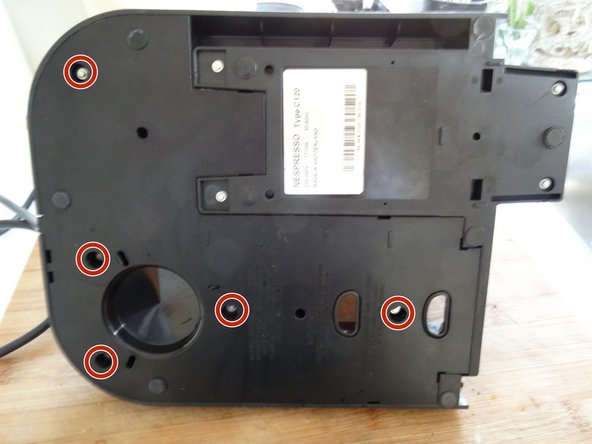
Remove all attachments: Water tank, capsule and cup drawer, drip tray.
-
-


もう少しです!
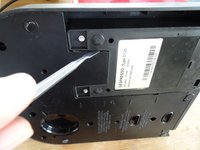
To reassemble your device, follow these instructions in reverse order.
終わりに
To reassemble your device, follow these instructions in reverse order.
4 の人々がこのガイドを完成させました。
チーム

2 件のコメント
Wie geht es weiter um an die Heizung zu kommen? Vermutlich ist eine Reperatur nicht möglich.
Ich denke der Teardown zeigt es: Nespresso CitiZ Teardown
VauWeh -