メインコンテンツにスキップ

Disconnect the Battery

必要条件のみ
この修理ガイドは、他のガイドの前提条件として使用されます。それ自体は不完全で、単独で使用されることはありません。

必要な工具と部品

  1. Disconnect the Battery, Back Cover: 手順 1、 1の画像 1
    • Flip the Nook over.

  2. Disconnect the Battery: 手順 2、 2の画像 1 Disconnect the Battery: 手順 2、 2の画像 2
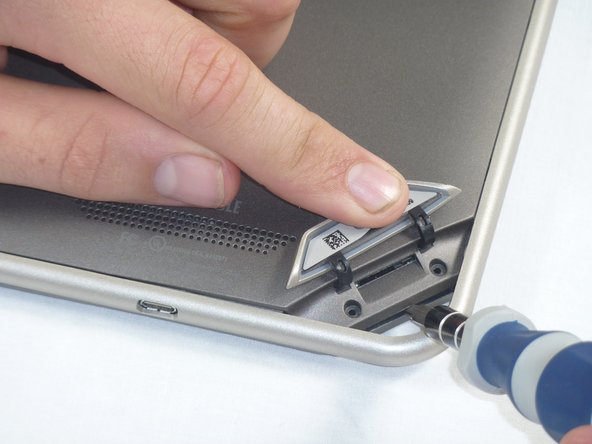
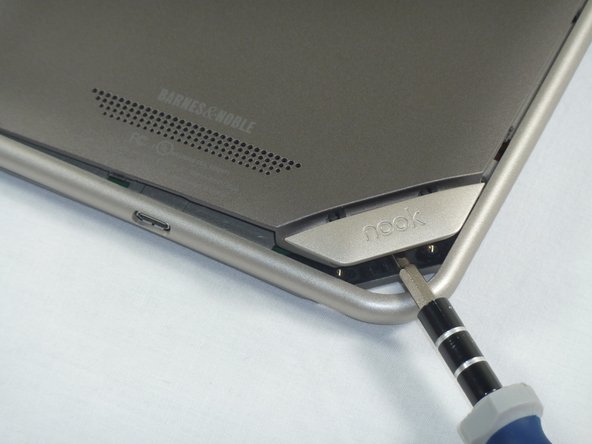
    • Lift the flap that reads "Nook" to reveal the tape that is underneath. Remove the memory card if one is present.

    • Remove the tape covering the round holes to reveal two T5 Torx screws.

    • Remove the two T5 Torx screws securing the back cover.

  3. Disconnect the Battery: 手順 3、 2の画像 1 Disconnect the Battery: 手順 3、 2の画像 2
    • Insert the flat end of a spudger between the front panel and the rear assembly.

    • Though these photos show a screwdriver, use a spudger or plastic opening tool in order to prevent damage to the device.

    • Use a spudger to lift the the back panel from the rest of the Nook.

  4. Disconnect the Battery: 手順 4、 2の画像 1 Disconnect the Battery: 手順 4、 2の画像 2
    • Slide the spudger around the edges of the Nook to loosen the back panel.

  5. Disconnect the Battery: 手順 5、 1の画像 1
    • Pull the back panel off the Nook.

  6. Disconnect the Battery, Disconnect the Battery: 手順 6、 2の画像 1 Disconnect the Battery, Disconnect the Battery: 手順 6、 2の画像 2
    • Lift up the foam pad at the corner of the battery to reveal the battery connector.

    • Use a spudger or plastic opening tool to disconnect the battery cable from the motherboard.

    • These photos show a screwdriver, but we recommend using a nonconductive tool like a spudger to prevent a potential short.

終わりに

To reassemble your device, follow these instructions in reverse order.

Holly Lowe

メンバー登録日: 09/26/12

238 ポイント

3のガイドは作成済み

チーム

Cal Poly, Team 1-4, Propen Fall 2012 Cal Poly, Team 1-4, Propen Fall 2012人のメンバー

CPSU-PROPEN-F12S1G4

4 メンバー

14のガイドは作成済み

0 件のコメント

コメントを追加

統計データ:

過去 24時間: 0

過去 7 日: 0

過去 30 日: 0

今までの合計 9