メインコンテンツにスキップ

Disassembling Keurig Mini B-31 Arm

必要条件のみ
この修理ガイドは、他のガイドの前提条件として使用されます。それ自体は不完全で、単独で使用されることはありません。

必要な工具と部品

  1. Disassembling Keurig Mini B-31 Arm, Arm: 手順 1、 1の画像 1
    • With the needle removed, open the device by pulling up on the handle.

  2. Disassembling Keurig Mini B-31 Arm: 手順 2、 3の画像 1 Disassembling Keurig Mini B-31 Arm: 手順 2、 3の画像 2 Disassembling Keurig Mini B-31 Arm: 手順 2、 3の画像 3
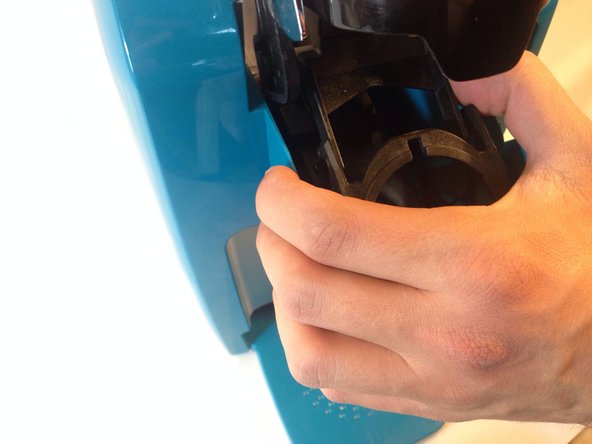
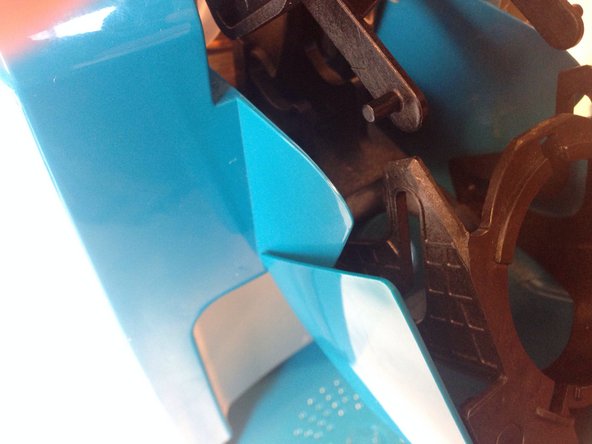
    • Push in on one of the arms attached to the K-cup holder plastic housing to remove it from its rails. The arms are identical for both sides so once one side is free repeat the process for the second side.

    • The plastic is flexible and will not snap with the force applied.

    • Once the arms are removed, the configuration should look like the picture. The K-cup holder housing should be separated from the arms.

  3. Disassembling Keurig Mini B-31 Arm: 手順 3、 1の画像 1
    • Use a Phillips #1 screw driver to remove the four 12 mm screws that hold the arm assembly in place.

  4. Disassembling Keurig Mini B-31 Arm: 手順 4、 2の画像 1 Disassembling Keurig Mini B-31 Arm: 手順 4、 2の画像 2
    • Lift up the arm and pull up the handle assembly. It should easily come off.

    • This white tab falls off easily, remove it and set it aside to ensure it is not lost.

終わりに

To reassemble your device, follow these instructions in reverse order.

作成者

4人の作成者と共同で作成されました。

Andrew Adriance

メンバー登録日: 01/14/14

1,914 ポイント

7のガイドは作成済み

チーム

Cal Poly, Team 17-1, Forte Winter 2014 Cal Poly, Team 17-1, Forte Winter 2014人のメンバー

CPSU-FORTE-W14S17G1

5 メンバー

17のガイドは作成済み

0 件のコメント

コメントを追加

統計データ:

過去 24時間: 0

過去 7 日: 0

過去 30 日: 0

今までの合計 68