はじめに
This guide will show which screws need to be taken out to allow the control board to be removed from the radio. The control board must be taken out to replace a dead backup battery.
必要な工具と部品
-
-
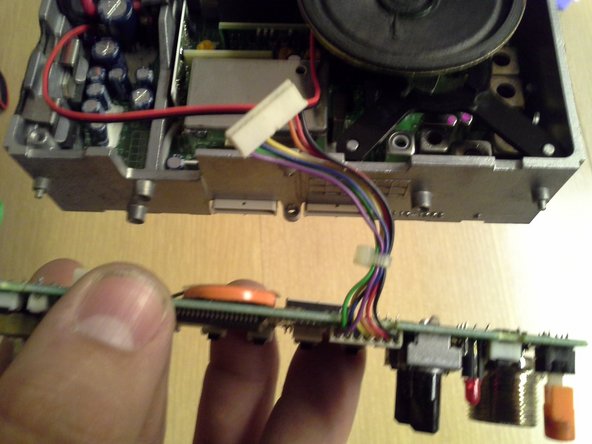
Push down on the tab that locks the power connection together, and slide the two connectors apart.
-
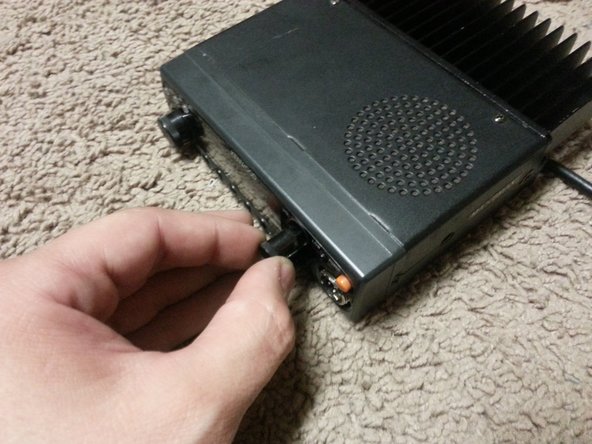
Unscrew the antenna downlead from the antenna pigtail coming out of the radio, and pull the two apart.
-
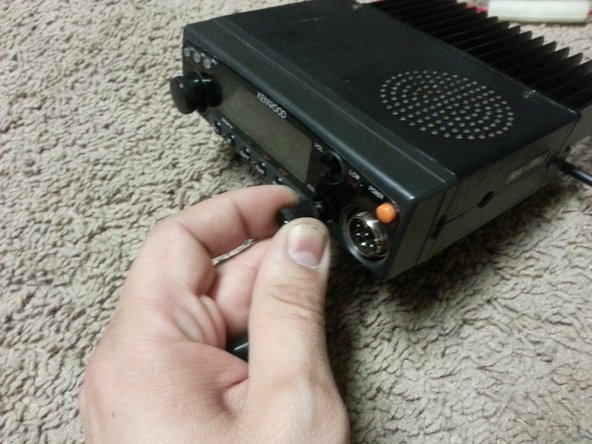
Unscrew the microphone connector from the front panel of the radio, and pull it out.
-
-
-
There are two tabs that sit underneath the sides of the face plate. They have a tendency to break out the plastic over top of them while removing the covers. To help prevent this, push inward on the side of the cover, just behind the face plate as you take off the covers.
-
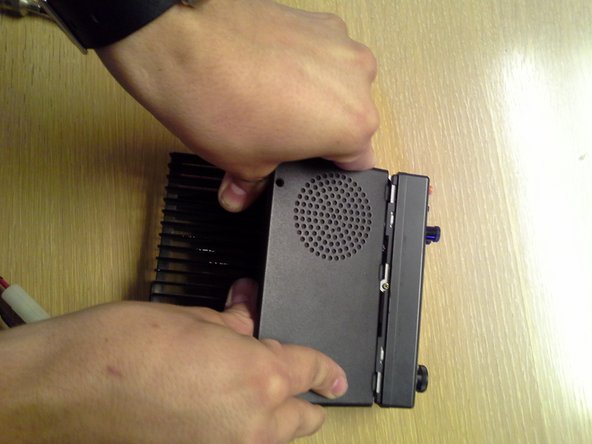
Lift up on the rear of the top cover, and slide it towards the back of the radio to disengage the three tabs at the front.
-
Repeat for the bottom cover of the radio.
-
-
-
On the left side of the screen, gently pull on the tuning knob, separating it from the radio.
-
The upper knob on the right is the volume. Gently pull it away from the radio to remove it.
-
The lower knob on the right is the squelch knob. Remove it in the same way as the other two knobs.
-
Set the three knobs aside, so they can be put back on later.
-
-
-
-
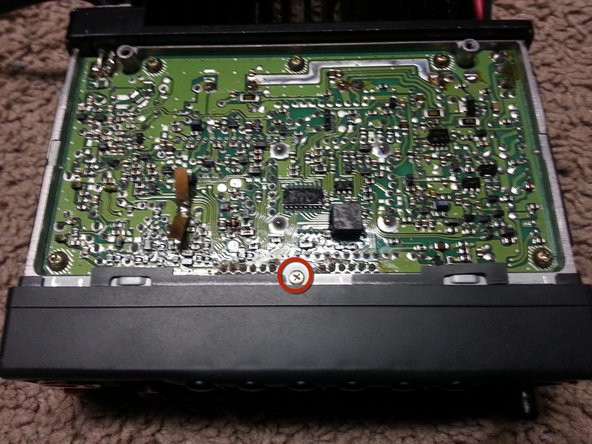
On the right side of the board, there is a screw that goes through a transistor, that secures the control board to the radio. Remove this screw, and set aside.
-
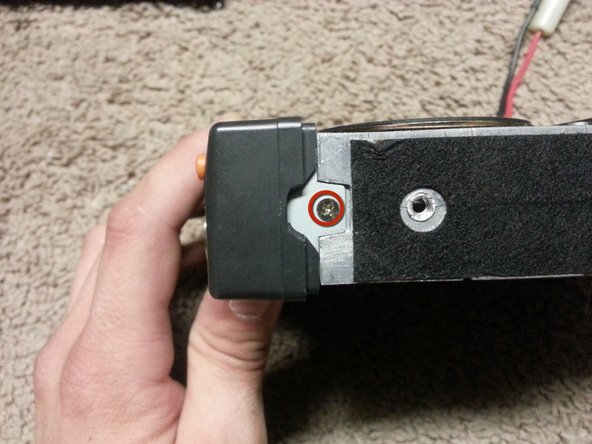
Remove the screw on the left that holds the board to the radio. Set it aside.
-
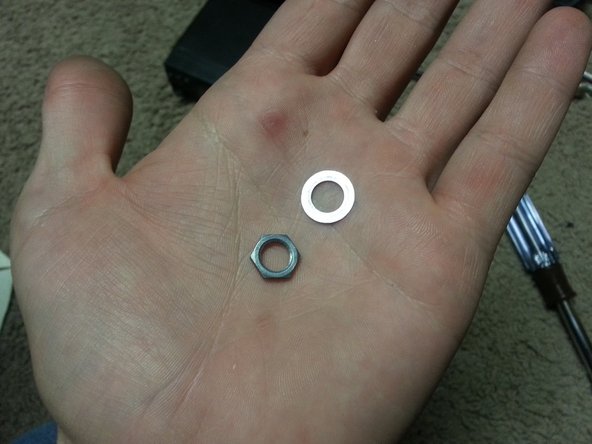
The two screws that are removed during this step are not the same. Note which screw comes from which side. The screw with the tapered head goes on the left. The screw with a flat mounting surface goes on the right.
-


To reassemble your device, follow these instructions in reverse order.
To reassemble your device, follow these instructions in reverse order.
ある他の人がこのガイドを完成しました。