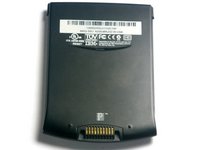
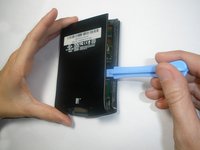
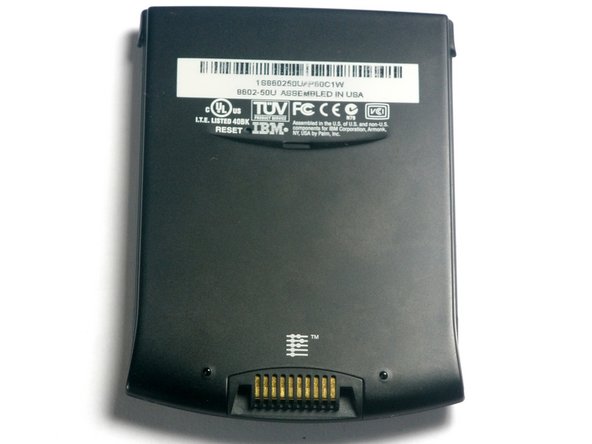
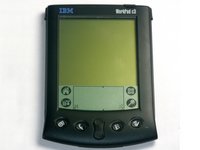
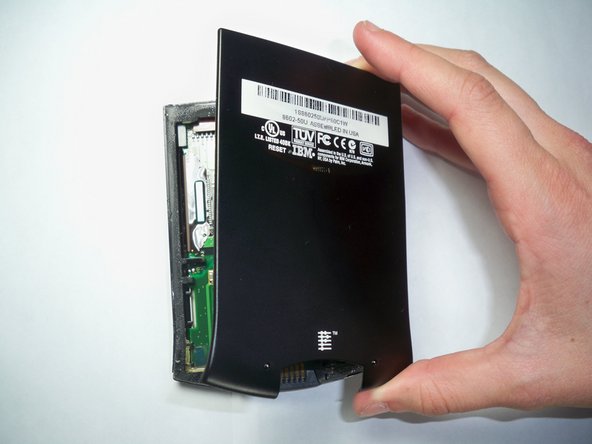
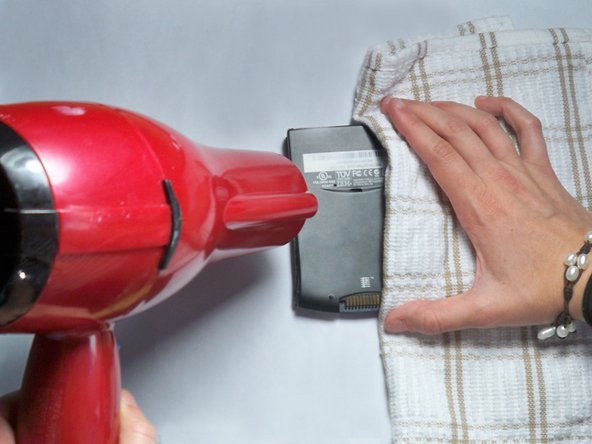
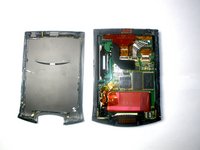
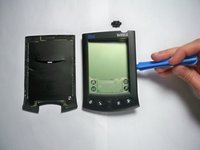
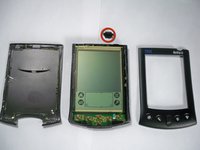
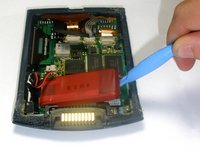
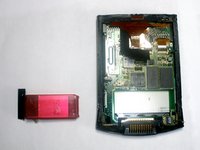
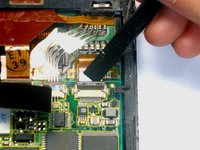
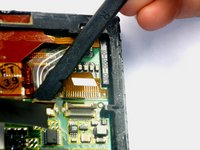
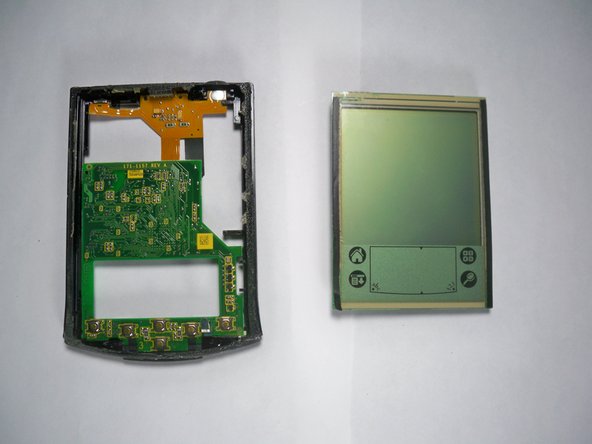
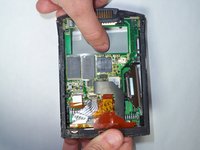
メインコンテンツにスキップ

Disassembling IBM WorkPad c3 LCD

必要な工具と部品

  1. Disassembling IBM WorkPad c3 LCD, Back Case: 手順 1、 2の画像 1 Disassembling IBM WorkPad c3 LCD, Back Case: 手順 1、 2の画像 2
    • Turn the device over so that the screen is facing down.

    • In the next step the device will be heated, so the screen must be turned over to prevent heat damage to the LCD/Digitizer.

  2. Disassembling IBM WorkPad c3 LCD: 手順 2、 1の画像 1
    • Using a hair dryer, slowly heat the edges of the WorkPad.

    • Spend at least one minute heating each side of the device. This will melt the glue holding the case together, and allow it to be removed.

    • Be sure not to touch the device directly after heating as it will be extremely hot. Use a towel or oven mitt to grab it.

  3. Disassembling IBM WorkPad c3 LCD: 手順 3、 2の画像 1 Disassembling IBM WorkPad c3 LCD: 手順 3、 2の画像 2
    • Use a plastic opening tool to pry the back case from the WorkPad.

    • If the rear cover is not coming off very easily, you probably need to reheat the case in order to sufficiently melt the glue.

  4. Disassembling IBM WorkPad c3 LCD, Front Case: 手順 4、 2の画像 1 Disassembling IBM WorkPad c3 LCD, Front Case: 手順 4、 2の画像 2
    • Turn the device over, so that the screen is laying on a flat surface.

  5. Disassembling IBM WorkPad c3 LCD: 手順 5、 3の画像 1 Disassembling IBM WorkPad c3 LCD: 手順 5、 3の画像 2 Disassembling IBM WorkPad c3 LCD: 手順 5、 3の画像 3
    • If the back case has already been removed, carefully place it on the WorkPad to protect the circuitry inside from the heat.

    • Using the hair dryer, slowly heat the edges of the device. Spend at least 1 minute on each side, thoroughly heating the case.

    • The LCD/Digitizer combo is very sensitive to heat, and can easily be ruined if it is directly exposed to the hair dryer. Verify that the screen is face down.

  6. Disassembling IBM WorkPad c3 LCD: 手順 6、 2の画像 1 Disassembling IBM WorkPad c3 LCD: 手順 6、 2の画像 2
    • The device will be extremely hot. Use a towel or oven mitt to grab it.

    • Using the Plastic Opening Tools, take the front of the case off.

    • If the case is difficult to remove, try repeating step 2.

    • The power button at the top of the device will be loose once the front part of the case is removed.

  7. Disassembling IBM WorkPad c3 LCD, Battery: 手順 7、 1の画像 1
    • Remove the yellow tape that is covering the battery connector

  8. Disassembling IBM WorkPad c3 LCD: 手順 8、 1の画像 1
    • Using the tweezers, carefully disconnect the battery cable from the port

  9. Disassembling IBM WorkPad c3 LCD: 手順 9、 2の画像 1 Disassembling IBM WorkPad c3 LCD: 手順 9、 2の画像 2
    • Using the plastic opening tools, lift the battery out of the case

    • The battery is secured with adhesive and it will take some effort to remove

  10. Disassembling IBM WorkPad c3 LCD, LCD: 手順 10、 2の画像 1 Disassembling IBM WorkPad c3 LCD, LCD: 手順 10、 2の画像 2
    • Using the spudger lift the tabs holding the LCD/Digitizer combo cables to the WorkPad.

  11. Disassembling IBM WorkPad c3 LCD: 手順 11、 2の画像 1 Disassembling IBM WorkPad c3 LCD: 手順 11、 2の画像 2
    • Using your thumb, press down gently on the back of the LCD.

    • The LCD will disconnect and fall out of the case, so be sure to have your hand waiting for it.

終わりに

To reassemble your device, follow these instructions in reverse order.

作成者

3人の作成者と共同で作成されました。

Emily Falkenstein

メンバー登録日: 10/05/10

75 ポイント

5のガイドは作成済み

チーム

Cal Poly, Team 21-35, Regan Fall 2010 Cal Poly, Team 21-35, Regan Fall 2010人のメンバー

CPSU-REGAN-F10S21G35

3 メンバー

5のガイドは作成済み

0 件のコメント

コメントを追加

統計データ:

過去 24時間: 0

過去 7 日: 0

過去 30 日: 11

今までの合計 1,871