メインコンテンツにスキップ
リペアコミュニティに参加 - アカウントの作成

Disassembling HP Photosmart D110a Printer Hood

必要な工具と部品

  1. Disassembling HP Photosmart D110a Printer Hood, Printer Hood Assembly: 手順 1、 1の画像 1
    • Pull down both front panels to open the printer. Lift the scanner flap upward by pulling down on it; there are two mouth pieces that need to be pulled down.

    • Adjust the flap covering the scanner upward, as shown.

    FixBotに聞いてみる
  2. Disassembling HP Photosmart D110a Printer Hood: 手順 2、 1の画像 1
    • Pull the scanner flap gently away from the printer to release its two clips.

    FixBotに聞いてみる
  3. Disassembling HP Photosmart D110a Printer Hood: 手順 3、 1の画像 1
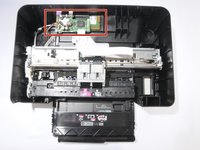
    • Locate the three screws on top of the printer.

    • The orange circle shows a fourth screw located behind the power panel. Ignore this one for now, as directions to remove this screw are in Step 5.

    FixBotに聞いてみる
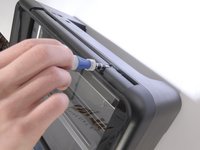
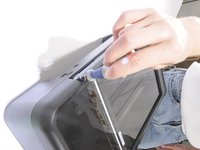
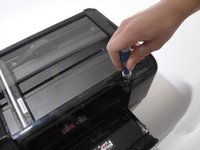
  4. Disassembling HP Photosmart D110a Printer Hood: 手順 4、 3の画像 1 Disassembling HP Photosmart D110a Printer Hood: 手順 4、 3の画像 2 Disassembling HP Photosmart D110a Printer Hood: 手順 4、 3の画像 3
    • Using a T-9 screwdriver, remove the three screws from the printer's top.

    FixBotに聞いてみる
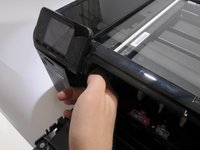
  5. Disassembling HP Photosmart D110a Printer Hood: 手順 5、 2の画像 1 Disassembling HP Photosmart D110a Printer Hood: 手順 5、 2の画像 2
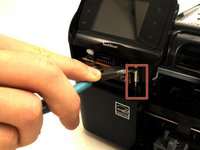
    • To remove the power button panel:

    • Reach inside the printer's front opening.

    • Press the small clip behind the power button.

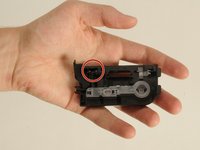
    • A picture of the power button panel removed is provided to show the location of the clip that needs to be pressed.

    • Pull the panel out from right to left.

    FixBotに聞いてみる
  6. Disassembling HP Photosmart D110a Printer Hood: 手順 6、 2の画像 1 Disassembling HP Photosmart D110a Printer Hood: 手順 6、 2の画像 2
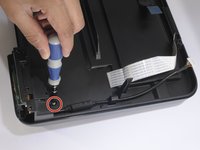
    • Remove the fourth screw, which was covered by the power button panel.

    • Do not try and torque the screw from an angle. This will ruin the screw's head, and make it even more difficult to remove the screw. Only remove it as already described.

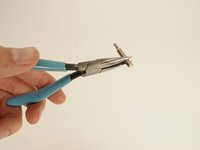
    • This screw is placed awkwardly. We found holding a T9 bit in a pair of needle nose pliers gave us enough leverage to pull it up.

    FixBotに聞いてみる
  7. Disassembling HP Photosmart D110a Printer Hood: 手順 7、 3の画像 1 Disassembling HP Photosmart D110a Printer Hood: 手順 7、 3の画像 2 Disassembling HP Photosmart D110a Printer Hood: 手順 7、 3の画像 3
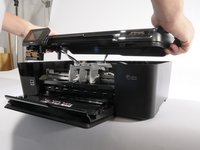
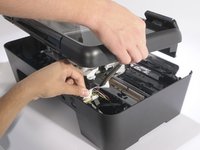
    • With a partner's help:

    • Have one person lift the hood 2-3 inches.

    • Have the other person disconnect the three cables from the motherboard (the green PCB) to the hood by gently pulling upward on them.

    • Remove the hood completely.

    FixBotに聞いてみる
  8. Disassembling HP Photosmart D110a Printer Hood, Printer Hood: 手順 8、 3の画像 1 Disassembling HP Photosmart D110a Printer Hood, Printer Hood: 手順 8、 3の画像 2 Disassembling HP Photosmart D110a Printer Hood, Printer Hood: 手順 8、 3の画像 3
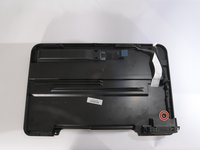
    • Remove the single T-9 screw from the hood's underside, as shown.

    FixBotに聞いてみる
  9. Disassembling HP Photosmart D110a Printer Hood: 手順 9、 2の画像 1 Disassembling HP Photosmart D110a Printer Hood: 手順 9、 2の画像 2
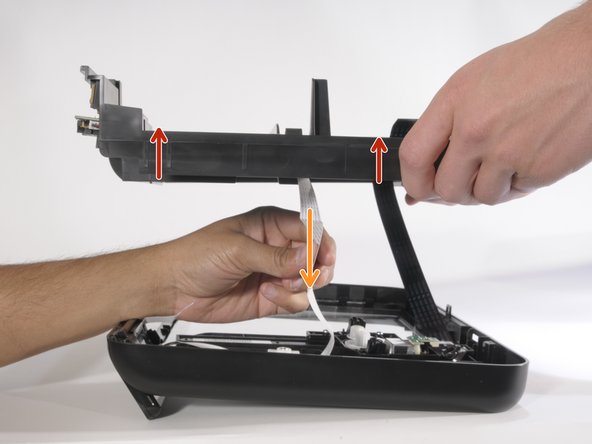
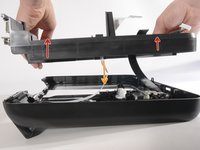
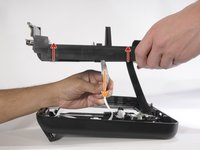
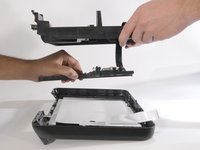
    • With the screw removed, separate the two pieces of the hood by lifting it vertically.

    • Only lift the the top piece enough so that there is no tension applied to the ribbon cables shown.

    • Carefully pull down the white ribbon cable through the top piece of the hood.

    FixBotに聞いてみる
  10. Disassembling HP Photosmart D110a Printer Hood: 手順 10、 2の画像 1 Disassembling HP Photosmart D110a Printer Hood: 手順 10、 2の画像 2
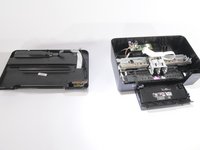
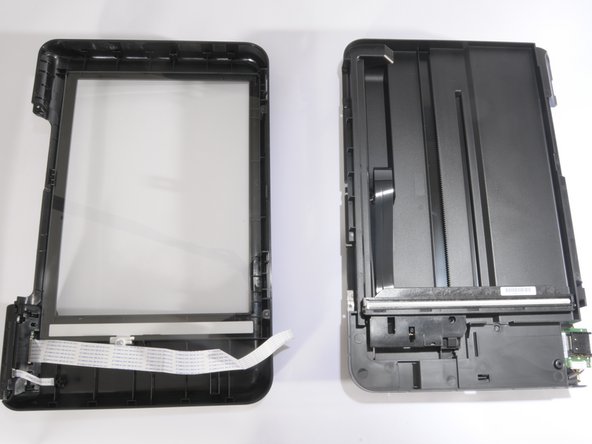
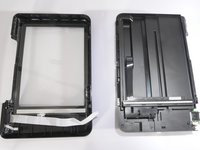
    • Separate the hood pieces while keeping the black ribbon cable connected. Rest the scanner piece carefully to avoid stressing its ribbon cable.

    FixBotに聞いてみる
終わりに

To reassemble your device, follow these instructions in reverse order.

19 の人々がこのガイドを完成させました。

作成者

11人の作成者と共同で作成されました。

Joseph Camilleri

メンバー登録日: 04/01/11

237 ポイント

1ガイドが承認済み

チーム

Cal Poly, Team 10-38, Forte Spring 2011 Cal Poly, Team 10-38, Forte Spring 2011人のメンバー

CPSU-FORTE-S11S10G38

5 メンバー

10のガイドは作成済み

9件のガイドコメント

Thanks for this guide. I never would have found that fourth screw without this guide. The illustration of the "clip" for removal of the power quadrant face could have been more detailed and/or you could have said in the description, "Feel for the TAB on the right center of the power button quadrant behind the "cartridge door open" feeler and push it toward the outside of the printer". Other than that, this was great.

Just A Mechanic - 返信 共有

Hi Joseph,

Thanks for the guide. Very easy to follow. Saved me some dollars.

joenovelo - 返信 共有

Great Support,.!!!

I am a handy person and a Computer tech for family and friends,.

Some time You just need Instruction on how to do do things, Other wise You taking the risks of braking things instead of fixing them

Thanks Guys

Milton Portillo - 返信 共有

Thank you for posting this. In place of the pliers, I recommend using a small reversible ratchet offset (mine was 3-1/4"W x 6-3/4"L x 1/2"H) to remove the 4th screw. It won't slide of the screw like pliers and will make both the removal and replacement much easier.

theratchet - 返信 共有

Where can I find spare parts for HP PSC photosmart D110?

Regards

Carlos Ahumada - 返信 共有

コメントを追加

統計データ:

過去 24時間: 4

過去 7 日: 24

過去 30 日: 99

今までの合計 21,932