メインコンテンツにスキップ

Disassembling Garmin Nuvi 1200 Logic Board

必要な工具と部品

  1. Disassembling Garmin Nuvi 1200 Logic Board, Logic Board: 手順 1、 1の画像 1
    • Remove to sticker on the back of the unit and then remove the two T5 scremws once this is done use a spudger to carefully pry off the silver cover.

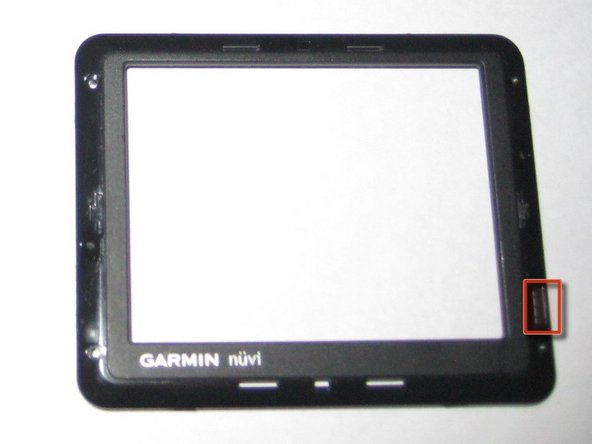
    • Once the tool is inserted it can slide around the entire device.

  2. Disassembling Garmin Nuvi 1200 Logic Board: 手順 2、 1の画像 1
    • Remove four small T5 torx screws.

    • Be gentle, the screws are easily stripped.

  3. Disassembling Garmin Nuvi 1200 Logic Board: 手順 3、 2の画像 1 Disassembling Garmin Nuvi 1200 Logic Board: 手順 3、 2の画像 2
    • Lift cover off of unit.

    • Be careful not to lose small rubber piece on the bottom right corner.

  4. Disassembling Garmin Nuvi 1200 Logic Board: 手順 4、 1の画像 1
    • Disconnect ribbon cable from logic board.

  5. Disassembling Garmin Nuvi 1200 Logic Board: 手順 5、 1の画像 1
    • Remove two T5 torx screws holding down logic board.

    • Disconnect battery.

  6. Disassembling Garmin Nuvi 1200 Logic Board: 手順 6、 1の画像 1
    • Gently lift the logic board out of the unit

    • Be careful not to damage the battery connector on the top of the unit.

終わりに

To reassemble your device, follow these instructions in reverse order.

6 の人々がこのガイドを完成させました。

作成者

1人の作成者と共同作成されました。

Zachary Landau

メンバー登録日: 11/28/10

206 ポイント

1ガイドが承認済み

0 件のコメント

コメントを追加

統計データ:

過去 24時間: 0

過去 7 日: 0

過去 30 日: 2

今までの合計 5,223