はじめに
After the demise of Forcite and the need for warranty support that was not available I have prepared this to assist with anyone else who might need to maintain a Forcite Helmet for a reasonable life. I took the photographs during the disassembly of both Founders and MK1S modules to swap batteries after the newer one failed. The camera modules appear identical between helmets. Only the structure of the helmets and speakers appear to be different..
必要な工具と部品
-
-
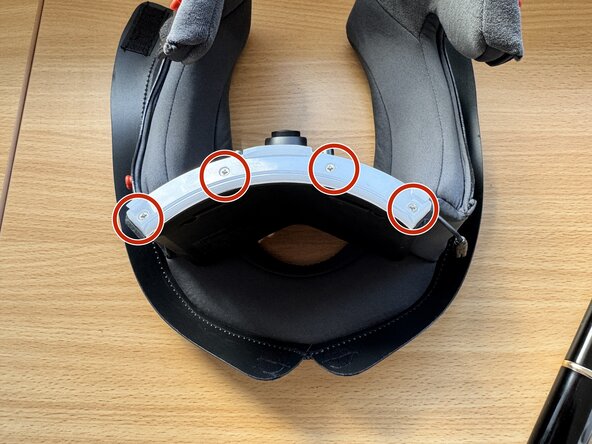
Forcite Helmet MK1S camera module. Assuming you have disconnected the speakers, removed the lens with three screws from the outside and four screws (size 0 Phillips) securing the unit inside the helmet.
-
-
-
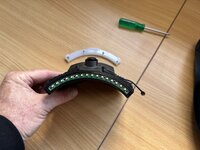
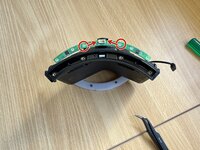
Gently remove the rubber cover from the LED strip. This show's it removed by gently prying it free of the three tabs across the front.
-
Remove four (phillips 0) screws holding the LED stip.
-
Remove the LED strip leaving the exposed LEDs. Although this is now free of screws it is now held in place by the plug on the underside of the board. (see next step)
-
-
-
-
After the LED stip is removed
-
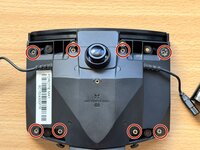
Remove the eight (Phillips 0) screws.
-
NOTE the top right screw is behind a warranty sticker.
-
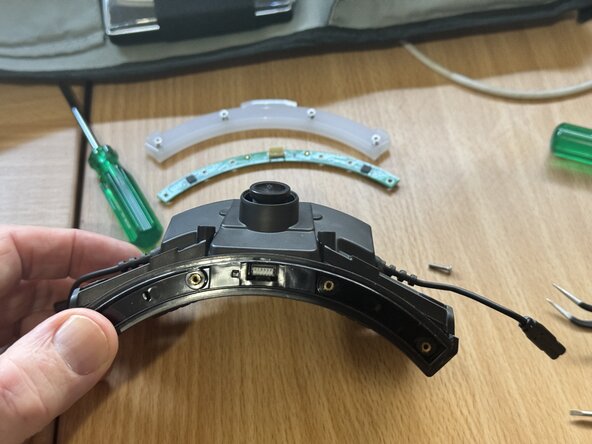
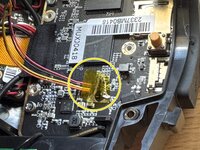
Once the screws are removed, gently separate the front and back cases using a Pick or opening tool or similar.
-
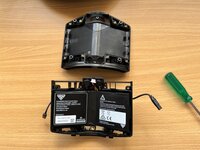
CAREFUL when separating the cases, the battery module is loose once they separate and secured only by it's cables that you won't want to damage.
-
The second photo shows the back/inner case above the front/outer case still containing all parts for the module and the battery sitting loose.
-
-
-
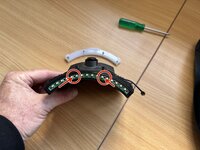
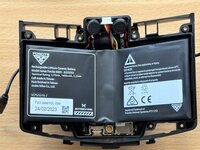
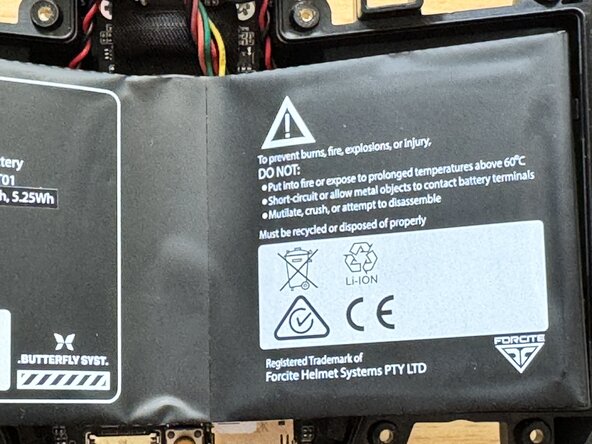
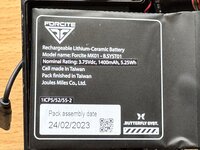
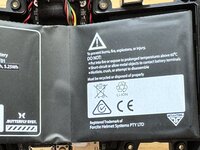
The battery is a single V-Shaped module containing two separate batteries with a control board between them.
-
This is as far as my teardown goes and knowledge of battery replacement.
-
I am unable as of (April 2025) to get spare parts so I've swapped the battery module from my original Founders Helmet to the MK1S which lasted less than twelve months and about three days of riding.
-
From testing the module works fine on external power. Even operates correctly during a ride if plugged into a USB source. It appears to charge indefinitely correctly as well. As soon as external power is removed the helmet is dead without any power.
-
I appreciate contact with anyone knowing where or how to replace the battery module or other parts.
-


To reassemble your device, follow these instructions in reverse order.
ある他の人がこのガイドを完成しました。
