メインコンテンツにスキップ

Disassembling Fifine T683 Microphone Body

必要な工具と部品

  1. Disassembling Fifine T683 Microphone Body, The Microphone: 手順 1、 1の画像 1
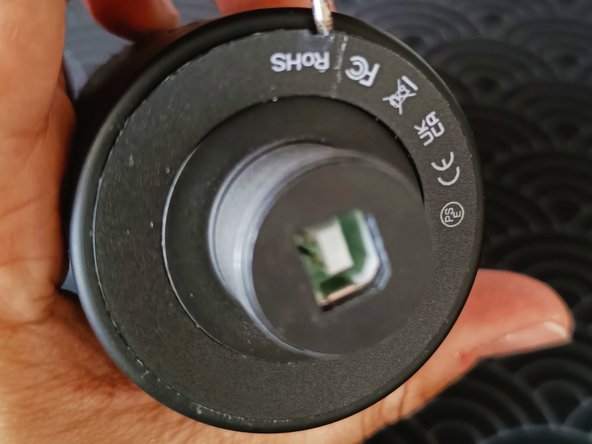
    • This is a well built all-metal condenser microphone.

  2. Disassembling Fifine T683 Microphone Body: 手順 2、 1の画像 1
    • Remove the gain dial, this slips off easily with a tug.

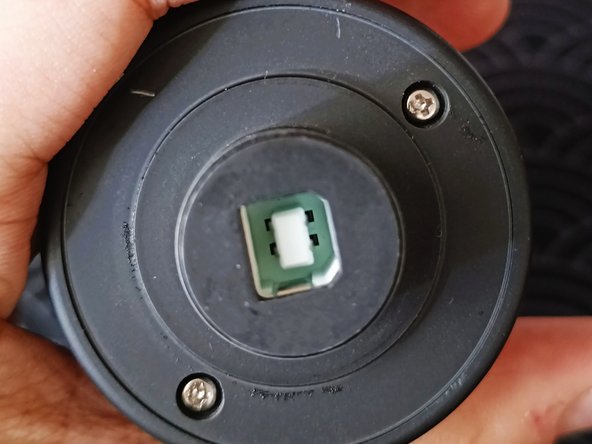
  3. Disassembling Fifine T683 Microphone Body: 手順 3、 2の画像 1 Disassembling Fifine T683 Microphone Body: 手順 3、 2の画像 2
    • Remove the hard plastic ring that is covering the 2 phillips screws at the bottom of the unit.

  4. Disassembling Fifine T683 Microphone Body: 手順 4、 1の画像 1
    • Removing the 2 screws will release the filter. Note that there should be 2 brass poles that connects the two pieces together. One broke in the picture shown as I pried it before.

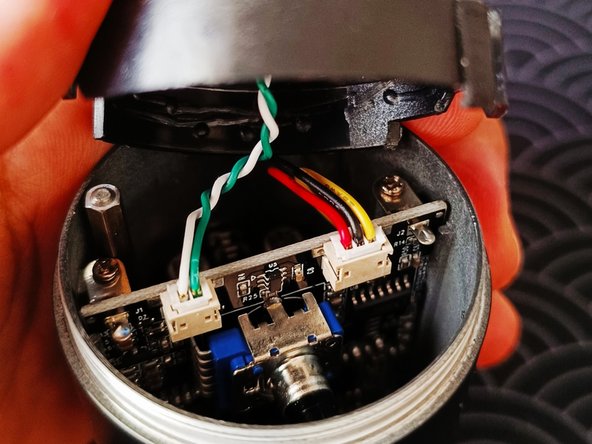
  5. Disassembling Fifine T683 Microphone Body: 手順 5、 2の画像 1 Disassembling Fifine T683 Microphone Body: 手順 5、 2の画像 2
    • The condenser is not attached to the casing and is easily removeable. It is connected to the main PCB so do be careful.

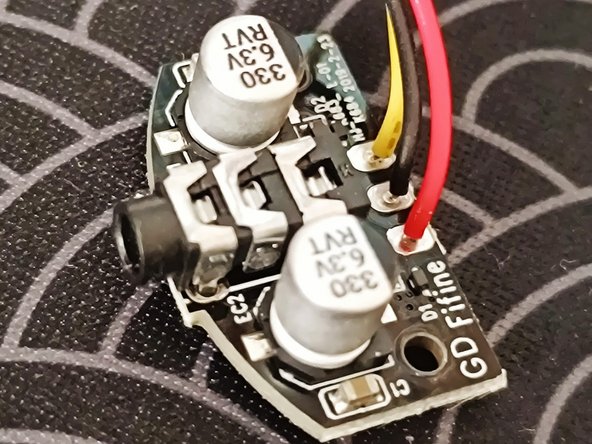
  6. Disassembling Fifine T683 Microphone Body: 手順 6、 1の画像 1
    • Inside you will see another smaller PCB that housed the 3.5mm audio jack. This needs to be removed first before the main PCB as the USB connector is slightly too large to slide through.

  7. Disassembling Fifine T683 Microphone Body: 手順 7、 2の画像 1 Disassembling Fifine T683 Microphone Body: 手順 7、 2の画像 2
    • There two screws to remove the smaller PCB.

  8. Disassembling Fifine T683 Microphone Body: 手順 8、 1の画像 1
    • Two more screws on the sides to be removed.

  9. Disassembling Fifine T683 Microphone Body: 手順 9、 1の画像 1
    • Congratulations! now you're free to work on the PCB.

終わりに

To reassemble your device, follow these instructions in reverse order.

作成者

1人の作成者と共同作成されました。

clem

メンバー登録日: 05/08/19

169 ポイント

1ガイドが承認済み

0 件のコメント

コメントを追加

統計データ:

過去 24時間: 1

過去 7 日: 6

過去 30 日: 20

今までの合計 58