メインコンテンツにスキップ

このバージョンは誤った内容を含んでいる可能性があります。最新の承認済みスナップショットに切り替えてください。

必要な工具と部品

  1. この手順は未翻訳です。 翻訳を手伝う。

    : 手順 1、 3の画像 1 : 手順 1、 3の画像 2 : 手順 1、 3の画像 3
    • Make sure the camera is turned off here.

    • Remove batteries from the battery compartment located on the bottom of the camera

    • Remove SD card for the card reader compartment located on the flat side (left side) of the camera

  2. この手順は未翻訳です。 翻訳を手伝う。

    : 手順 2、 1の画像 1
    • Remove 2 screws on the rounded side of the camera wisdom here.

  3. この手順は未翻訳です。 翻訳を手伝う。

    : 手順 3、 2の画像 1 : 手順 3、 2の画像 2
    • Remove 3 screws on the flat side of the camera

    • All silver screws go into the side of the camera that is silver

    • All black screws go into the side of the camera that is black

  4. この手順は未翻訳です。 翻訳を手伝う。

    : 手順 4、 1の画像 1
    • Remove 4 screws from the bottom of the camera

    • All silver screws go into the side of the camera that is silver

    • All black screws go into the side of the camera that is black

  5. この手順は未翻訳です。 翻訳を手伝う。

    : 手順 5、 3の画像 1 : 手順 5、 3の画像 2 : 手順 5、 3の画像 3
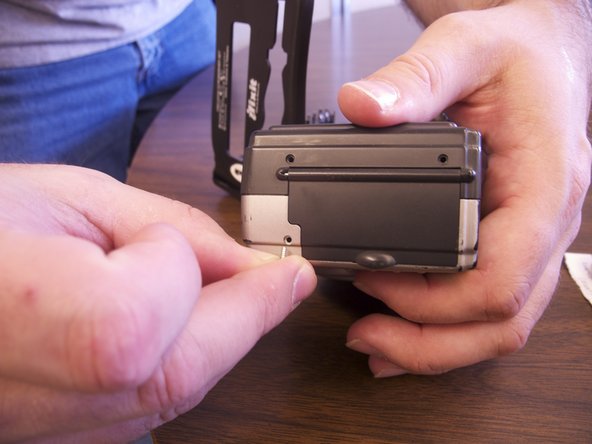
    • Separate the front and back pieces of the cameras plastic casing using a spudgerm here.

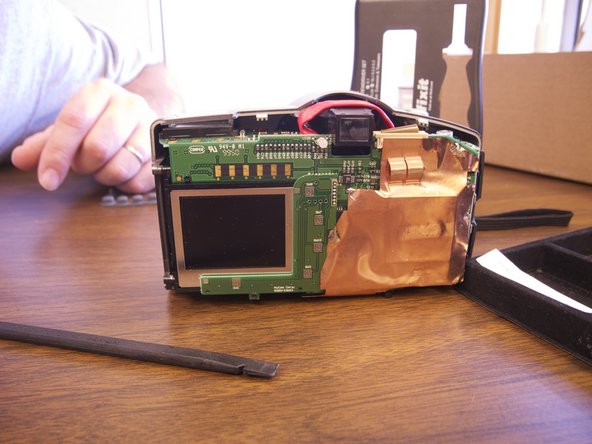
    • WARNING: When pulling the front plastic casing, be careful of the wire that are connected to the aperture control

    • Use minimal force so that the plastic casing does not break

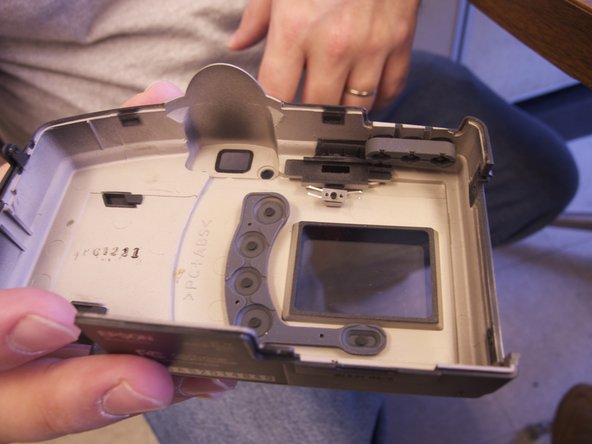
    • When separating the small silver sliding indicator for view/off/playback may fall out

    • The plastic viewing window located on the top of the camera may also become lose and fall out

ゴール

作成者

8人の作成者と共同で作成されました。

Brittany

メンバー登録日: 02/12/13

101 ポイント

1ガイドが承認済み

チーム

Ohio State, Team 1-5, Buehl Spring 2013 Ohio State, Team 1-5, Buehl Spring 2013人のメンバー

OSU-BUEHL-S13S1G5

4 メンバー

6のガイドは作成済み

0 件のコメント

コメントを追加

統計データ:

過去 24時間: 0

過去 7 日: 1

過去 30 日: 3

今までの合計 145