メインコンテンツにスキップ

Digitech XC- 5206 Buttons Replacement

必要な工具と部品

  1. Digitech XC- 5206 Buttons Replacement, Speaker Buttons: 手順 1、 2の画像 1 Digitech XC- 5206 Buttons Replacement, Speaker Buttons: 手順 1、 2の画像 2
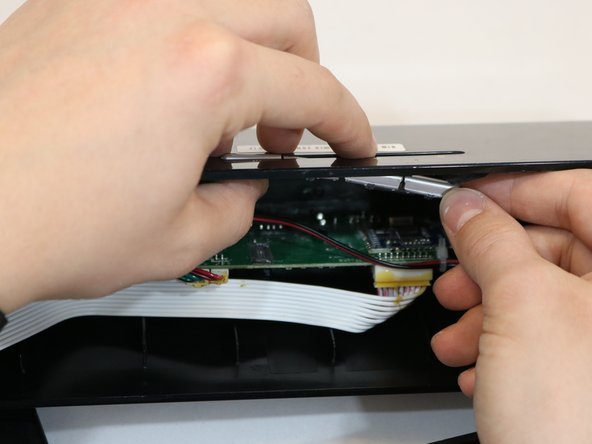
    • Remove front panel by forcefully placing the flat edge of the spudger in between panel and plastic. Angle spudger and use fingers to pry panel off.

    • You may need to use extra force.

  2. Digitech XC- 5206 Buttons Replacement: 手順 2、 3の画像 1 Digitech XC- 5206 Buttons Replacement: 手順 2、 3の画像 2 Digitech XC- 5206 Buttons Replacement: 手順 2、 3の画像 3
    • Unscrew all eight 14mm screws closest to the edges of the speaker by spinning a size PH2 screwdriver in a counterclockwise motion.

    • Dislodge face by holding speaker face down. Gently shake or tap front against table to fully remove face.

    • OR grab ahold of the silver tab to pull the speaker face out. This may require force.

  3. Digitech XC- 5206 Buttons Replacement: 手順 3、 1の画像 1
    • Unscrew upper panel two 10 mm screws spinning a size PH2 screwdriver in a counterclockwise motion.

  4. Digitech XC- 5206 Buttons Replacement: 手順 4、 3の画像 1 Digitech XC- 5206 Buttons Replacement: 手順 4、 3の画像 2 Digitech XC- 5206 Buttons Replacement: 手順 4、 3の画像 3
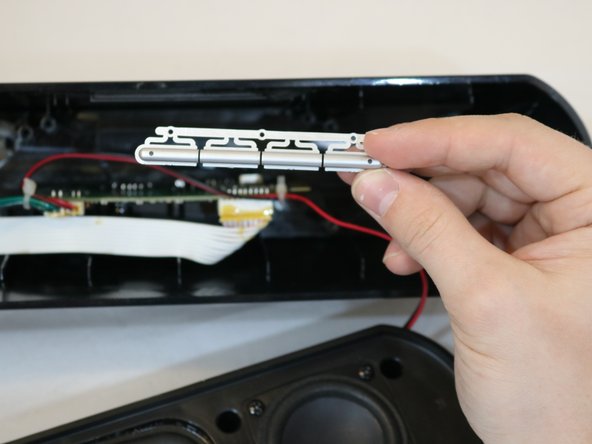
    • Remove circuit board by pulling straight upwards out of slot.

    • Remove plastic buttons by gently pushing buttons from top of speaker and using other hand to pull from bottom.

終わりに

To reassemble your device, follow these instructions in reverse order.

作成者

2人の作成者と共同で作成されました。

Kassidy Wyckoff

メンバー登録日: 10/02/18

655 ポイント

4のガイドは作成済み

チーム

Eastern Washington University, Team S2-G4, Munoz Fall 2018 Eastern Washington University, Team S2-G4, Munoz Fall 2018人のメンバー

EWU-MUNOZ-F18S2G4

4 メンバー

4のガイドは作成済み

0 件のコメント

コメントを追加

統計データ:

過去 24時間: 0

過去 7 日: 2

過去 30 日: 5

今までの合計 151