メインコンテンツにスキップ

Desktop PC CD Drive Replacement

必要な工具と部品

  1. Desktop PC CD Drive Replacement, Optical Drive: 手順 1、 1の画像 1
    • Find a large table or flat non-carpeted space to work.

    • Unplug all external cables, including the power cable, from your computer.

    • Touch a metal piece of your computer case in order to release any built up static electricity. Make sure to do this frequently throughout the replacement.

  2. Desktop PC CD Drive Replacement: 手順 2、 2の画像 1 Desktop PC CD Drive Replacement: 手順 2、 2の画像 2
    • Find the screws that are holding together the side of your computer case and unscrew them.

    • Slide the side panel of the computer case toward the back of the case and remove it.

    • Repeat for second panel.

  3. Desktop PC CD Drive Replacement: 手順 3、 3の画像 1 Desktop PC CD Drive Replacement: 手順 3、 3の画像 2 Desktop PC CD Drive Replacement: 手順 3、 3の画像 3
    • Depending on the case, It may be necessary to remove the top panel in order to get to the CD drive. If you can access the drive without removing the top, skip this step.

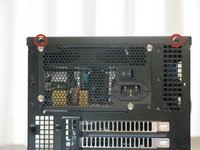
    • On the back of the computer, unscrew the screws connecting the top panel to the case.

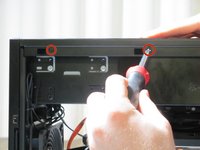
    • Inside the computer, Unscrew the screws connecting the top panel to the case.

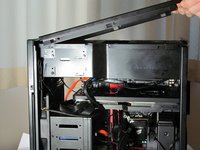
    • Slide the top panel backward and lift it off the case.

  4. Desktop PC CD Drive Replacement: 手順 4、 3の画像 1 Desktop PC CD Drive Replacement: 手順 4、 3の画像 2 Desktop PC CD Drive Replacement: 手順 4、 3の画像 3
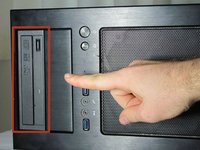
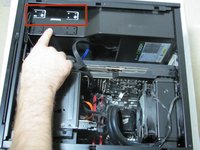
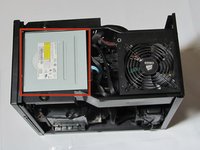
    • Locate the CD drive within the computer case.

  5. Desktop PC CD Drive Replacement: 手順 5、 3の画像 1 Desktop PC CD Drive Replacement: 手順 5、 3の画像 2 Desktop PC CD Drive Replacement: 手順 5、 3の画像 3
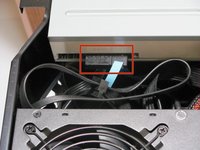
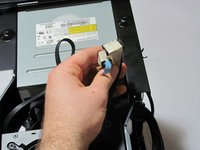
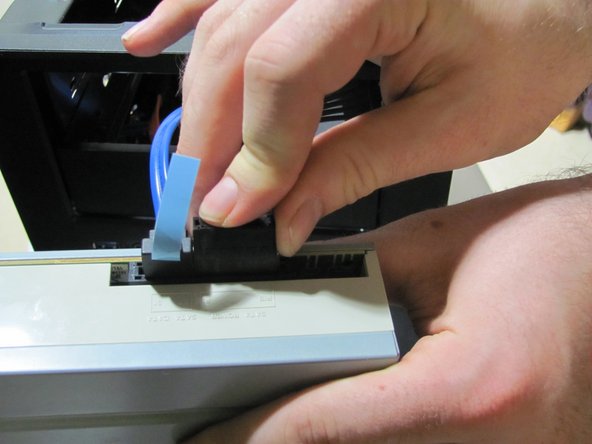
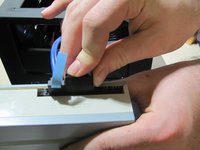
    • Locate the cables attached to the back of the CD drive.

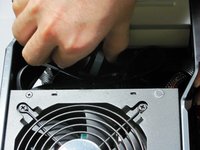
    • Remove the cables. In order to do this gently but firmly grasp the cables and pull backwards.

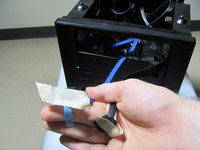
    • I recommend marking the cords you unplug with a piece of tape so you can easily find them again later.

    • If the cables are unreachable, you may need to do the next two steps before this one.

  6. Desktop PC CD Drive Replacement: 手順 6、 1の画像 1
    • Locate and unscrew the screws holding the CD drive to the case.

  7. Desktop PC CD Drive Replacement: 手順 7、 1の画像 1
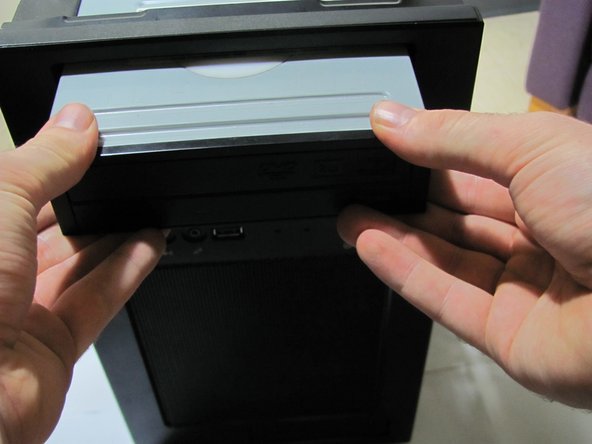
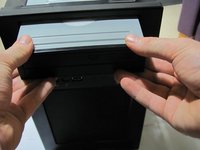
    • Slide CD drive out of the front of the case.

  8. Desktop PC CD Drive Replacement: 手順 8、 3の画像 1 Desktop PC CD Drive Replacement: 手順 8、 3の画像 2 Desktop PC CD Drive Replacement: 手順 8、 3の画像 3
    • Get your new CD drive.

    • Pull the taped cables through the opening for the CD drive.

    • Remove the tape from the cables.

    • Plug the cables into the new CD drive.

    • Slide the new CD drive back into the front of the case.

終わりに

To reassemble your device, follow these instructions in reverse order.

28 の人々がこのガイドを完成させました。

作成者

3人の作成者と共同で作成されました。

Mitchell Zehr

メンバー登録日: 02/24/15

927 ポイント

1ガイドが承認済み

チーム

Cal Poly, Team 23-2, Green Winter 2015 Cal Poly, Team 23-2, Green Winter 2015人のメンバー

CPSU-GREEN-W15S23G2

4 メンバー

16のガイドは作成済み

2 件のコメント

موقع سي جدا جدا لا يمكن الاعتماد علية

Hayder77 Ail lbdlbd - 返信

موقع سي لا يعتمد علية

Hayder77 Ail lbdlbd - 返信

コメントを追加

統計データ:

過去 24時間: 3

過去 7 日: 27

過去 30 日: 83

今までの合計 7,413