はじめに
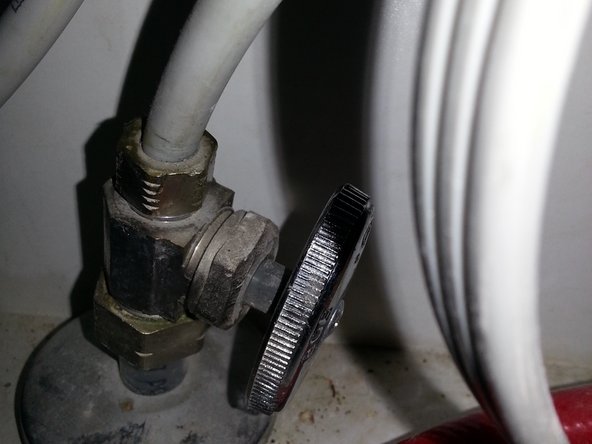
Disassemble your Delta Single Handle Kitchen Faucet Ball and seat assembly to check for cracked gaskets and leakage, or to replace the taps.
-
-
remove cam and ball assembly by pulling up
-
Note that arrow on cam assemmbly points to front
-
-
-
-
Install ball assembly making sure tab in faucet assembly is inserted in ball housing slot
-
Install cam assembly make sure tab on cam is inserted in slot on faucet housing. Make sure the arrow is pointing forward
-
See picture with the allen wrench pointing to the arrow on the cam assembly. Remember the opening on the cam assembly is the arrow. Press the cam assembly into the faucet housing. With all the new seats, balls, and cam assembly, this can be difficult.
-
-
-
Hand tighten plus a little turn with channel lock pliers. Do not over tighten or scratch finish.
-


To reassemble your device, follow these instructions in reverse order.
To reassemble your device, follow these instructions in reverse order.
6 の人々がこのガイドを完成させました。
5 件のコメント
Why risk scratching the finish when a strap wrench can be used instead of pliers? Harborfreight has them very cheap.
FWIW, the inside of my Delta single-handle kitchen faucet did not look like this AT ALL. There were no little O-rings or springs, just a plastic cartridge with no replaceable parts. I found a replacement cartridge at a plumbing store (the big box stores did not carry it) for 30-some dollars, but the guy there told me that Delta has a lifetime warranty, and I should just call Delta for a free replacement. So if you have a leaky Delta faucet, you might just want to try getting a replacement cartridge instead of figuring out whether your faucet uses springs and O-rings or not.
David Fass - 返信
This was exactly what the inside of my kitchen faucet looked like and was very helpful. I thought I had to replace the ball valve but my local True Value hardware store guy said start with the seats and springs. $3.00, tax included. That’s all it needed and works like new.
We just used this guide to disassemble A faucet and replace the rubber O-rings. From start to finish it took us about 20 minutes. The repair kit was approximately $12 because we bought two. A new faucet would have been a hundred and twenty dollars. By using this guide we saved $108.
We have a Delta Leland single handle faucet, handle was getting very sloppy with 1” of free play, getting hard to shut of completely. Disassembles pretty much as described above, except has the $32 RP50587 cartridge as mentioned by David Fass in an earlier comment, no o-rings and springs. Disassembling the cartridge (not required), I see a worn out plastic part. If you do take apart the cartridge, note that if the orange tab is positioned to the other side (to the right? don’t quite remember) it will inhibit giving full-on hot water. The Delta lifetime warranty “covers manufacturer defects in faucet function as well as faucet finish, provided you are the original purchaser”. I suspect it does not cover normal wear and tear, especially if you lost the receipt years ago as I did.