必要な工具と部品
-
-
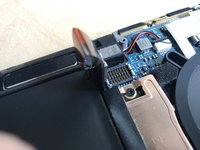
Use a spudger to pry the back panel off of the carbon fiber upper assembly. Slide it into the crack between the carbon-fiber and aluminum housings, and slide the tool around the perimeter of the device to release the plastic clips holding the two together.
-
-
-
-
Insert your finger in the translucent loop, and pull straight away from the motherboard.
-
-
-
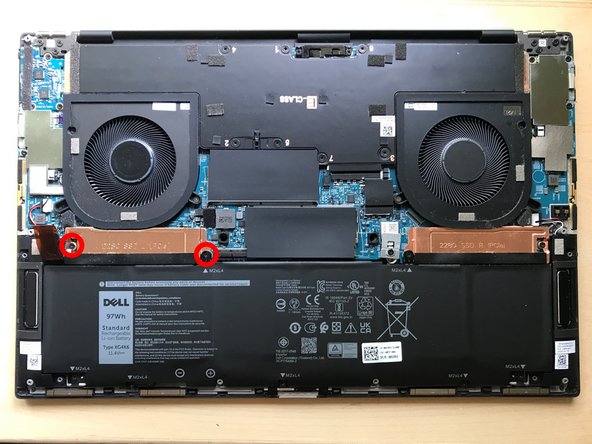
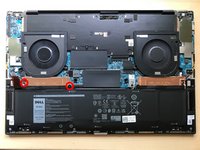
Remove the 2 PH1 screws which retain the SSD and heat spreader. The innermost screw also retains the battery, you will have to gently lift the plastic battery mounting tab with your fingernail or a pry tool, allowing the copper heat spreader to be slid out from underneath.
-
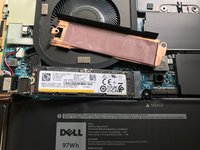
The SSD is now free to spring up from the slot. Pull it in a straight line in the direction which it points at rest. Gently insert your replacement drive. Reverse the above steps to reassemble.
-


To reassemble your device, follow these instructions in reverse order.
To reassemble your device, follow these instructions in reverse order.

1件のガイドコメント
Do NOT follow this guide. This guide doesn't fully remove the battery. Please fully remove the battery before attempting to removing the SSD heat sink. It's five extra screws and very easy. If you don't fully remove the battery, you could very easily break the screw holes on the battery attempting to remove the heatsink.