はじめに
You have problems with your RAM? Not detected properly or would like to upgrade to higher capacity RAM? Then this guide is for you!
必要な工具と部品
-
-
Flip your device the other way around
-
Don't be confused that this device is black, its a skin
-
-
-
Grab your T5 Torx and identify the 10 torx screws
-
Make sure that this is a T5, to not strip the screws. They can be very difficult to remove
-
Careful there are more screws, do not try to open yet!
-
-
-
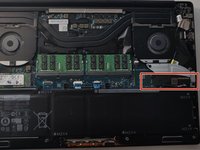
Open the flap on the back of the laptop
-
There are two screws that need to be removed, please use a Philips 0 screwdriver
-
-
-
-
The backplate might not be easy to open
-
You can use a soft prytool to open the laptop easier
-
Don't insert the tool too deep or you might break the mainboard
-
Now, you should be able to remove the backplate
-
-
-
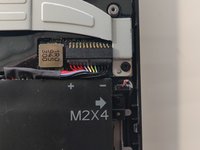
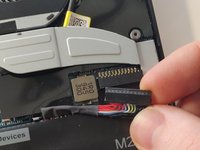
Locate the battery connection to the mainboard
-
Unplug the battery before doing anything else
-
You can use a pry tool to make this easier
-
-
-
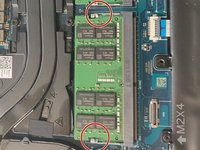
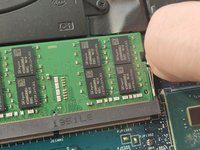
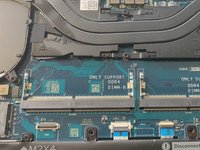
Locate the RAM on the mainboard
-
Gently push down on the 2 outside tabs of the RAM stick you want to replace
-
While still pushing down, gently push the tabs outwards, causing the RAM stick to flip up
-
Firmly grasp the RAM stick from the flipped up edge and gently pull out, releasing the RAM stick
-
-
-
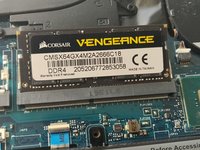
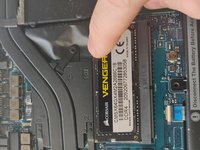
Insert the new RAM sticks into the socket or reseat the one that is already there if the ram is not detecting properly
-
Make sure to align the RAM properly in the slot before pressing down
-
Then press down to have the RAM to seat in correctly
-
-
-
Plug battery back in
-
Place backplate on top again and reassemble
-


To reassemble your device, follow these instructions in reverse order.
To reassemble your device, follow these instructions in reverse order.
3 の人々がこのガイドを完成させました。