はじめに
The Dell XPS 18 is a great machine, but it's held back by its traditional HDD and 4GB of RAM. It's fairly easy to replace the SATA HDD with a SATA SSD.
必要な工具と部品
-
-
There are ten screws around the perimeter, circled in red in the second photo. Use a T8 Torx bit to remove these, and set them aside, we'll need them when we're done!
-
Place your XPS 18 face down on a flat surface. You may want to put a protective surface down such as a towel, microfiber cloth, etc., to make sure your screen doesn't get scratched. I'm using blank newsprint paper which also works great to give us a nice light background for the photos!
-
-
-
There are two feet/legs that fold out from the back. These are attached inside the unit, so fold them out before proceeding. You won't be able to remove the back panel if they're folded in.
-
There is a door on the right side that pushes in to allow access to the SD card port. This is a perfect place to insert your finger to get a good hold on the back panel. Use a finger to pull straight away from the unit to lift off the rear panel. It may stick a little but it will pull right off easily.
-
-
-
-
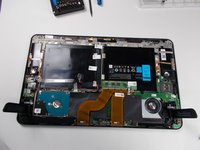
The internals are revealed!
-
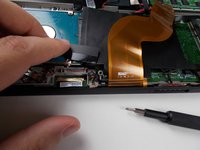
There is a narrow plastic strip that covers the haptic motor, some connectors, etc. Carefully peel it up and set it aside until you're ready to close up the unit.
-
-
-
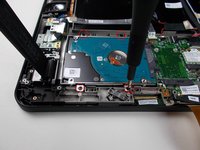
There are four Phillips screws here. Use the #0 phillips screwdriver to remove these.
-
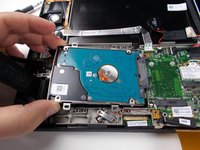
Lift up the end of the drive opposite the connector slightly and pull the drive away from the connector. It will slide right out!
-
-
-
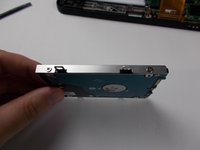
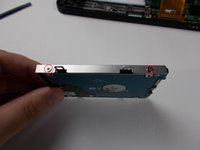
There are four phillips head screws, two on each side. Use the #0 driver to remove these and set them aside.
-
At this point if you're installing a SATA SSD, slip it in the caddy, screw it in, and go backwards through the steps to button everything back up.
-


To reassemble your device, follow these instructions in reverse order. You'll have to install an OS and possibly turn off SecureBoot in the EFI/BIOS setup utility.
4 の人々がこのガイドを完成させました。