はじめに
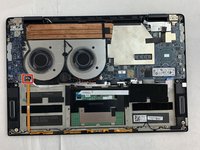
This guide shows how to remove and replace the I/O board of your Dell XPS 15 9575. Before you begin this repair, turn off your laptop and unplug it from the charger.
必要な工具と部品
-
-
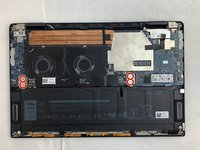
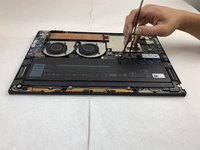
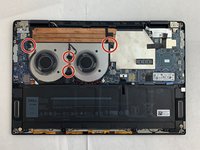
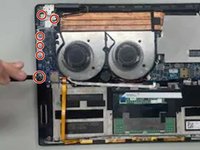
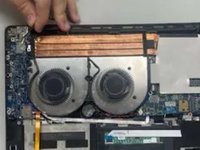
Use your T5 Torx driver to remove all eight 3.2 mm screws holding down the back panel.
-
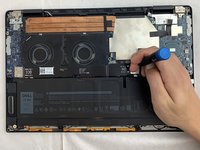
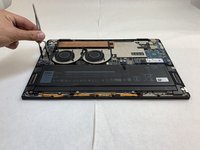
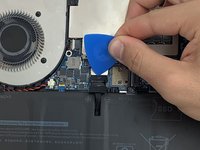
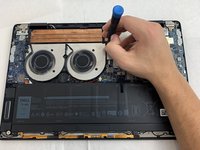
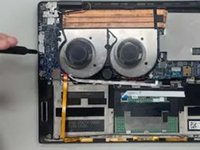
Wedge an opening pick between the back cover and the base of the board, then slightly lift the tool to pop the clips on the back cover off.
-
-
-
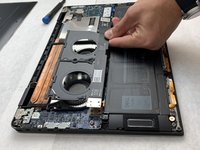
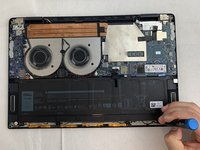
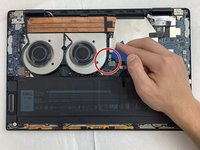
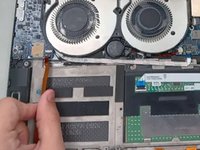
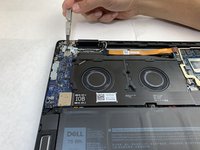
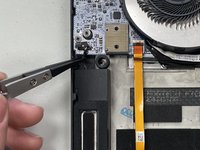
Use the Phillips #0 screwdriver to remove all four silver 3.2 mm screws fastening the interconnect cable.
-
-
-
-
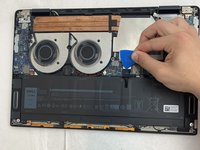
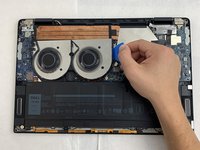
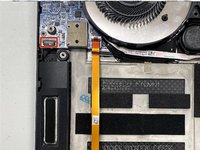
Use a spudger or a clean fingernail to flip up the locking flap of the ZIF connector.
-
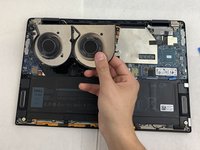
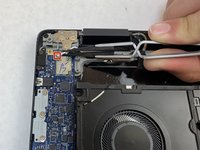
Use tweezers or your fingers to gently pull the orange cable out of its socket on the I/O board.
-


To reassemble your device, follow these instructions in reverse order.
To reassemble your device, follow these instructions in reverse order.
ある他の人がこのガイドを完成しました。

チーム

University of North Texas, Team 1-5, Coppersmith Spring 2024 University of North Texas, Team 1-5, Coppersmith Spring 2024人のメンバー
UNT-COPPERSMITH-S24S1G5
4 メンバー
4のガイドは作成済み