はじめに
Dell XPS 13のファンを交換するための修理ガイドです。
必要な工具と部品
-
-
-
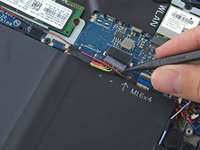
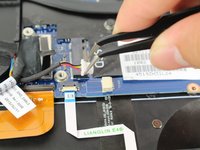
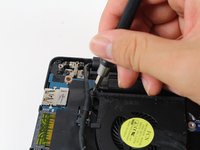
バッテリーのケーブルコネクタをバッテリー側に向けて引き抜いて、ソケットから接続を外します。
-
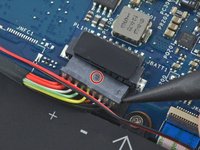
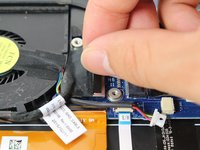
コネクタが固くて外れない場合は、片側を少し押し出してから、反対側も同じように押し出します。
-
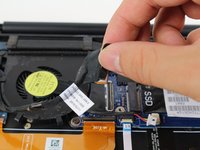
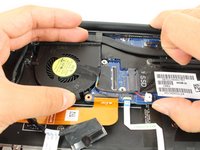
コネクターがうまく抜けない場合は、スパッジャーの先端でコネクターのくぼみを軽く押して、コネクターをスライドさせて抜きます。
-
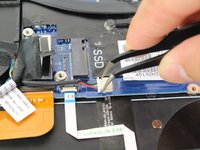
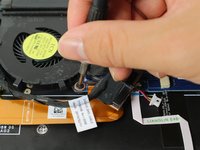
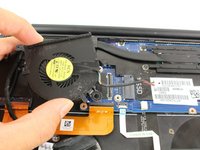
ディスプレイを開き、電源ボタンを5秒間長押しして、放電します。
-


このデバイスを再組み立てするには、インストラクションを逆の順番に従って作業を進めてください。
このデバイスを再組み立てするには、インストラクションを逆の順番に従って作業を進めてください。
6 の人々がこのガイドを完成させました。
以下の翻訳者の皆さんにお礼を申し上げます:
100%

これらの翻訳者の方々は世界を修理する私たちのサポートをしてくれています。 あなたも貢献してみませんか?
翻訳を始める ›
チーム

Cal Poly, Team S21-G6, Livingston Spring 2017 Cal Poly, Team S21-G6, Livingston Spring 2017人のメンバー
CPSU-LIVINGSTON-S17S21G6
5 メンバー
30のガイドは作成済み
3 件のコメント
Great guide! The two hardest parts were getting the back cover off, and lifting the motherboard to remove the fan. Took me about 30 minutes in total.
It would be really easier if you remove the battery screws first… there are some steps that were not clear…
This repair took me about 45 min for a complete novice. “Walking out” the battery connector was only way I could unplug it. There was a retaining bracket overlaying the flat connector (step 8) that I needed to unscrew (2 screws, phillips) before it could be removed. Take care to replace the wire in the wire guides along the fan’s housing prior to reinsertion of the replacement fan. It cannot be done afterwards and the back panel will not be flush. Otherwise, this was an excellent guide and an easy repair.