はじめに
As one of the key features of a laptop, the mouse pad is one of the elements of the device that is most likely to suffer wear over time. The right/left click buttons are especially susceptible to wear and tear, as these are mechanical systems connected to electrical boards.
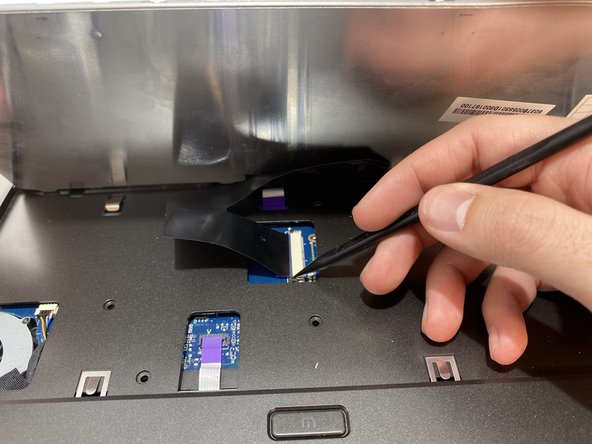
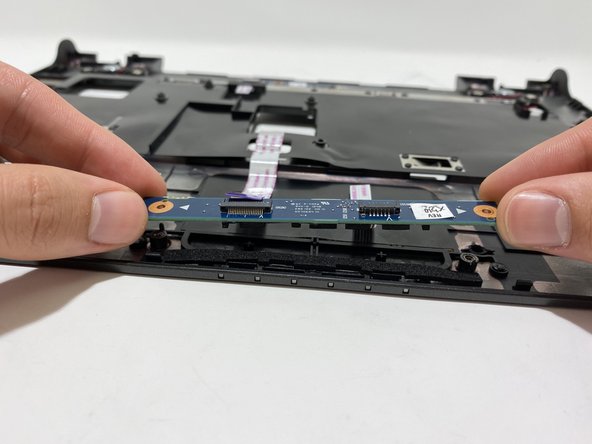
If your left-click or right-click buttons aren't working, you may need to replace the board that controls those functions. Use this guide to learn how!
必要な工具と部品


To reassemble your device, follow these instructions in reverse order.
To reassemble your device, follow these instructions in reverse order.
ある他の人がこのガイドを完成しました。
チーム

University of Memphis, Team S2-G1, Kim Fall 2019 University of Memphis, Team S2-G1, Kim Fall 2019人のメンバー
UM-KIM-F19S2G1
4 メンバー
3のガイドは作成済み