はじめに
If your screen is cracked, broken, doesn't respond to touch, or has broken pixels, it might be time to replace the screen. This guide will help you to replace the screen on the Dell Venue 8
必要な工具と部品
-
-
Hold the device with the screen facing up. Gently wedge your plastic opening tool into the crease, and run it along the perimeter of the case
-
Remove the back panel of the device.
-
-
-
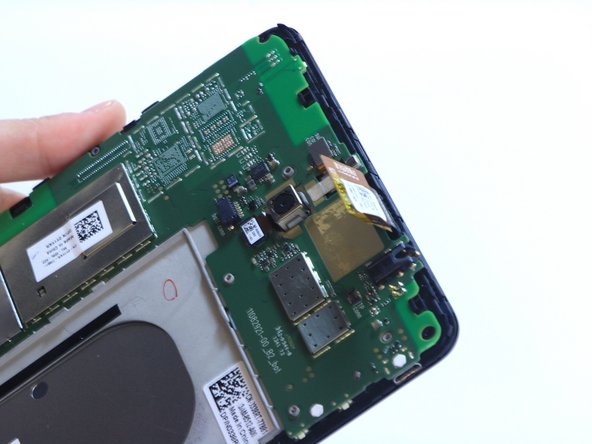
Unclip the power clip from the motherboard by pulling down gently towards the bottom of the tablet.
-
-
-
-
Using your plastic opening tool, unclip the speaker connection from the logic board.
Be extra careful when prying this connection! The safer route would actually be to skip this step and proceed with the rest of the instructions. After removing the speaker use a piece of regular tape to attach it to the logic board to keep both parts together.
-
-
-
Disconnect the display clip found next to the speaker.
-
Disconnect the Display connection located at the top of the tablet.
-
To reassemble your device, follow these instructions in reverse order.
To reassemble your device, follow these instructions in reverse order.
7 の人々がこのガイドを完成させました。
2 件のコメント
LOL. Who rated this as a difficult repair? Seriously? T5 screws too much for you? The only issue with the repair for this device is the adhesive between the digi and frame is a REAL pain to remove, and the plastic frame is likely to melt if you use too much/high heat. Otherwise, it's very simple. Just be careful when installing the new digi, as the motherboard needs to be slightly lifted to feed the connector.
Thanks for the instructions!
Is there a part 2 for this guide? The instructions is incomplete and doesn't not include steps to actually remove the digitizer.


