メインコンテンツにスキップ

Dell Studio 1735 Hard Drive Replacement

必要な工具と部品

  1. Dell Studio 1735 Hard Drive Replacement, Battery: 手順 1、 1の画像 1
    • Slide and click the battery latch release.

    • Slide the battery out of the battery bay.

  2. Dell Studio 1735 Hard Drive Replacement, Base Cover: 手順 2、 1の画像 1
    • Loosen the eight captive screws on the base cover and lift the cover off the computer at an angle as shown in the figure.

  3. Dell Studio 1735 Hard Drive Replacement, Hard Drive: 手順 3、 1の画像 1
    • Remove the four screws securing the hard drive assembly to the computer base.

    • Pull the blue pull-tab on the cable attached to the system board to disconnect the cable.

    • Pull the black pull-tab to lift the hard drive assembly out of the computer.

  4. Dell Studio 1735 Hard Drive Replacement: 手順 4、 2の画像 1 Dell Studio 1735 Hard Drive Replacement: 手順 4、 2の画像 2
    • Pull the interposer to detach it from the hard drive.

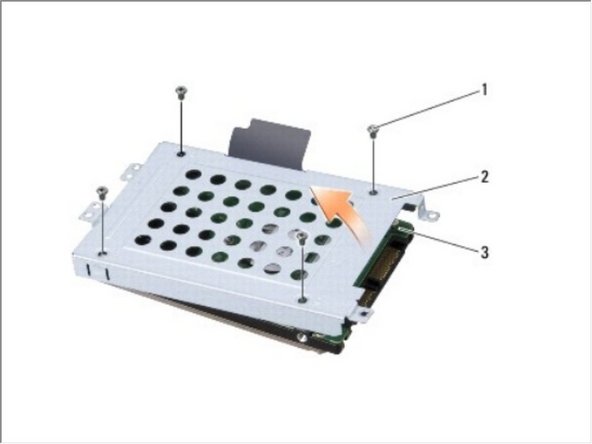
    • Remove the four M3 x 3-mm screws securing the hard drive cage to the hard drive.

    • Lift the hard drive cage off the hard drive.

終わりに

To reassemble your device, follow these instructions in reverse order.

ある他の人がこのガイドを完成しました。

作成者

1人の作成者と共同作成されました。

Johnathan Hammond

メンバー登録日: 02/28/18

44,830 ポイント

408のガイドは作成済み

チーム

RampUP America, Inc. RampUP America, Inc.人のメンバー

Community

42 メンバー

1,985のガイドは作成済み

0 件のコメント

コメントを追加

統計データ:

過去 24時間: 0

過去 7 日: 0

過去 30 日: 5

今までの合計 214