はじめに
Replacing CPU fan P/N: 0F01PX
and GPU fan P/N: 0V9H8N
必要な工具と部品
-
-
Ensure that your work surface is flat and clean to prevent the computer cover from being scratched.
-
Turn off your computer.
-
Disconnect your computer from all the cables.
-
-
-
Close the display lid and turn the computer over.
-
Remove the M2x3 T5 screws that secure the base cover to the computer.
-
Turn the system badge flap over and then remove the M2x8.5 screws that secure the base cover to the computer.
-
-
-
-
Pry the edges of the base cover and lift it to remove it from the computer. Consider using a spudger.
-
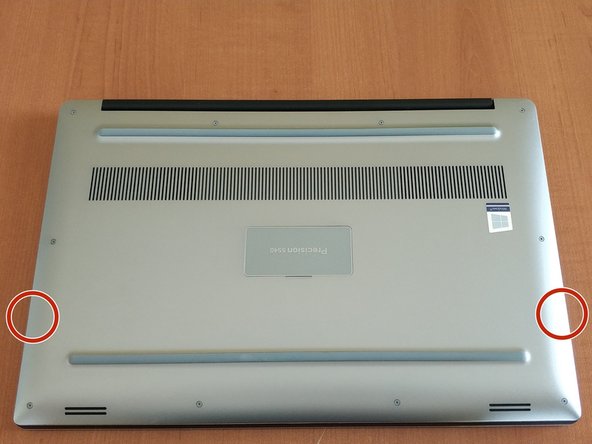
Two case latches are approximately here.
-
-
-
Here.
-
There is a very small amount of space, so I didn't unplugged it fully, just removed from the socket. And made sure that there is no contact.
-


To reassemble your device, follow these instructions in reverse order.
To reassemble your device, follow these instructions in reverse order.
